

This classic red velvet cake recipe is incredibly moist with hints of chocolate paired with a rich vanilla flavor. This is the best homemade red velvet cake recipe you'll ever make! Topped with an easy cream cheese frosting, you'll love every bite of this bright red velvety cake. It's the perfect recipe for Christmas, Valentine's Day, and birthdays!
Jump to:
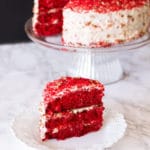
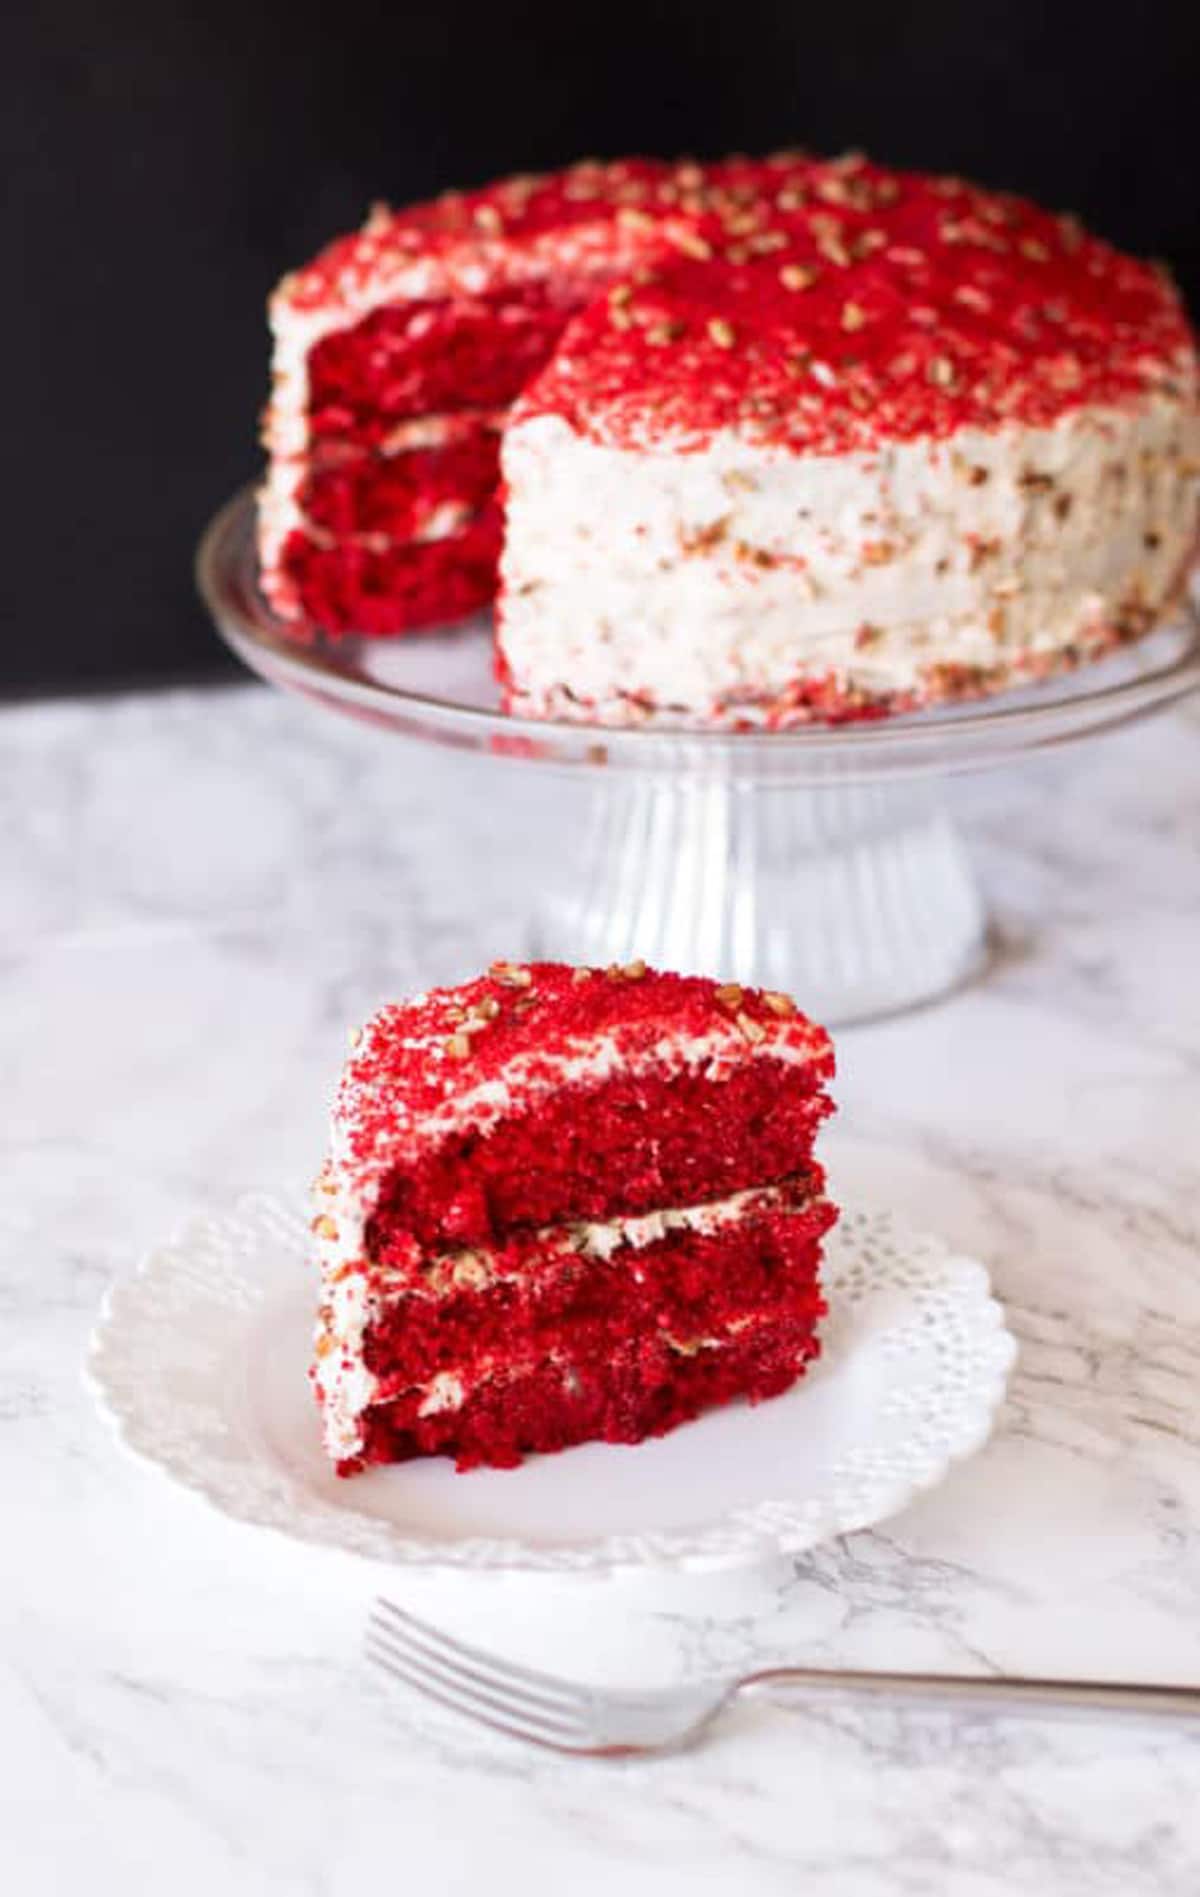
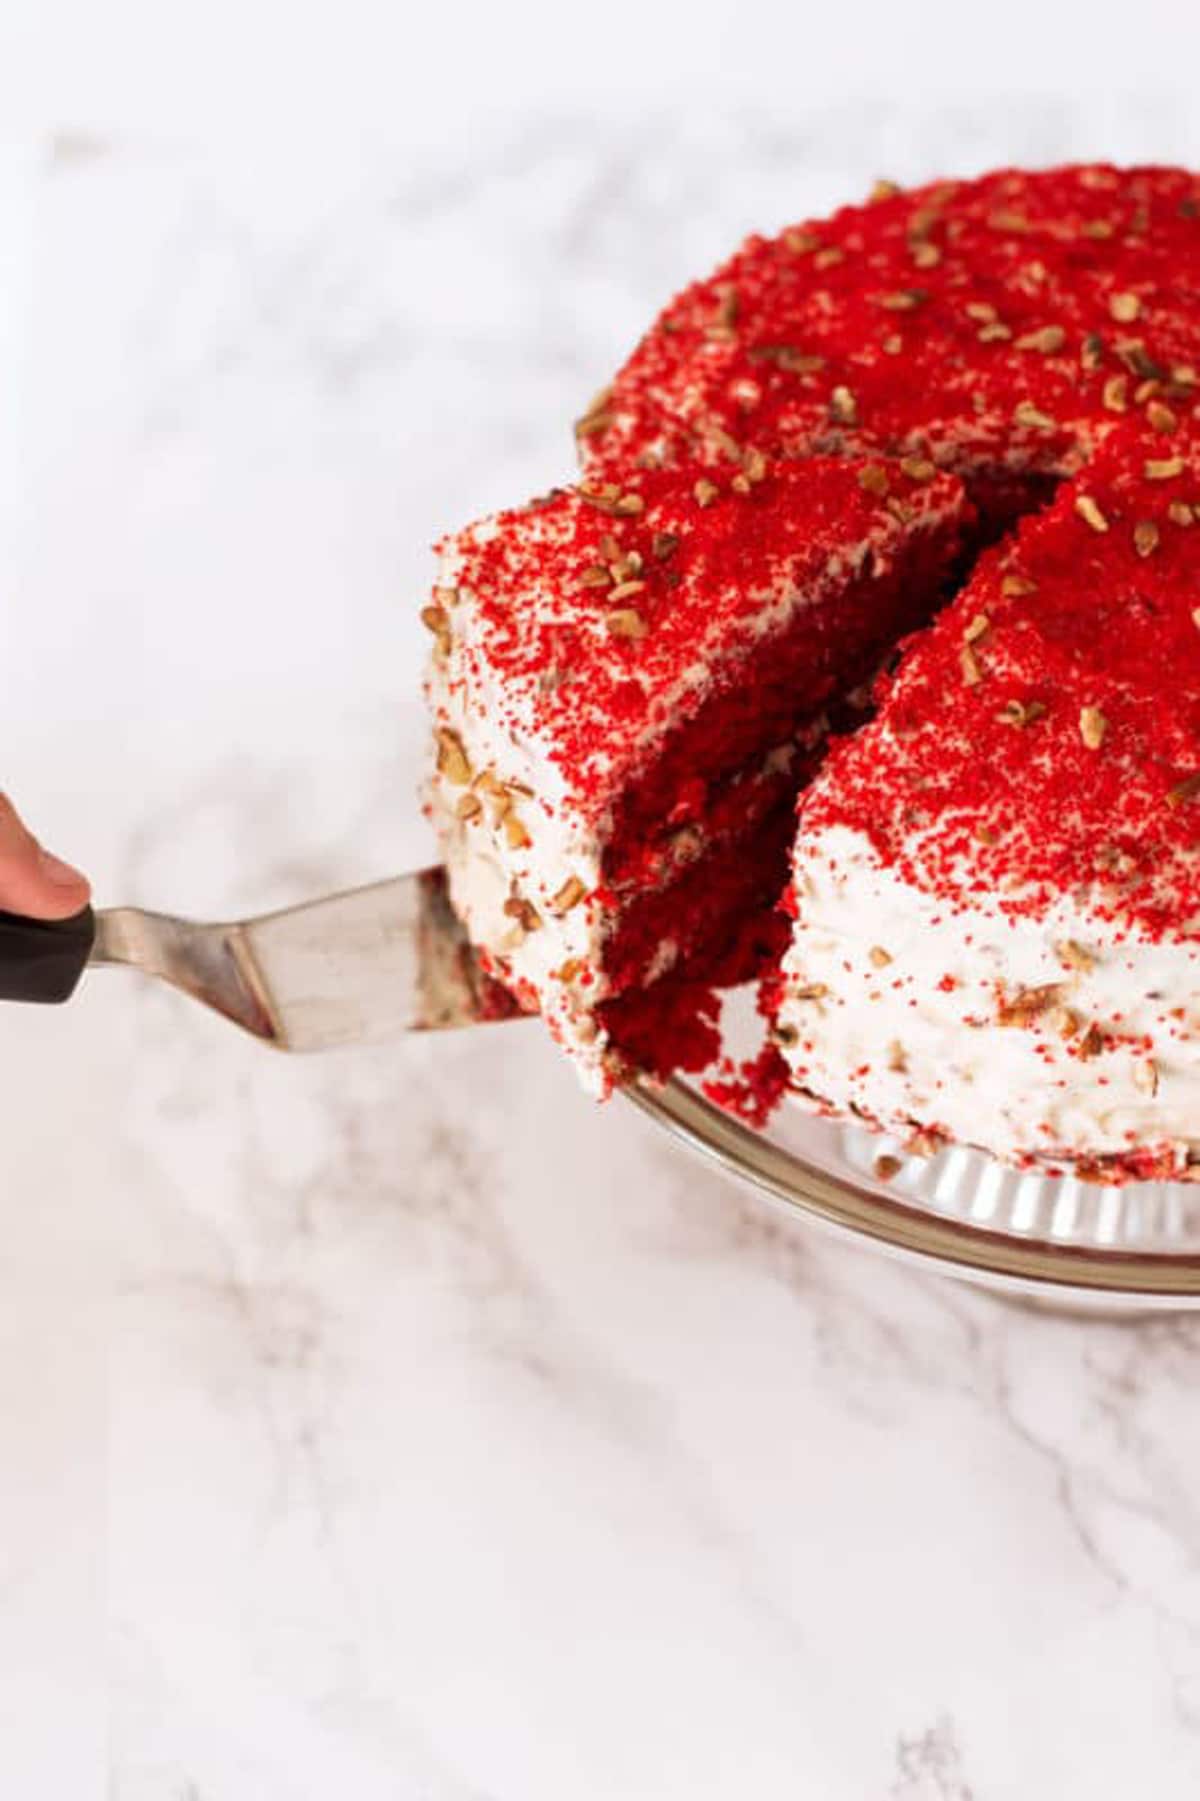
This is my dad's famous red velvet cake recipe. We're talking bakery quality. You wouldn't believe how many requests we get for this recipe. My dad has been making it since before I can remember. What makes this red velvet cake the best is the three layers of cake that is softer than most. And the red color of the cake is so beautiful and enticing!
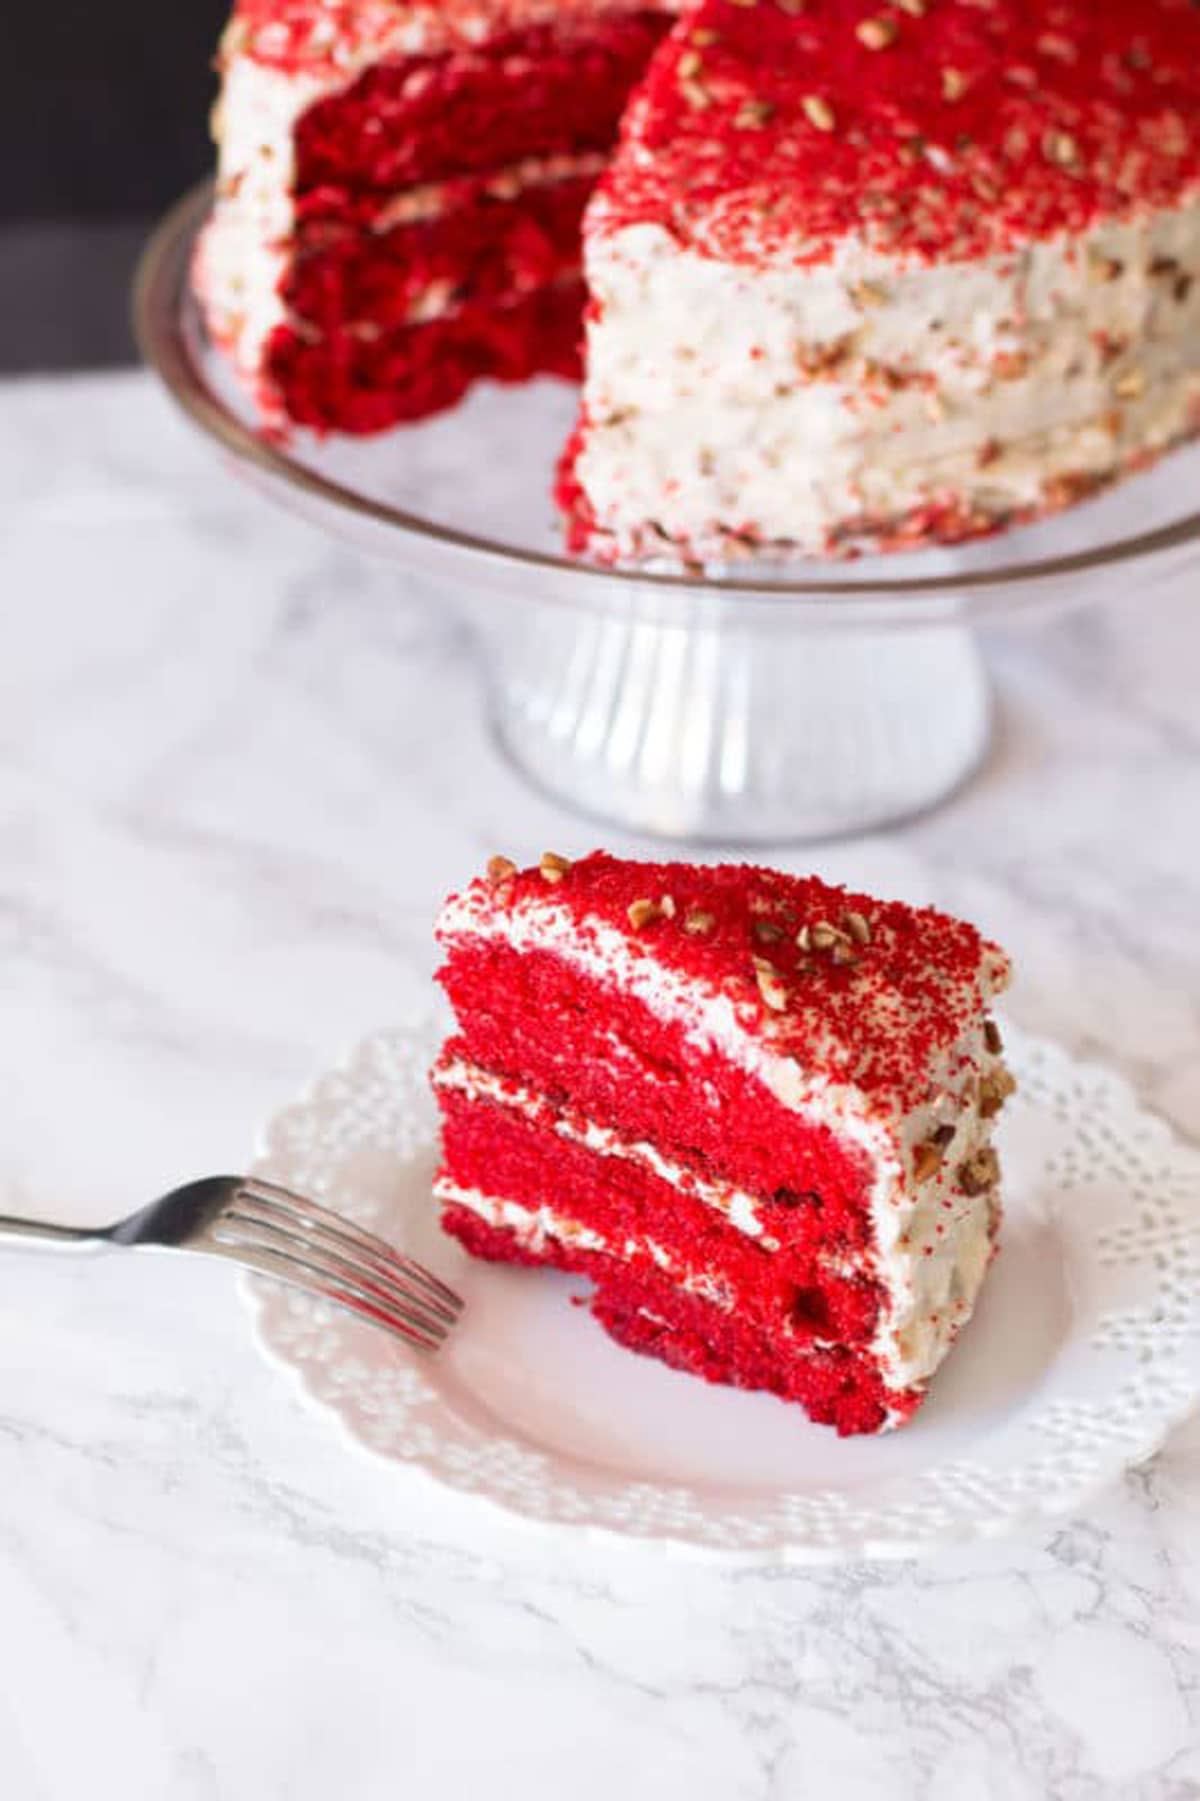
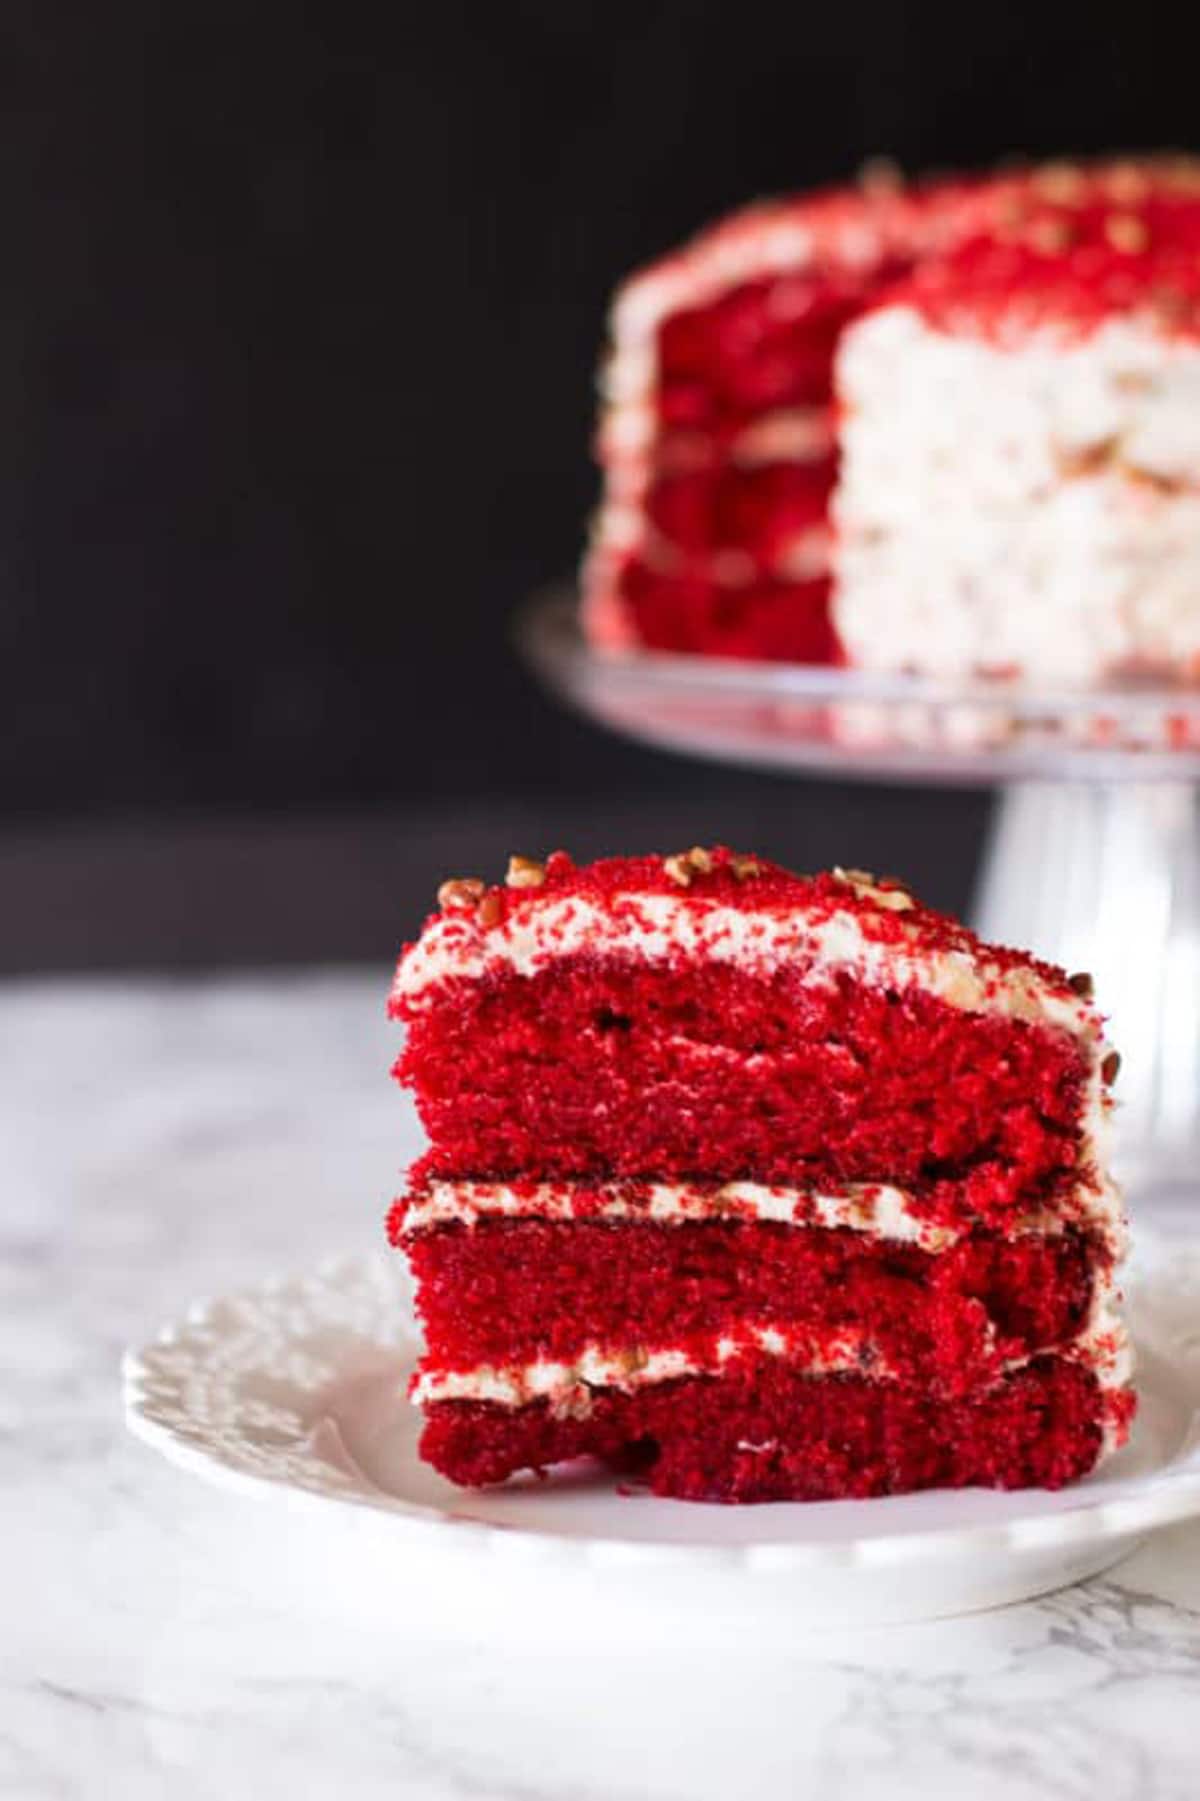
This triple-layer cake is soft and velvety, as well as moist with a hint of chocolate, butter, and vanilla. A red velvet cake should have a subtle tang from the buttermilk with a deep, rich layered flavor in every bite. It should have layer upon layer of cream cheese frosting on top and throughout. Add some pecan chips into the frosting mix and you'll have yourself one delicious dessert on your hands!
The Origin And History
It originated in Maryland in the early 20th century, but has become increasingly popular in the southern parts of the United States. Around that same time, devil's food cake came out and while they are similar in taste, devil's food cake uses chocolate while red velvet uses cocoa. Traditionally, red velvet cake was not made with red food coloring. Many people used beetroot juice to get that deep scarlet color. It was considered a "fancy" cake and was originally served in high-end restaurants and hotels. This delectable cake was originally covered in a French-style butter roux icing (ermine icing), which is light and fluffy in texture, but rather difficult and time-consuming to make.
Ingredients You'll Need
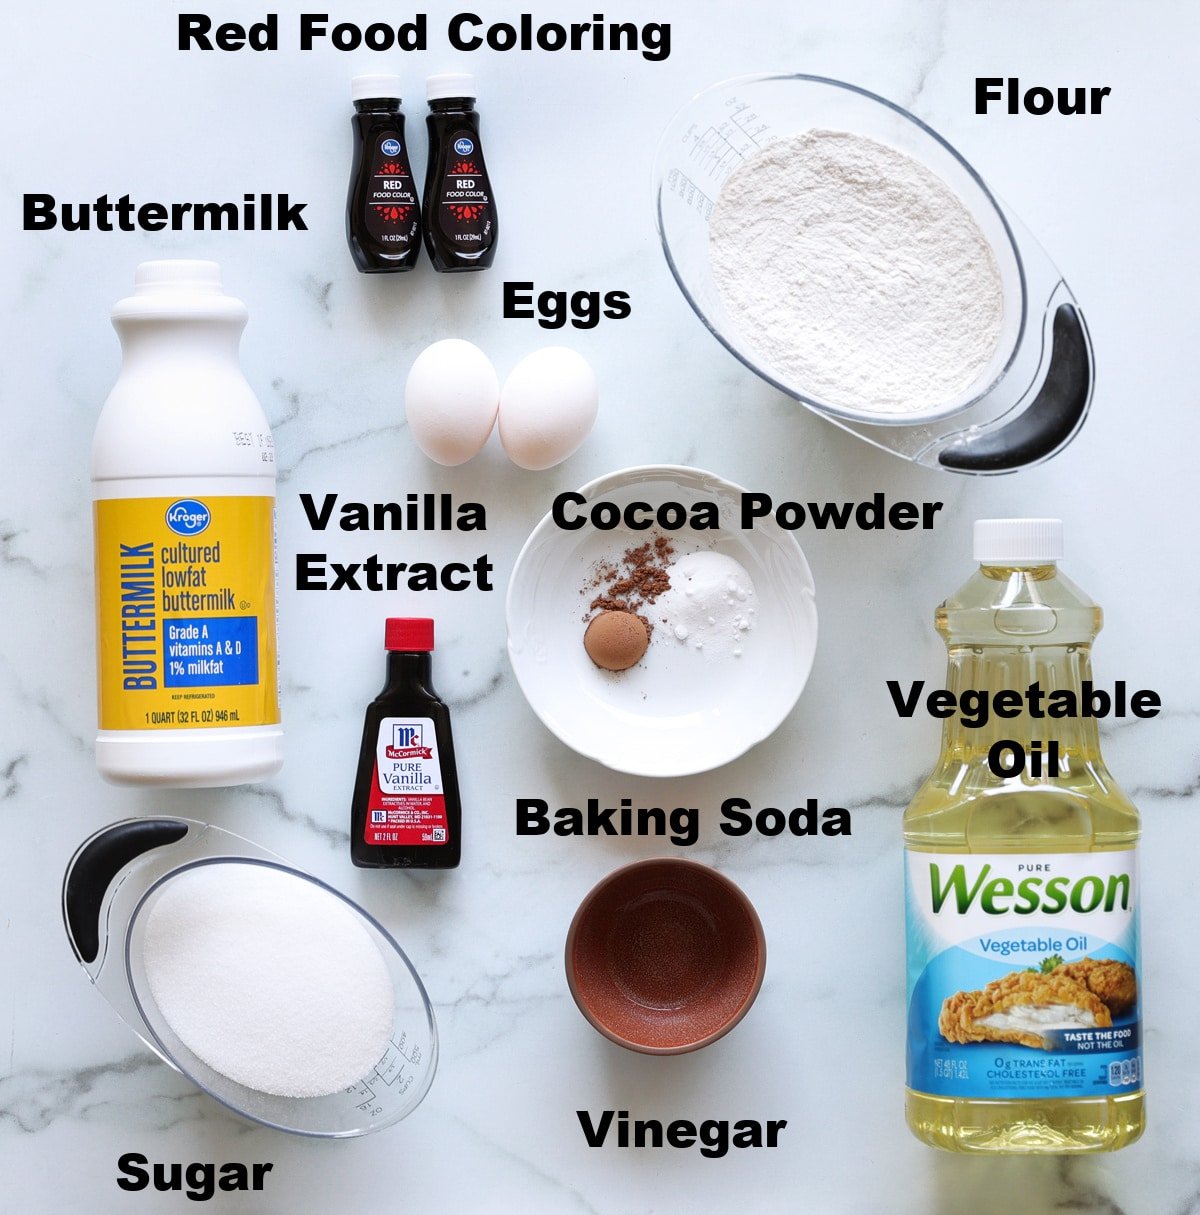
To make this red velvet cake from scratch, you'll need the following ingredients:
- self-rising flour
- buttermilk
- vegetable oil
- baking soda
- vanilla extract
- red food coloring
- sugar
- cocoa powder
- white vinegar
- 2 eggs
Flour is the foundation and there are many opinions around what type of flour you should use when making this. For best results, I use self-rising flour. While all-purpose flour and cake flour can also work, I've found that using self-rising flour and adding an additional teaspoon of baking soda can really help the cakes rise to the perfect level while ensuring the moisture level is where it needs to be.
What makes the red velvet cake so moist is the use of vegetable oil, sugar, added baking soda, and vinegar. The addition of additional baking soda plays multiple roles in this recipe. Not only does it help the batter rise and obtain a high moisture level, it also pairs with the vinegar to create a chemical reaction with the cocoa powder. The combination of baking soda, vinegar, and cocoa powder is key to making a red velvet cake super moist. Using buttermilk helps get that velvety texture and adds a hint of tang to every bite.
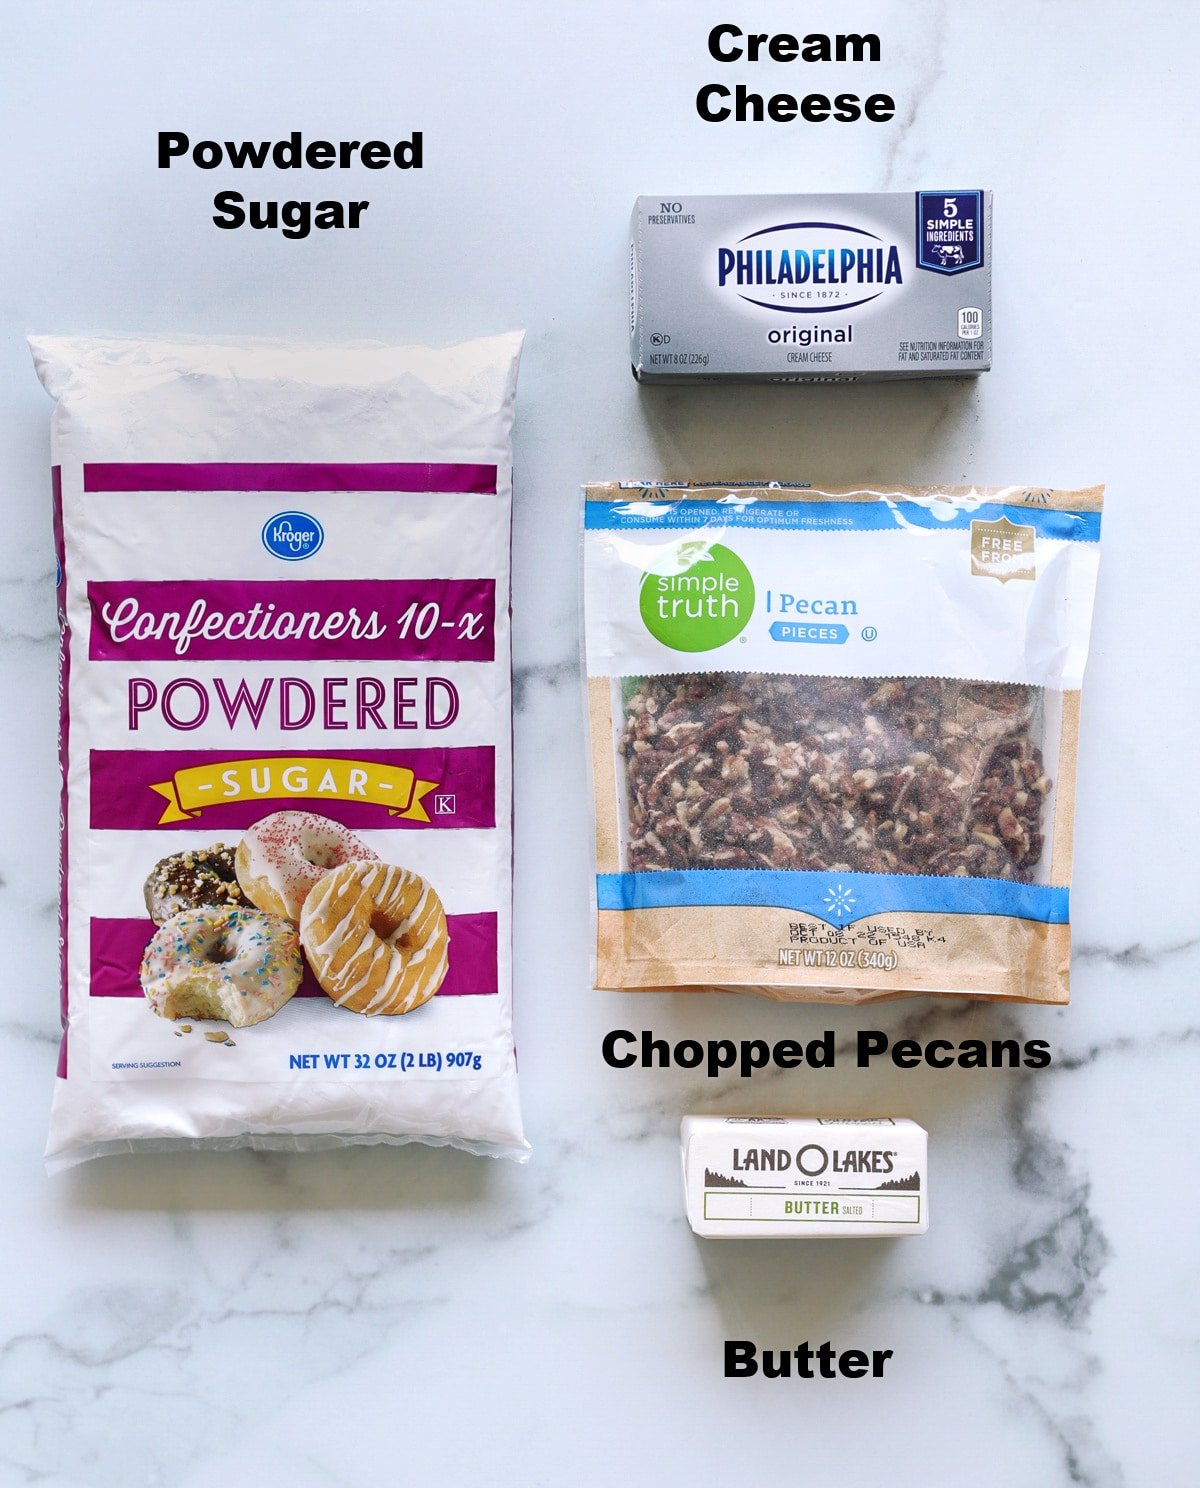
For the cream cheese frosting, you'll need:
- powdered sugar
- cream cheese
- chopped pecans
- butter
Because I don't use salt in my ingredients, I use a salted butter when making the frosting. I also like to chop the pecans and fold them into the frosting, but this is optional. For a smooth homemade cream cheese frosting, leave out the nuts.
How to Make Red Velvet Cake with Cream Cheese Frosting
Making The Cakes
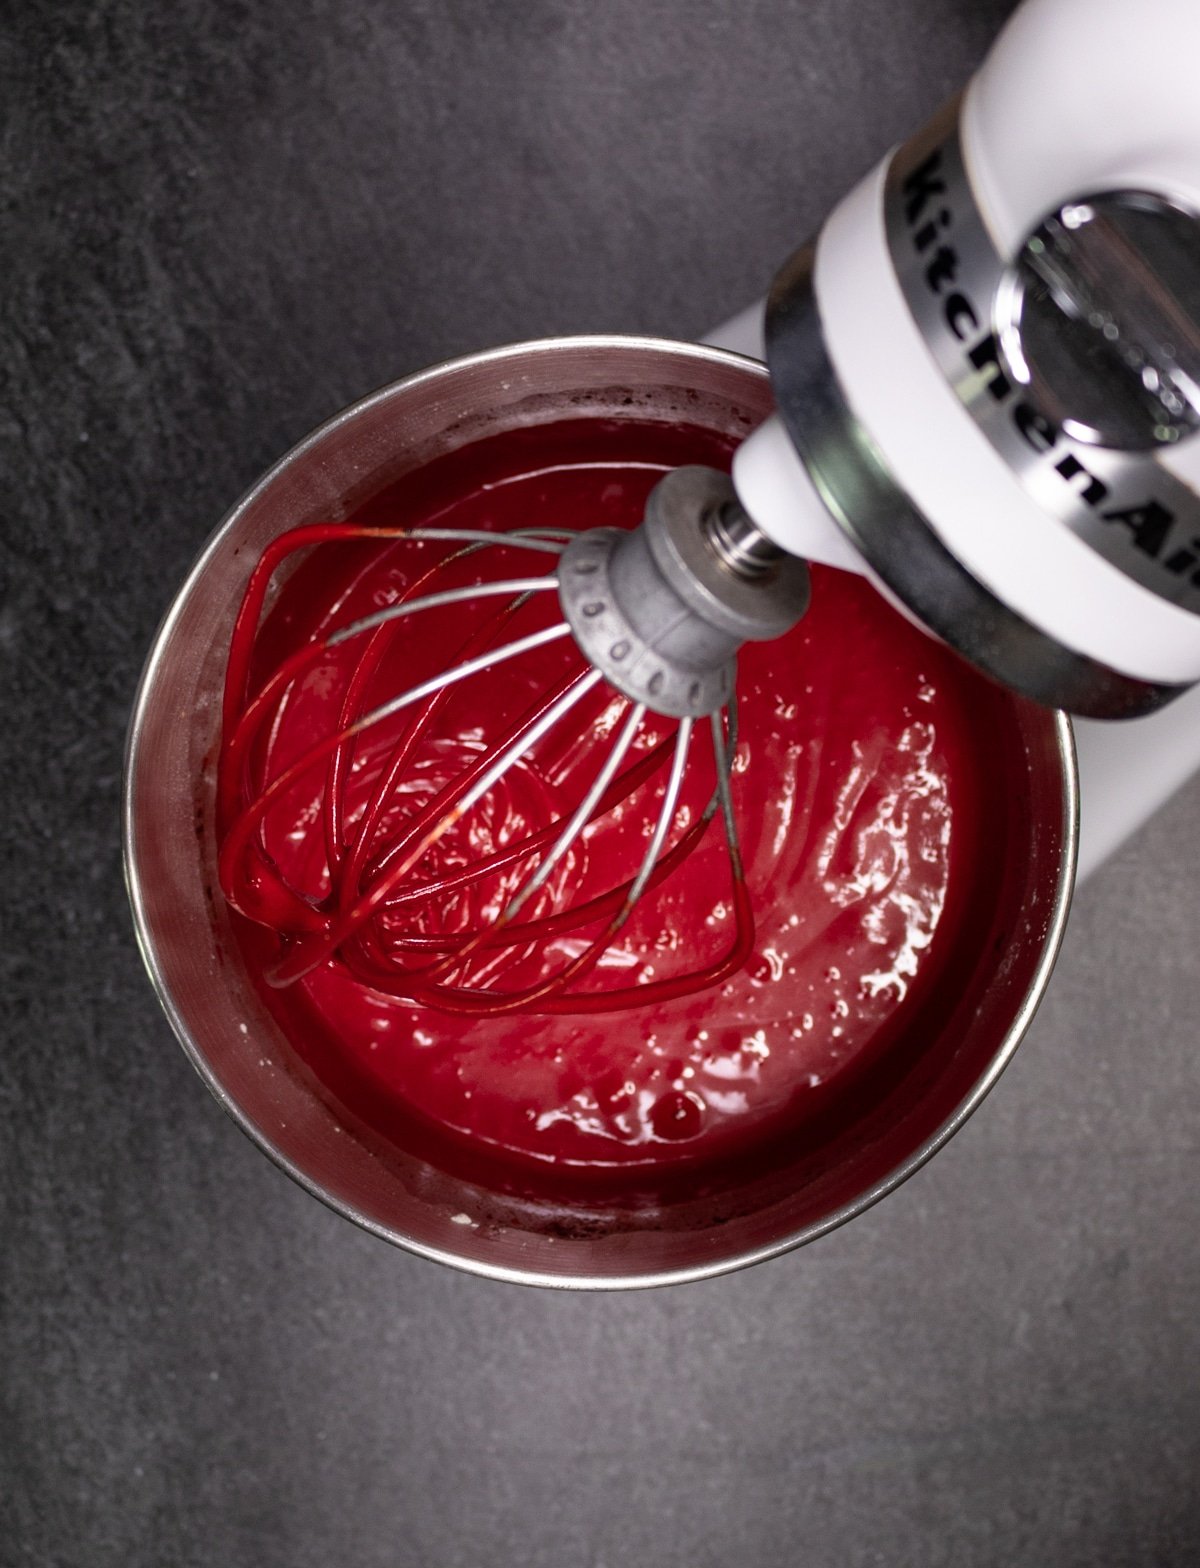
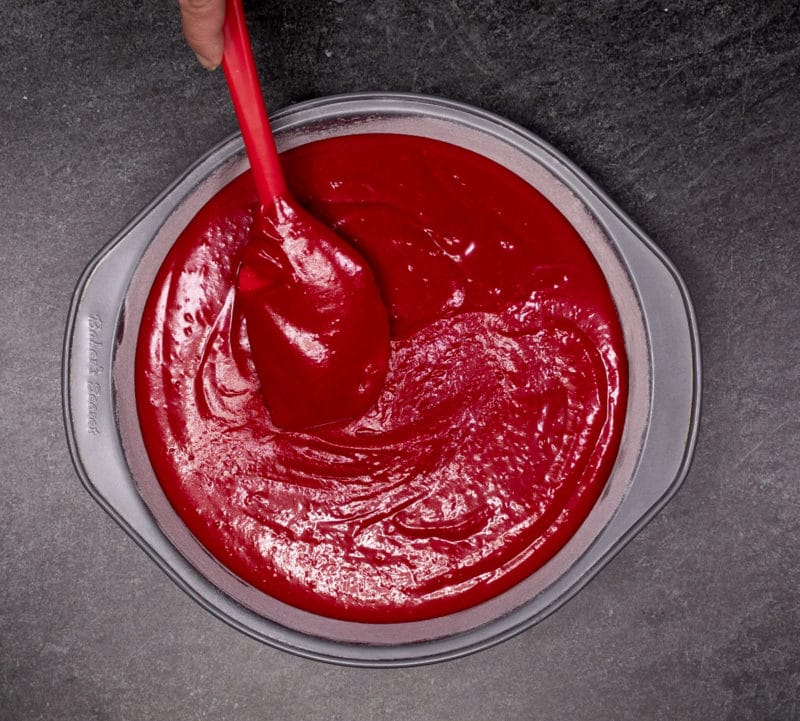
Start by preheating the oven to 350°F. Place all the cake batter ingredients into a large bowl and mix for about 3 minutes on medium speed.
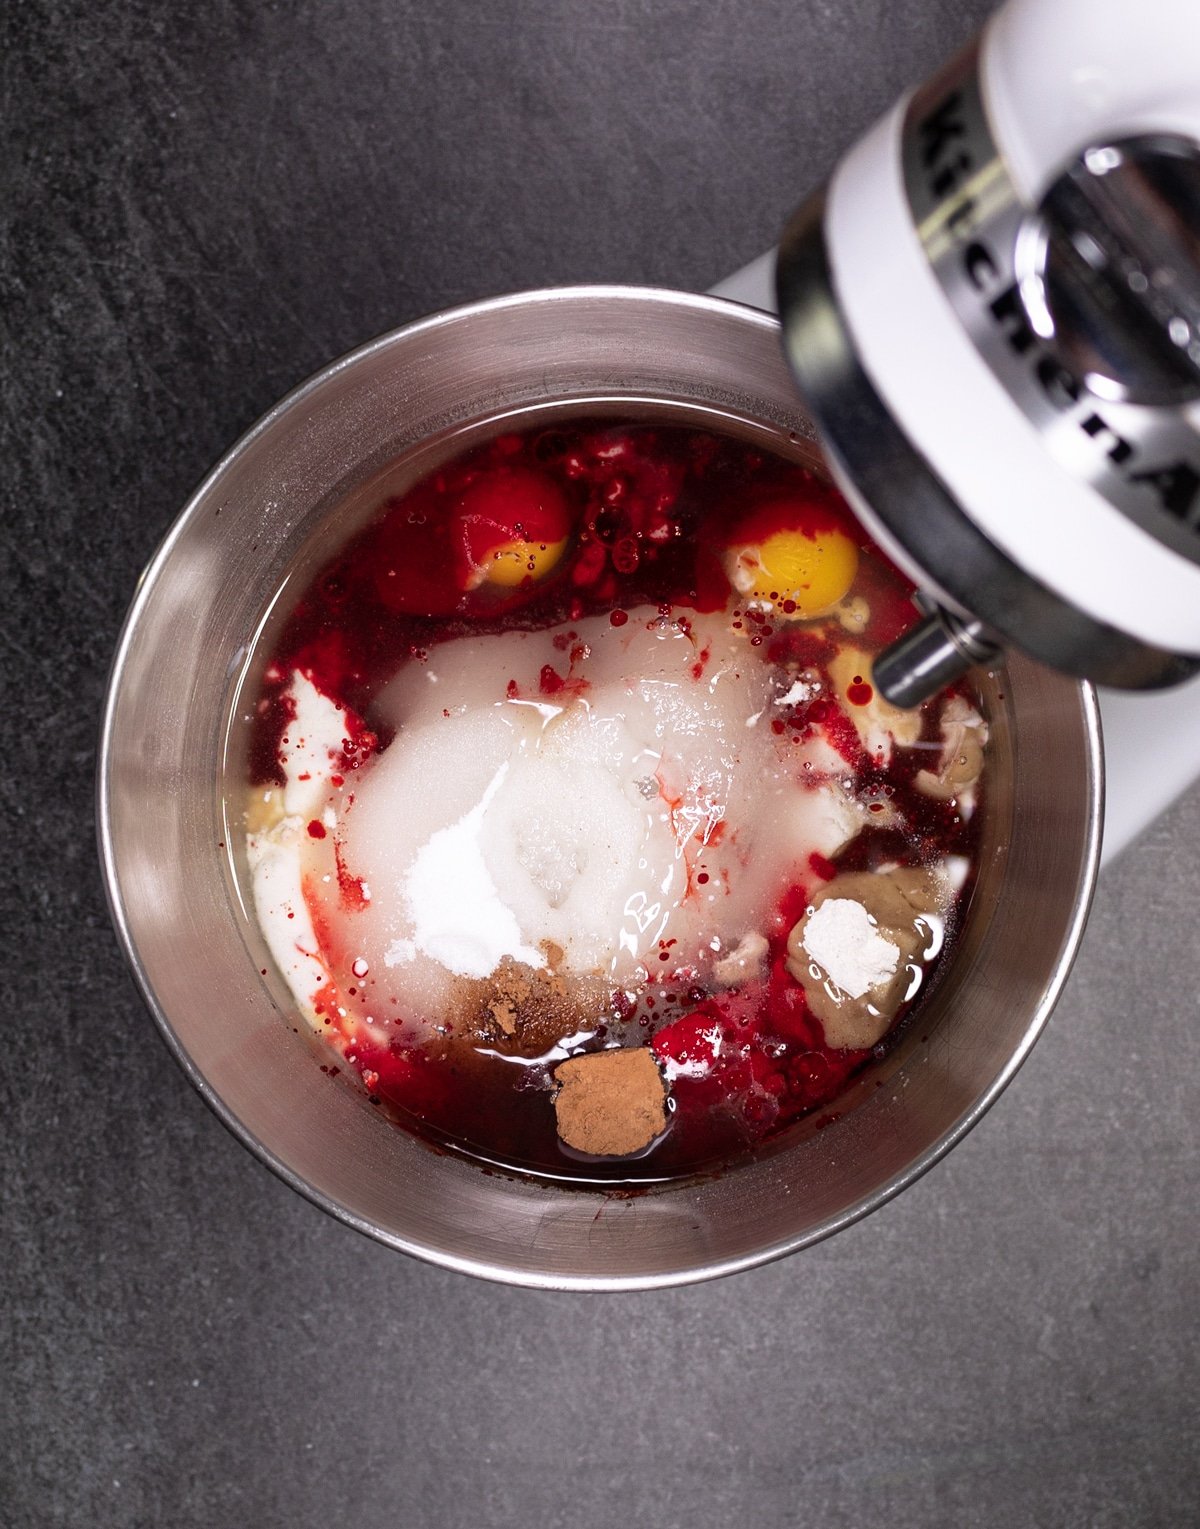
If you have a standing electric mixer, I recommend using it with this recipe. While you can use the paddle attachment, I use the wire whisk attachment for better results when blending the ingredients. While an electric mixer works, the mix feature on a standing mixer is so gentle and allows the perfect amount of air in and that contributes to the moisture level.
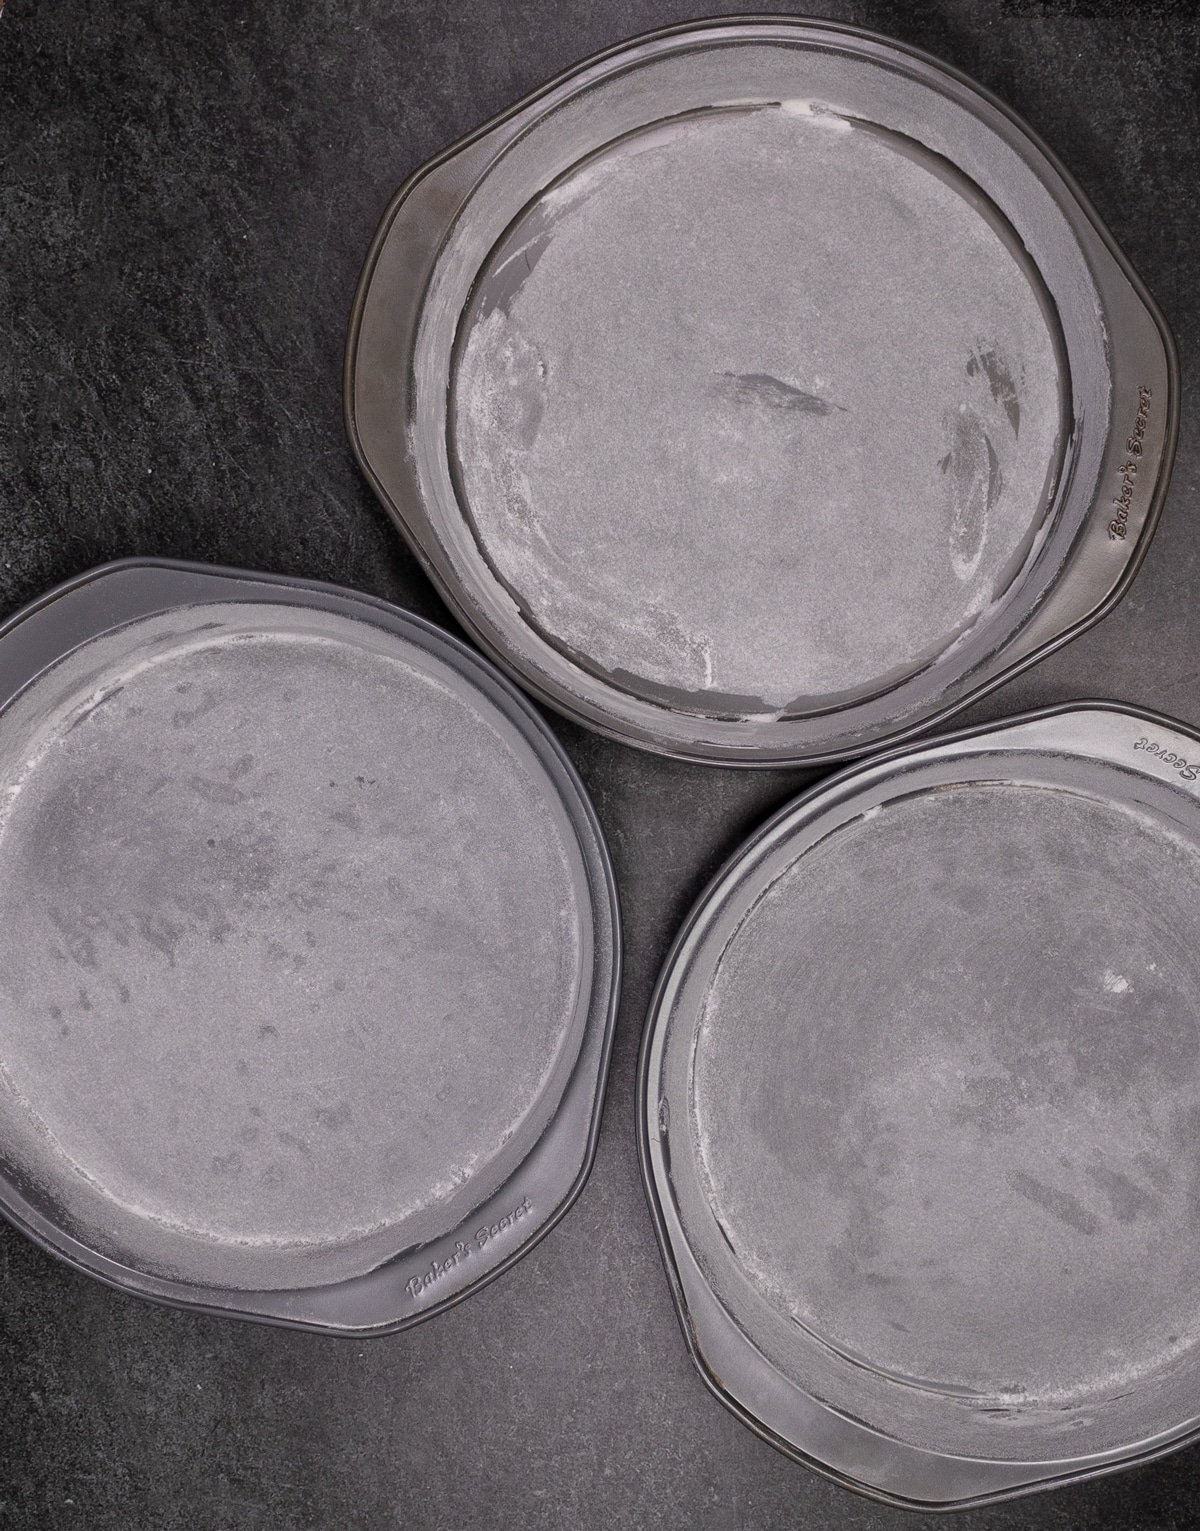
Next, you'll want to coat three 9-inch round cake pans. What we're trying to accomplish here is keeping the cakes from sticking to the bottom of the pans, as well as from crumbling, after the cakes have cooled. You can accomplish this multiple ways. You can use a non-stick cooking spray. You can also cover the bottoms and the sides with butter and then coat with a light dusting of flour.
WANT TO SAVE THIS RECIPE?
If you have round mold flexipans, I highly recommend using these. You can eliminate the spray and butter and the cakes pop right out with minimal cooling time. There's no sticking to the bottom of the pans and no crumbling!
From there, pour the cake batter equally into the three pans. The bake time will be exactly 22 minutes. My dad has baked these in both electric and gas ovens in multiple altitudes and the perfect baking time for the perfect doneness is at 22 minutes.
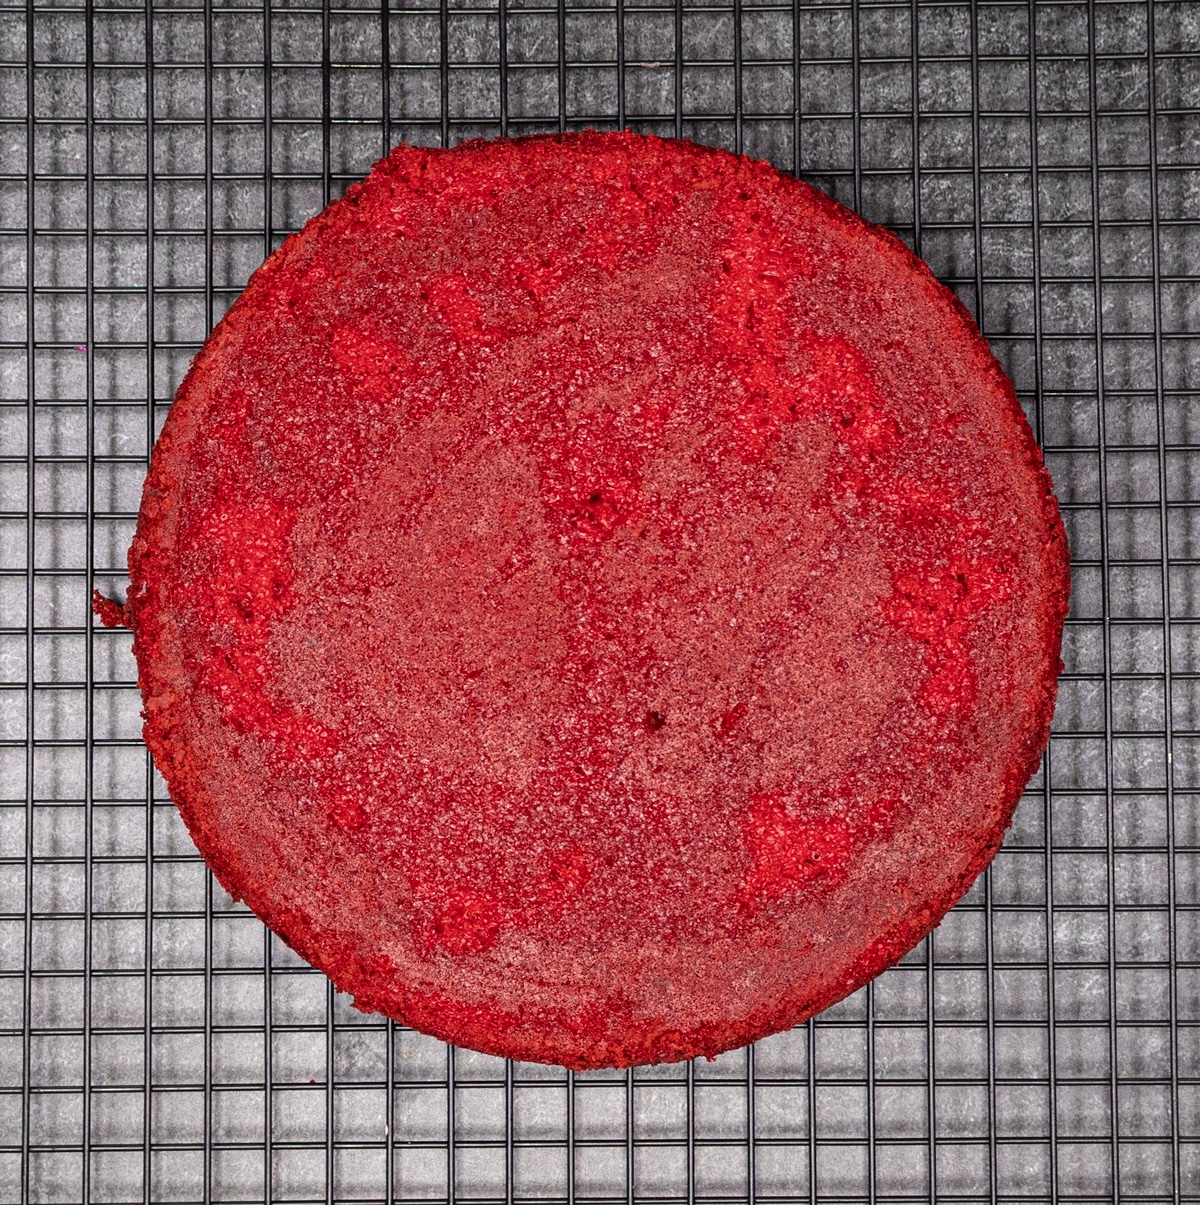
When done, remove the pans from the oven and let cool on a wire rack for 10-20 minutes. The must cool completely for best results. From there, carefully remove the cakes from the pans and place them directly on the cooling rack until they are completely cool.
Making The Frosting
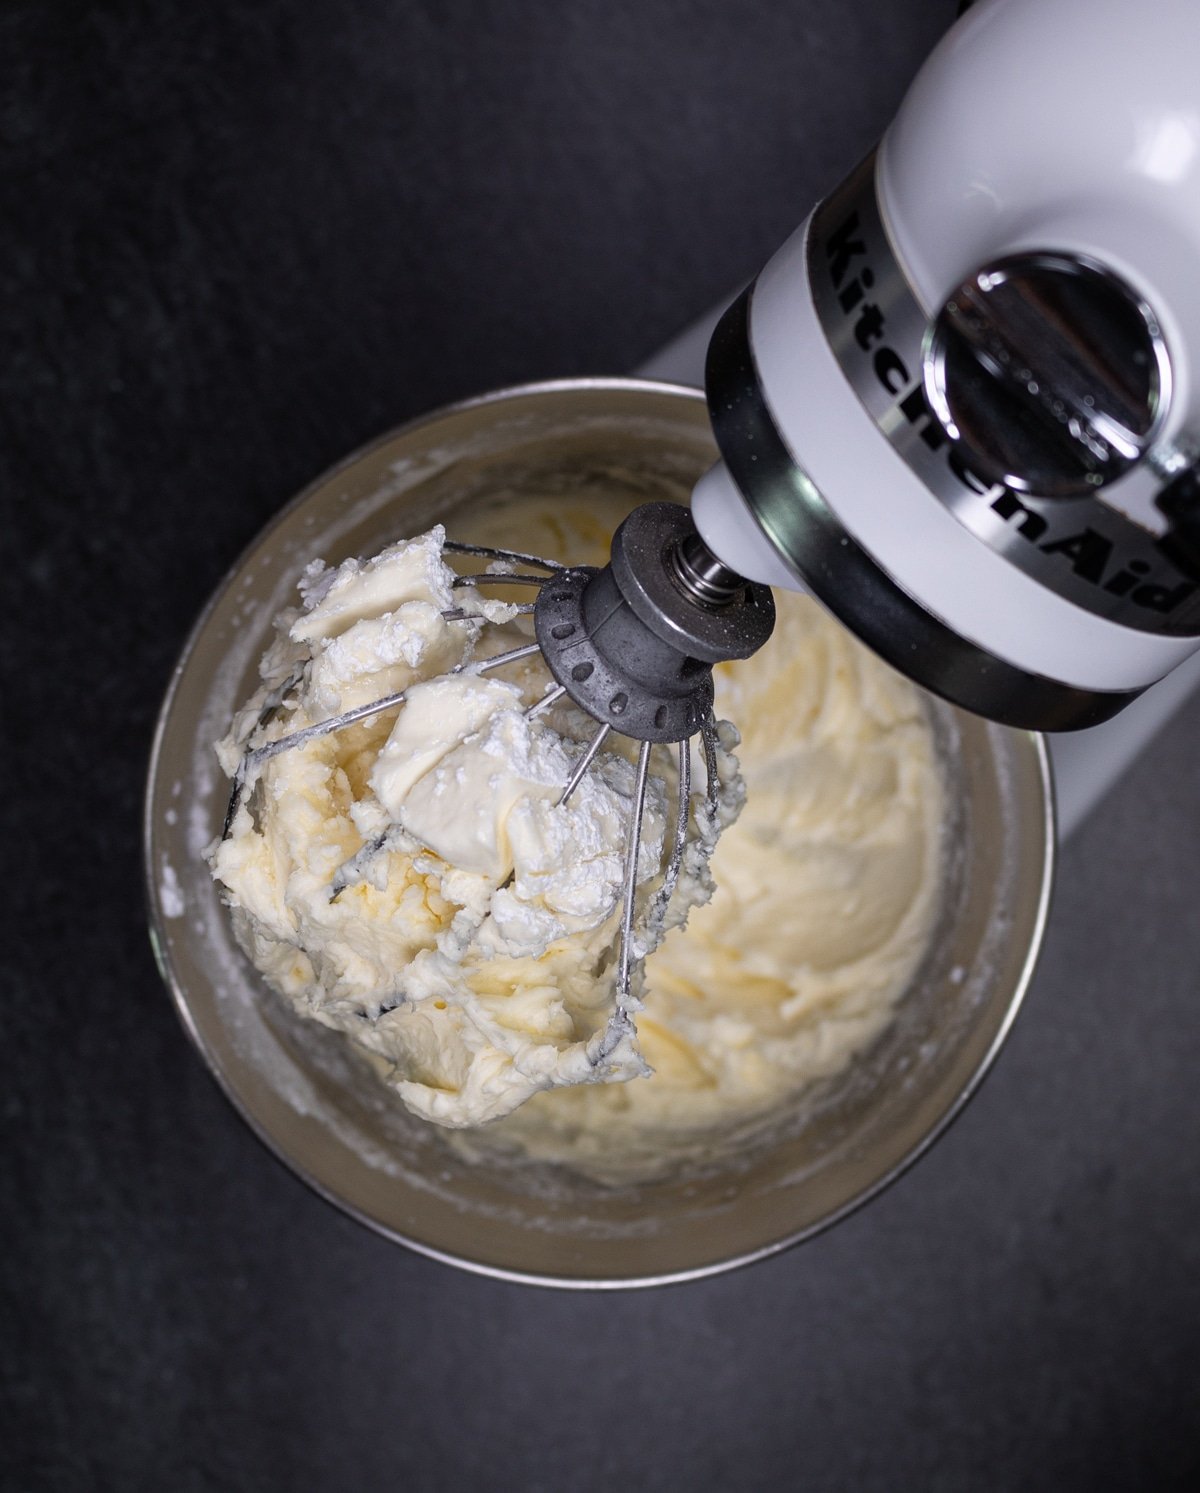
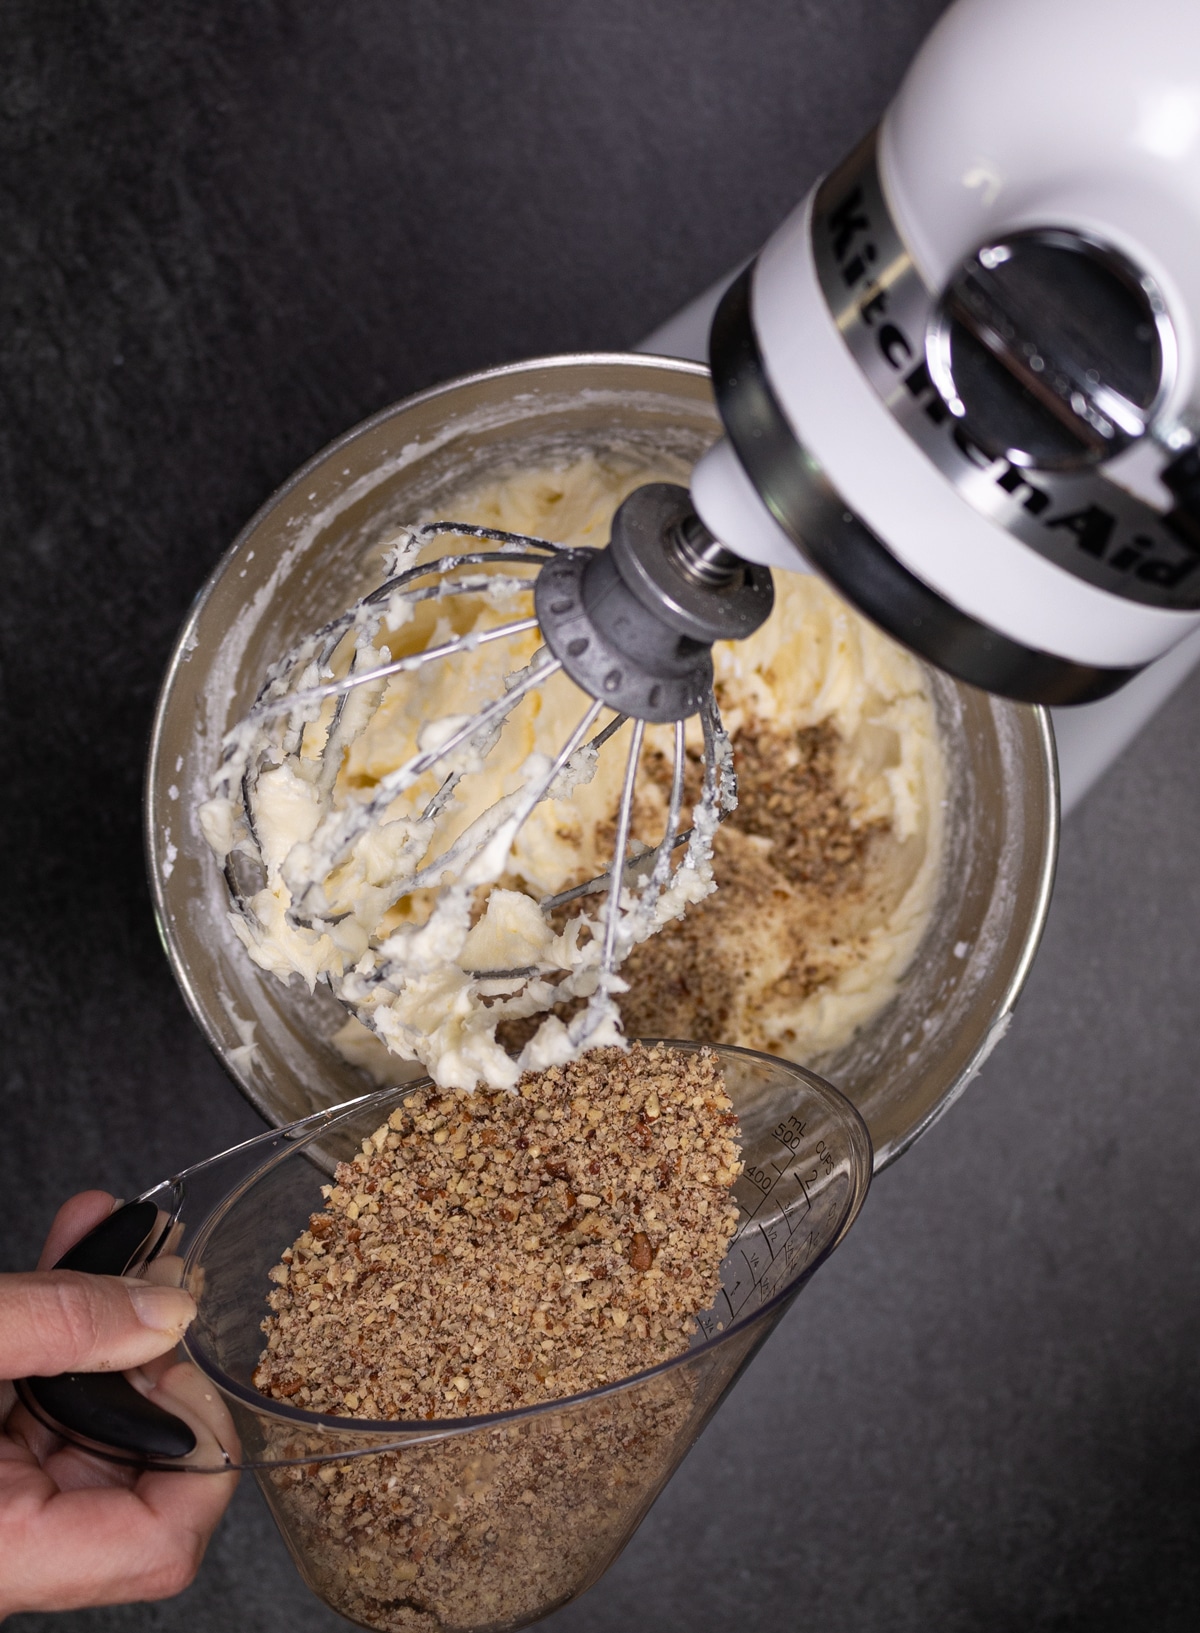
While the cakes are cooling, combine the butter, cream cheese, and powdered sugar in a large bowl. If you have a standing mixer, use the wire whisk attachment. Start by mixing slowly on low speed, increasing the speed to medium for 2-3 or until the frosting is well combined and slightly fluffy.
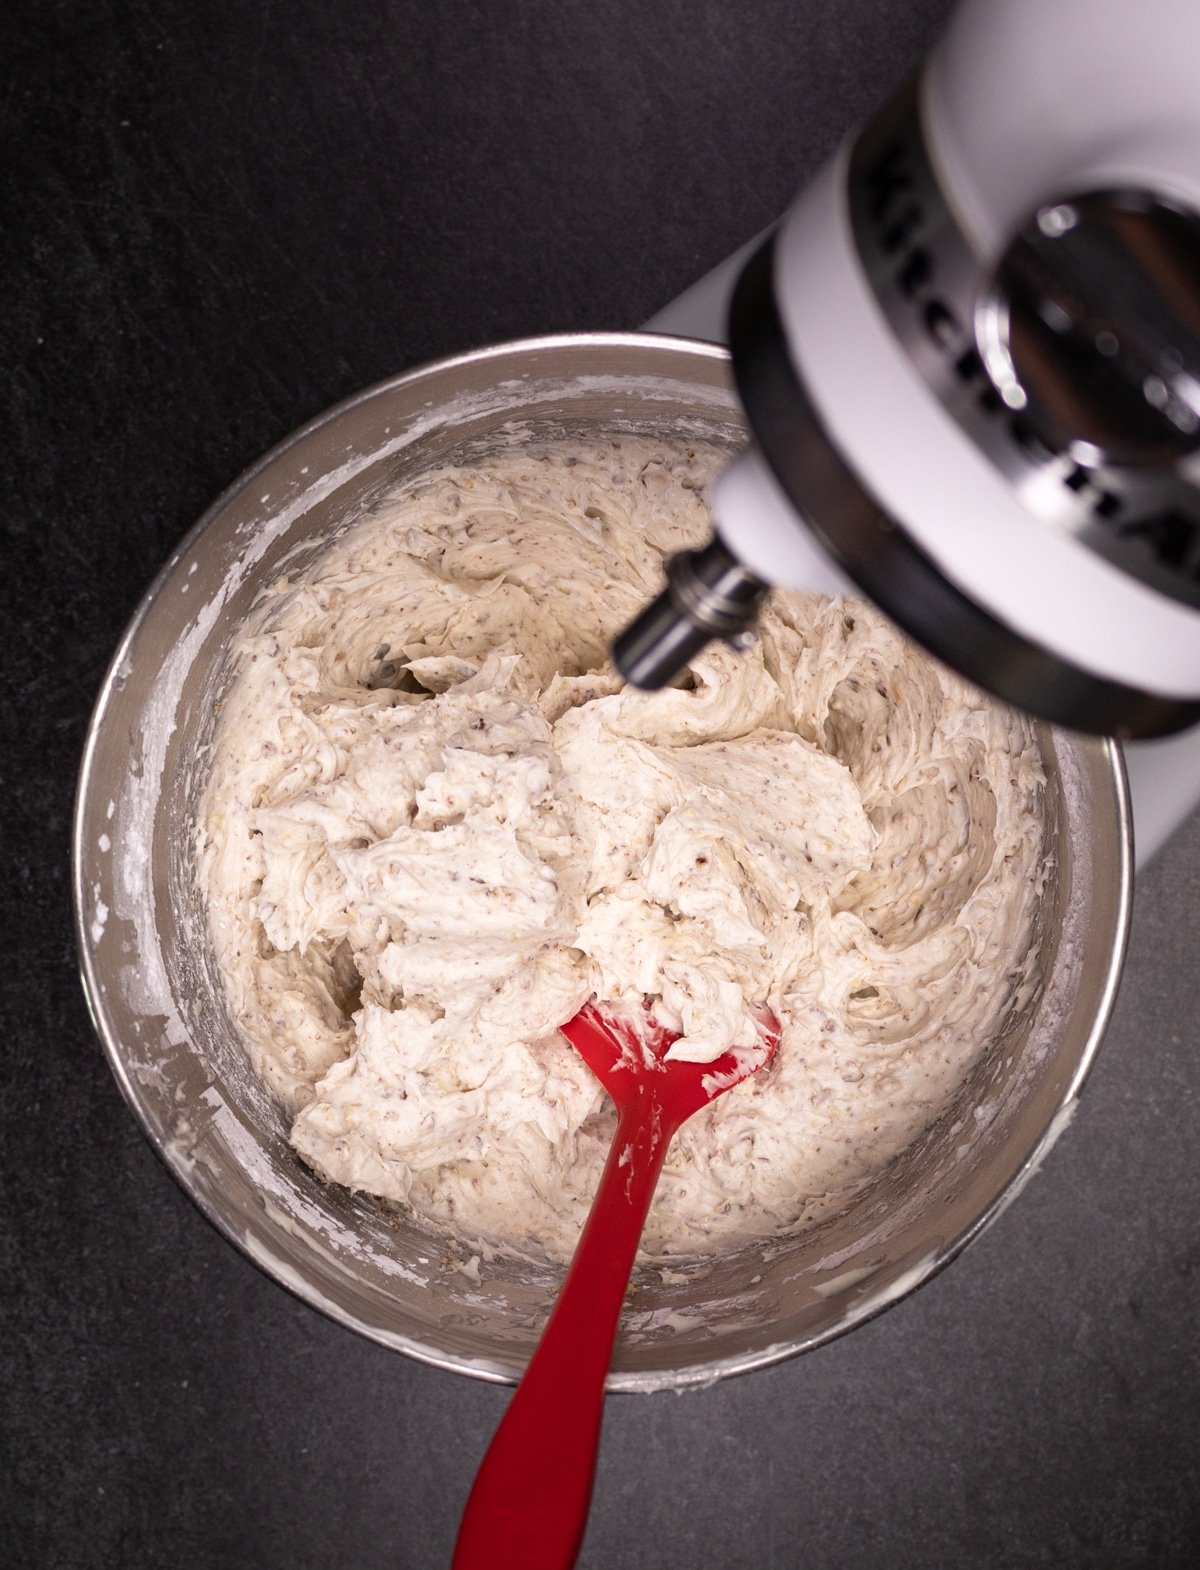
Expert Tip: If you're adding in chopped pecans, slowly sprinkle in 1 ¼ cup after 1 minute of mixing so they are well combined in the frosting.
The cream cheese frosting should be a little thick, but also have a bit of fluff.
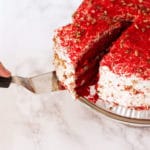
When the cakes have completely cooled, place one cake layer directly on a plate or stand. Using a spatula or a butter knife, gently spread a layer of frosting onto the top of one of the cake layers.
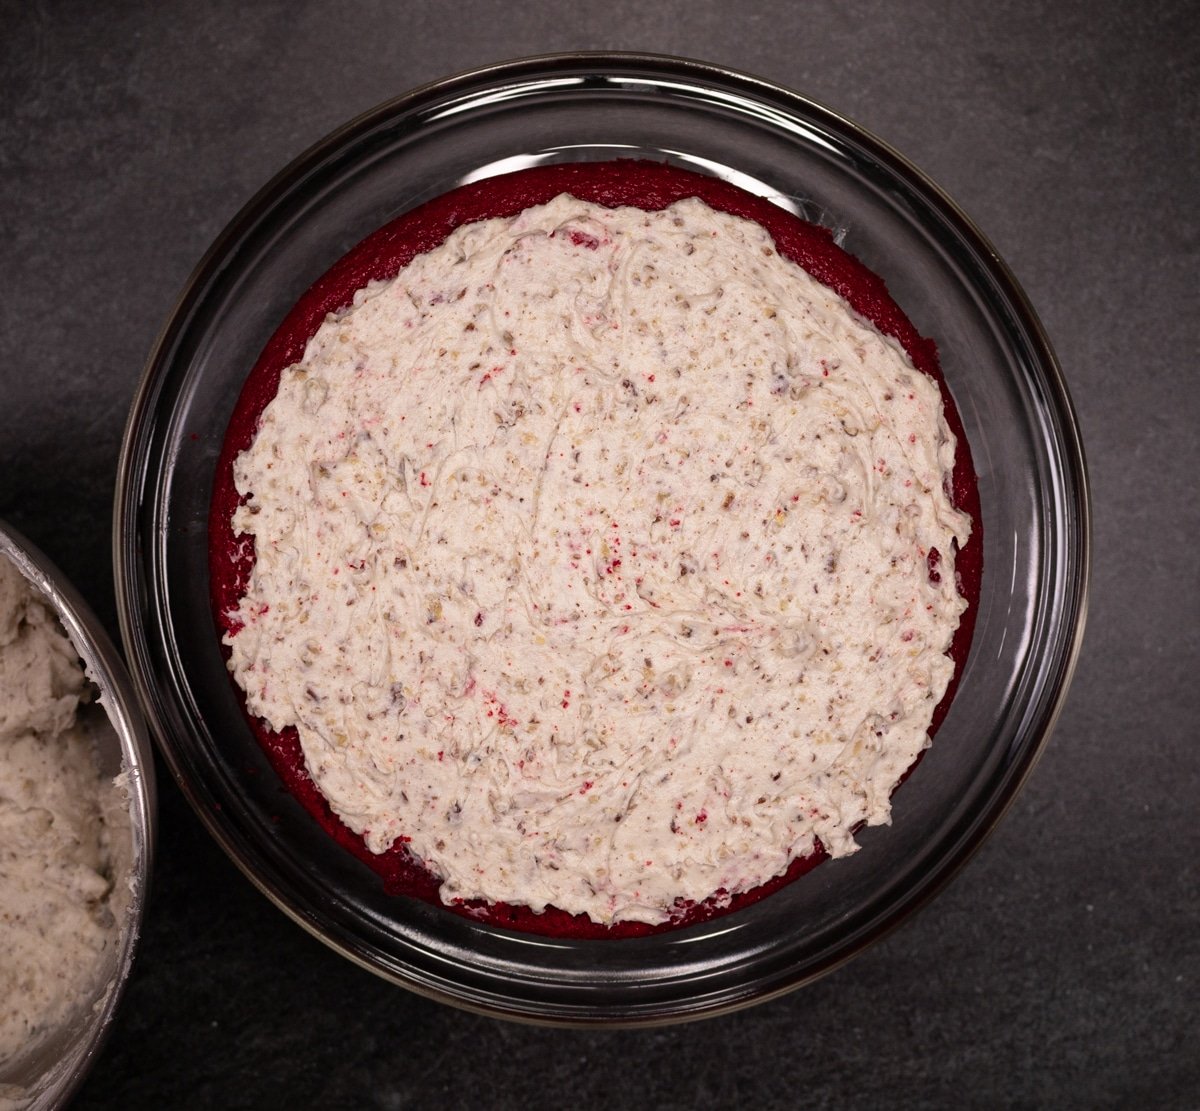
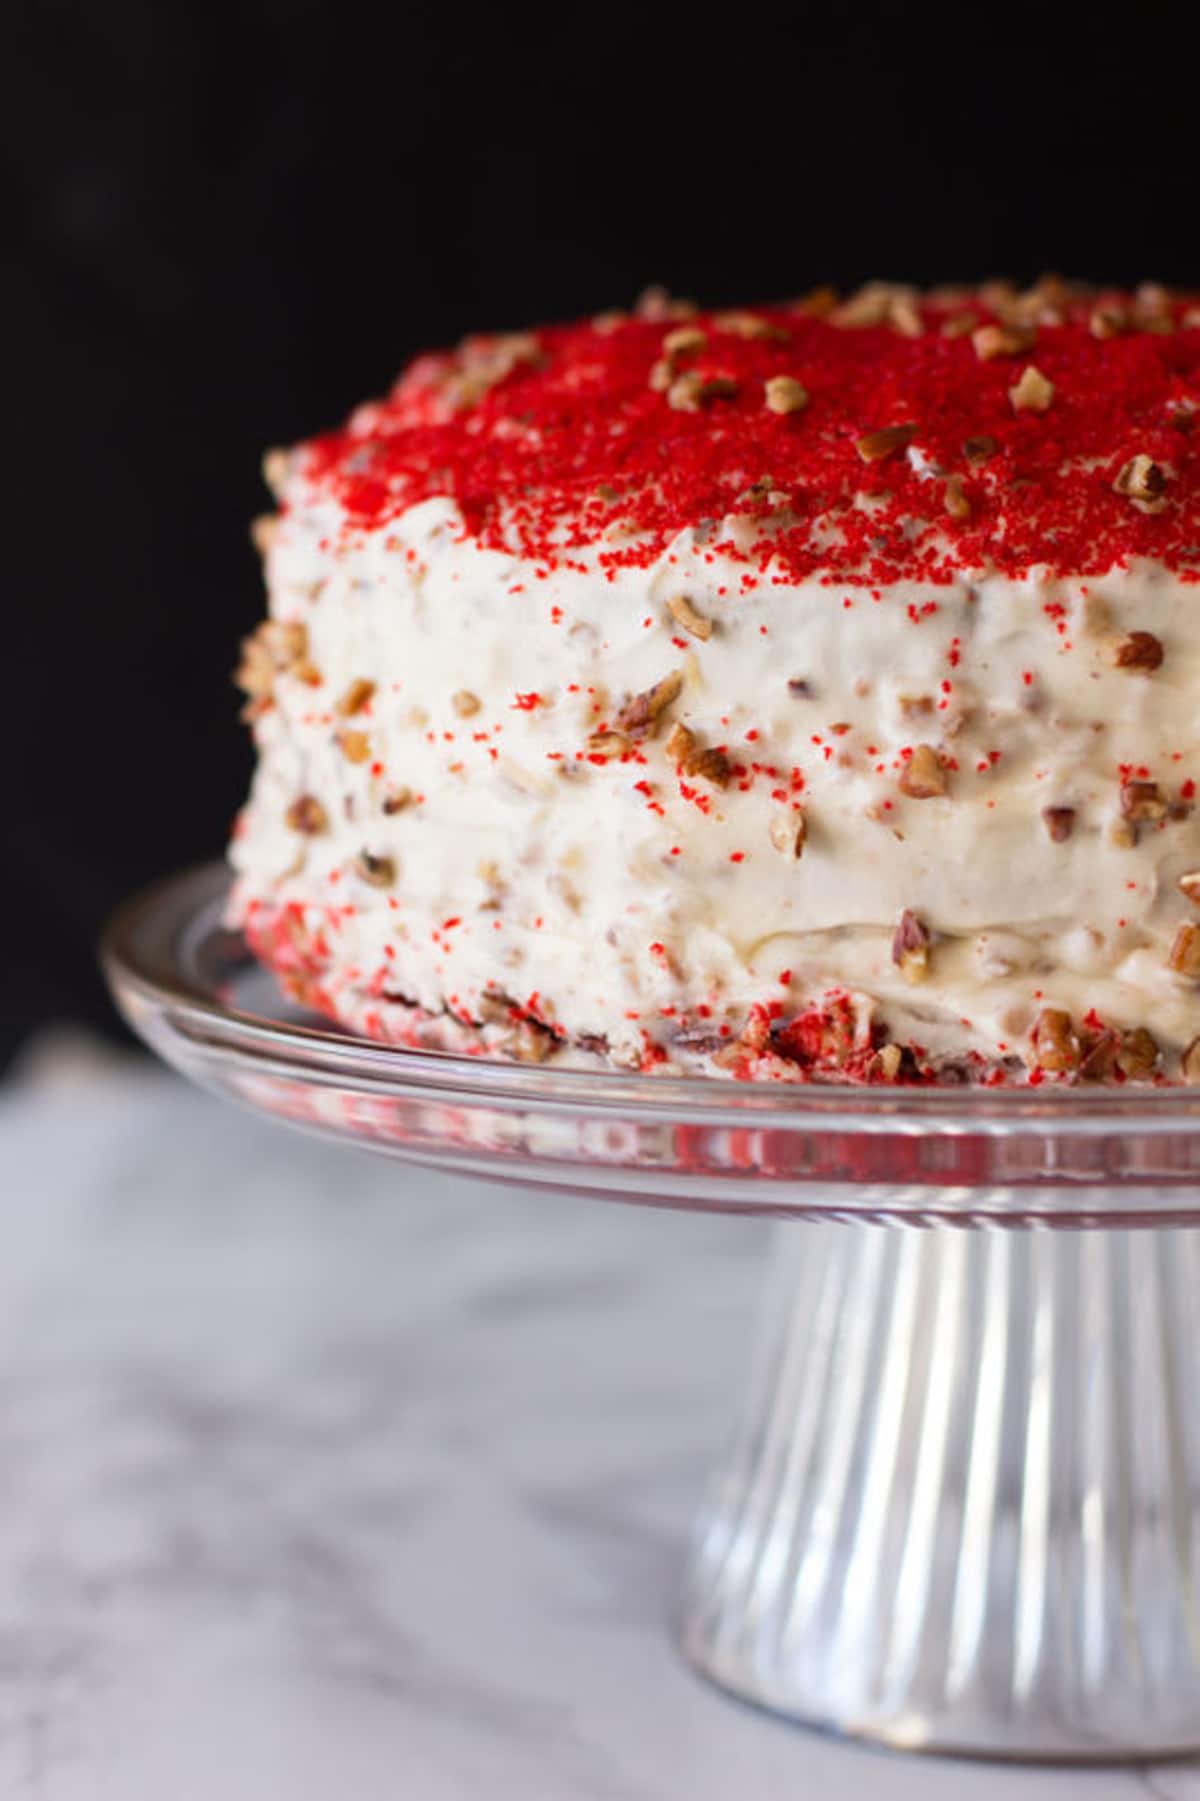
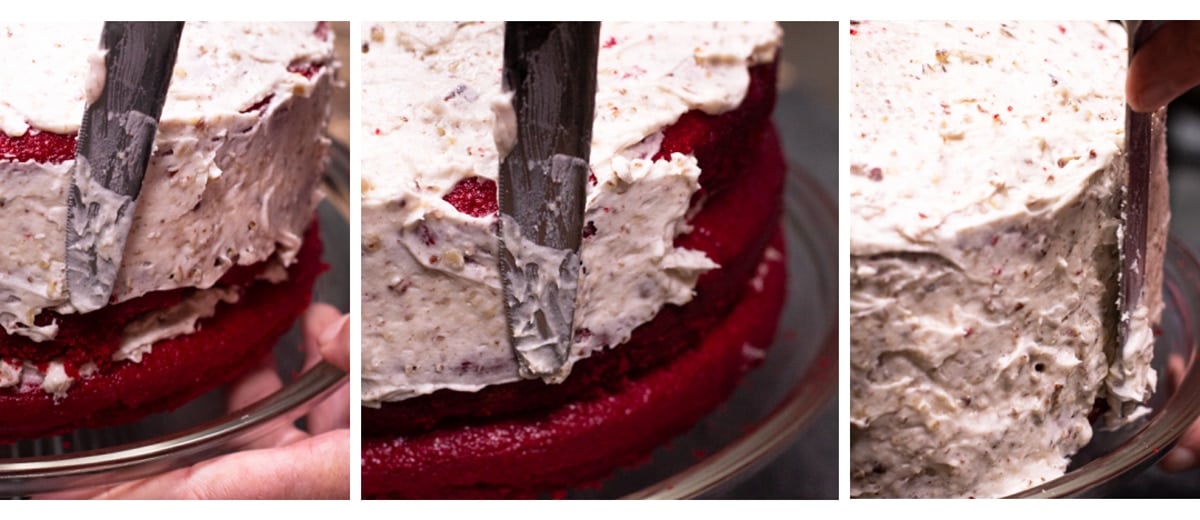
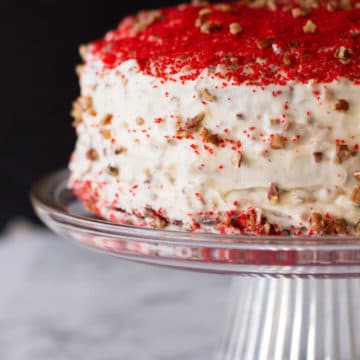
Put the second layer of cake on top of the iced layer and gently spread a layer of frosting like you did to the first layer. Put the third layer on and evenly spread the cream cheese frosting onto the top and sides of the cake.
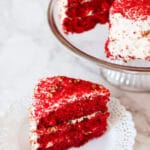
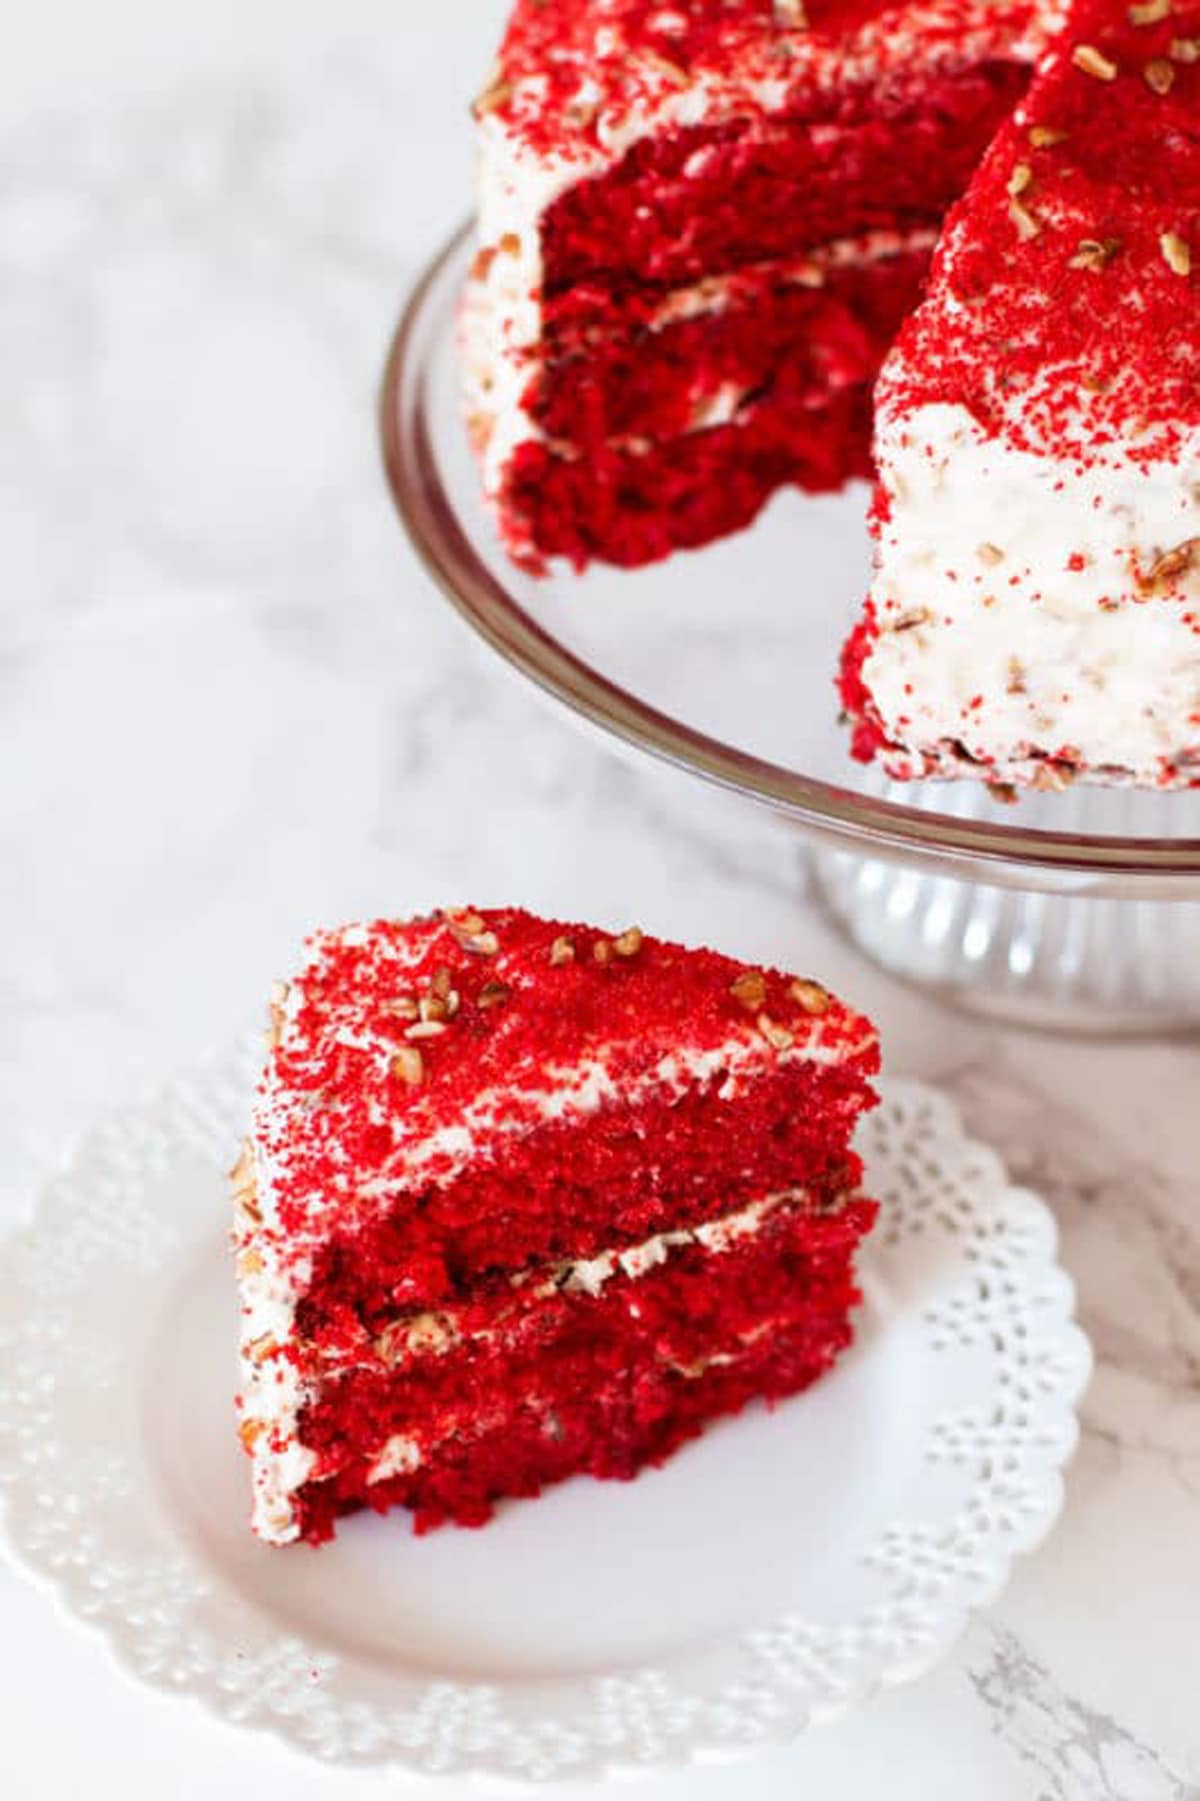
Once frosted, allow it to cool for an additional hour before serving. When you cut into it, you'll immediately be able to see the moisture in each slice!
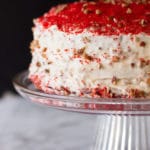
I like to decorate the top of the cake with finely chopped pecans and small pieces of the cake. If you have any cooked crumbles left from the pans, run the cake crumbles and pecans through a sifter to decorate. Fresh mint sprigs also look amazing on top! Delicately rich, this recipe for red velvet cake will quickly become part of your family recipe traditions!
Frequently Asked Questions
Buttermilk is a key ingredient to making this recipe flavorful and moist but if you're in a bind, you can use milk and lemon juice instead of the buttermilk.
There are many different schools of thought to this question but for this recipe, I don't sift the dry ingredients. The texture of this cake is slightly dense which helps contribute to the moisture level. If you sift the dry ingredients, the consistency will be too fluffy for this classic cake recipe.
Simply line the cupcake pans with liners and then fill each one with a little over half way full with the batter. Cook for 20 minutes and allow them to completely cool before frosting.
It can be stored at room temperature for up to 5 days. To lock in the moisture, ensure it remains covered in a cake dish.
Expert Tips
- You'll get better volume if you use room temperature eggs. Set them out on the counter 30 minutes before using.
- For a fluffier frosting, use room temperature cream cheese and butter.
- For best results, use the exact measurements this recipe calls for. Never eyeball the measurements with this recipe.
- I've had the best results when I use self rising flour. While you can use all purpose flour or cake flour, I find that they don't rise enough. I don't recommend using gluten free flour in this recipe.
- To get the top of each layer super flat, use a cake leveler to evenly cut off a thin layer of the roundness of the cake. You can also use a serrated knife. Just ensure you are cutting a thin layer.
- The thin layers, as well as any crumbs that were left over in the pan when removing the cakes, can be used to decorate the top. Take the crumbs and either break into small pieces or run the crumbs through a sifter with some of the pecan chips. This decorating tip definitely makes it look more festive!
- While 22 minutes is the perfect time to remove the pans from the oven, you can also test for doneness by inserting a toothpick. When the inserted toothpick comes out clean, it's done.
- Be sure to not overcook. Even when you remove them from the oven, they will continue to cook while cooling, which is why I remove them at 22 minutes.
More Delectable Cake Recipes
Everyone loves a good cake recipe and I have some of the best around! My Orange Vanilla Bundt Cake is another super moist dessert and is infused with orange zest! It's topped with an easy vanilla frosting and mini chocolate chips! And this Apple Cinnamon Cake With Butter Rum is seasonal, mixed with ground cinnamon, clove, and nutmeg topped with a creamy butter and spiced rum glaze. It's moist and flavorful!
I hope you love this recipe as much as I do. Make sure you leave me a comment and star rating below. I love hearing from you! And make sure you sign up for my email newsletter so you never miss a recipe from me!
Red Velvet Cake With Cream Cheese Frosting
Ingredients
Cake Ingredients
- 2½ cups self rising flour
- 1 cup buttermilk
- 1½ cups vegetable oil
- 1 teaspoon baking soda
- 1 teaspoon vanilla extract
- ¼ cup red food coloring, (two 1 oz. bottles)
- 1½ cups granulated sugar
- 1 teaspoon unsweetened cocoa powder
- 1 teaspoon white vinegar
- 2 eggs, room temperature
Frosting Ingredients
- 8 Tablespoons plus ⅓ sticks butter, room temperature
- 10 ounces cream cheese, room temperature
- 16 ounces powdered sugar
- 2 cups pecan pieces, finely chopped
Instructions
For the cake
- Preheat the oven to 350°F.
- Put all the cake mix ingredients into a large bowl and mix for about 3 minutes on medium speed. NOTE: You can use a standing mixture or handheld electric mixer.
- Spray three 9-inch round cake pans with a non-stick cooking spray. You can also cover the bottoms and the sides of the pans with butter and then coat with a light dusting of flour.
- Pour the cake batter equally into the three pans. Bake for 22 minutes.
- When done, remove the pans from the oven and let them cool on a wire rack for 10-20 minutes. From there, carefully remove the cakes from the pans and place them directly on the cooling rack until they are completely cool.
For the frosting
- Combine the butter, cream cheese, and powdered sugar in a large bowl. Start by mixing slowly on low speed, increasing to medium speed for 2-3 or until the frosting is well combined and slightly fluffy. NOTE: You can use a standing mixture or handheld electric mixer.
- If you're adding in chopped pecans, slowly add in 1 ¼ cup after 1 minute of mixing so they are well combined in the frosting.
To assemble the cake
- When the cakes have completely cooled, place one layer directly on a cake stand.
- Using a spatula or a butter knife, gently spread a layer of frosting onto the top of one of the layers.
- Put the second layer of cake on top of the iced layer and gently spread a layer of frosting like you did to the first layer.
- Put the third layer on and evenly spread the cream cheese frosting onto the top and sides of the cake.
- Once frosted, allow it to cool for an additional hour before serving. When you cut into it, you'll immediately be able to see the moisture in each slice!
Video
Notes
- You'll get better volume if you use room temperature eggs. Set them out on the counter 30 minutes before using.
- For a fluffier frosting, use room temperature cream cheese and butter.
- For best results, use the exact measurements this recipe calls for. Never eyeball the measurements.
- I've had the best results when I use self rising flour. While you can use all purpose flour or cake flour, I find that the cakes don't rise enough. I don't recommend using gluten free flour in this recipe.
- To get perfectly flat layers, use a cake leveler to evenly cut off a thin layer of the roundness of the cake. You can also use a serrated knife. Just ensure you are cutting a thin layer.
- I like to decorate the top with finely chopped pecans and small pieces of the cake. If you have any cooked crumbles left from the pans, run the mixture and pecans through a sifter and top. Fresh mint sprigs also look amazing on top!
- While 22 minutes is the perfect time to remove the pans from the oven, you can also test for doneness by inserting a toothpick. When a toothpick comes out clean, it's done.
- Be sure to not overcook. Even when you remove them from the oven, they will continue to cook while cooling, which is why I remove them at 22 minutes.
WANT TO SAVE THIS RECIPE?
Nutrition
Update Notes: This post was originally published in February 2018, but was re-published with updated step-by-step instructions, pictures, and tips in December 2021.
Sandra Flagg
I love your red velvet cake and I would love a half sheet recipe 😍😍
Sandra Flagg
Can you double the red velvet recipe for half sheet cake
Amanda Mason
Hi Sandra! I'm so glad you love my recipe!! While I've not doubled this recipe and made a sheet cake, theoretically you should be able to with no problem!! Just watch your bake time and adjust as needed. The toothpick test is vital when making it as a sheet cake. No other adjustments (other than doubling the recipe) should be needed. Let me know how it turns out!
RonaBurnett
Loved this
Amy Liu Dong
This is one of my favorite cake flavors, it is so moist and so delicious. Perfect for a any occassion.
Amanda Mason
I'm so glad you love my recipe!
RonaBurnett
Loved this recipe for red velvet cake. Just like the one I use to have. Came out perfectly.
Amanda Mason
Hi Rona!! I'm so glad to hear this!! So glad you loved it!!! Thanks for letting me know how it turned out!!
Marilyn Berkhalter
Can I use canola oil in place of vegetable oil?
Amanda Mason
You can, yes!
Jamie
Oh my, this red velvet cake looks so delicious and very mesmerizing! Love the presentation it makes this so enticing and tempting! This is making me crave!
Amanda Mason
Please let me know how it turns out for you!!
Ann
I love red velvet cake - my favorite! This would be great to make for Valentine's Day! The perfect color!
Amanda Mason
Im so glad you loved it!
Sean
Red velvet cake is one of my favorites and this cake was delicious. My friends have already said this is going to be their birthday cake.
Amanda Mason
It's perfect for a birthday cake, as well!!
C. Everett
As a first timer this recipe was easy to follow. As for the taste 10 out of 10! Definite crowd pleaser and it was still moist 4 days later!
Amanda Mason
I am SO glad to hear this! This is one of my most loved recipes and I'm so glad you enjoyed it!
Amy
This red velvet cake recipe was so delicious! It was definitely the highlight of our holiday meal, thank you!
Amanda Mason
I am so glad to hear it turned out so well and that everyone loved it!!
Amy Liu Dong
Oh my gosh, this is so pretty and looks really delicious.
I am so excited to make this for Christmas!