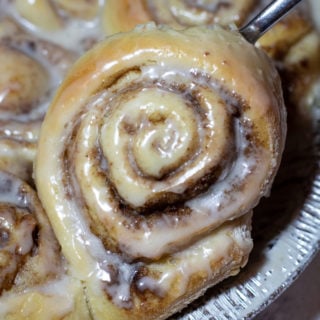
If you love homemade cinnamon rolls, then you have to try my version of these fluffy and absolutely delicious and soft cinnamon rolls. What makes this recipe different is that this is a southern recipe that's been in my family for decades. Topped with a light vanilla icing, these are perfect for breakfast or dessert!
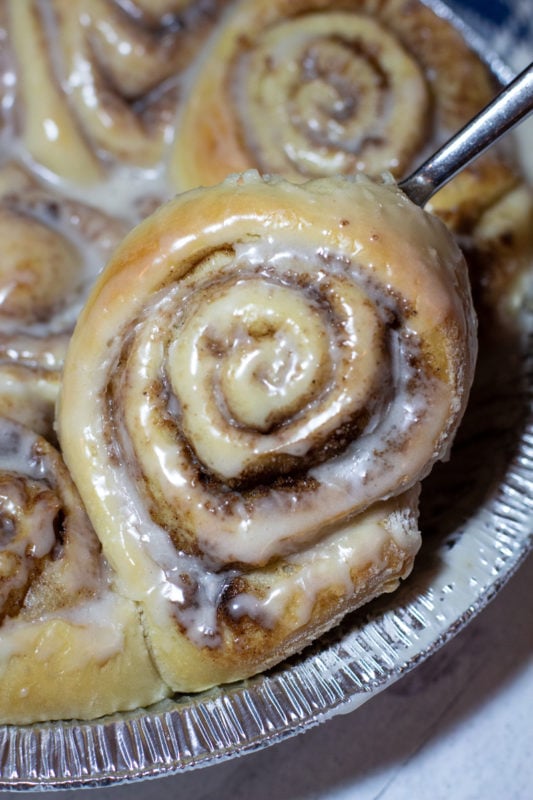
Nothing beats eating fluffy and soft cinnamon rolls for breakfast. My French Toast recipe comes really close, but these homemade cinnamon rolls are fantastic. And I'll tell you why... this recipe has been in my family for decades. It's a true southern classic.
This is my aunt Sondra's recipe and she's been making these for me since I was a little girl. My family and I love these so much that when my dad goes back to visit family in Tennessee (about 2 times a year), aunt Sondra makes me 2-3 pans and sends them back with my dad as a carry on during his flight. That's how much we love them.
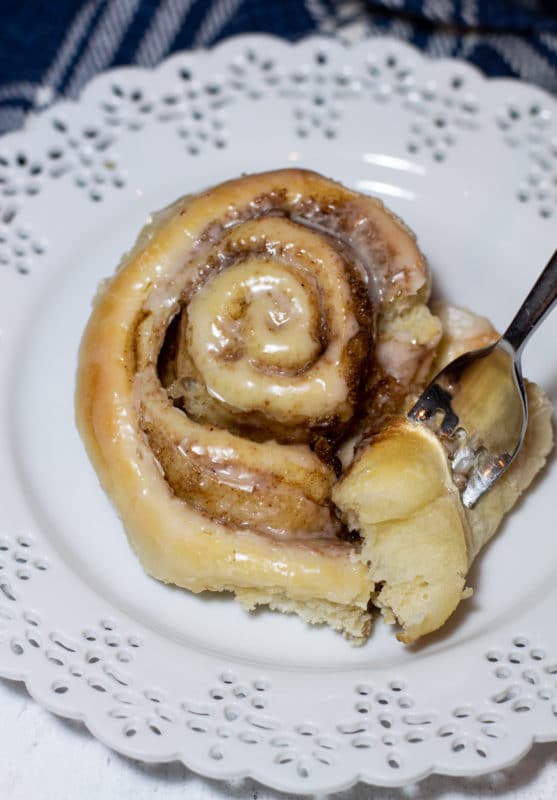
I finally got to the point where I asked my aunt Sondra for the recipe so I could start making these for myself whenever I wanted. And she graciously shared her deeply rooted family recipe with me. I held onto this recipe for a long time but when a local magazine asked if I would publish the recipe, I asked Sondra her thoughts and she said she would be honored to have her recipe published.
And so I published it. And it was a huge hit!
Now, I'm sharing it with you.
ℹ️ Why This Recipe Works
- This is a quick yeast cinnamon roll recipe which means you don't have to wait overnight for the dough to rise.
- The cinnamon roll filling is simplistic and consists of only 2 ingredients, cinnamon and sugar.
- These cinnamon rolls will last 4-5 days and can be stored on the counter, in the refrigerator, and can even be frozen!
Tools You'll Need to Make These Cinnamon Rolls
- Standing Mixer: To make your life way easier, I highly recommend using a standing mixer. I use my KitchenAid when making these cinnamon buns mainly for the hook feature. While you can knead the dough by hand, the dough hook attachment does a phenomenal job of turning and folding the dough in the bowl.
- Rolling Pin - You're also going to need a rolling pin to roll out the cinnamon roll dough.
- Serrated Knife - A serrated knife is also useful to cut the dough after it's been rolled. You could also use dental floss here, as well.
- Large Mixing Bowl - The dough will quickly rise and you'll need a large container to allow for it, while keeping a firm round shape to the dough.
- Pans - For this recipe, I use 9-inch circular pan so the cinnamon rolls can be compressed together tightly. This helps them to bake more consistently.
👩🍳 KitchenAid Mixer Settings
If you've ever wondered which speed setting you should use when, you're not alone. Below is a guideline to help you navigate which speed setting can be used for best results.
- Slow speed for starting the machine, as well as combining dry ingredients.
- 2 Speed Level - (low) for slow mixing a heavy batter or for cutting in butter.
- 4 Speed Level - (medium-low) for mixing cookie dough or beating eggs.
- 6 Speed Level - (medium) for creaming butter and beating frostings.
- 8 Speed Level - (medium-high) for fast beating or whipping to make meringues and whipped cream.
- 10 Speed Level - (high) for fast whipping of egg whites or cream.
📋 Ingredients You'll Need
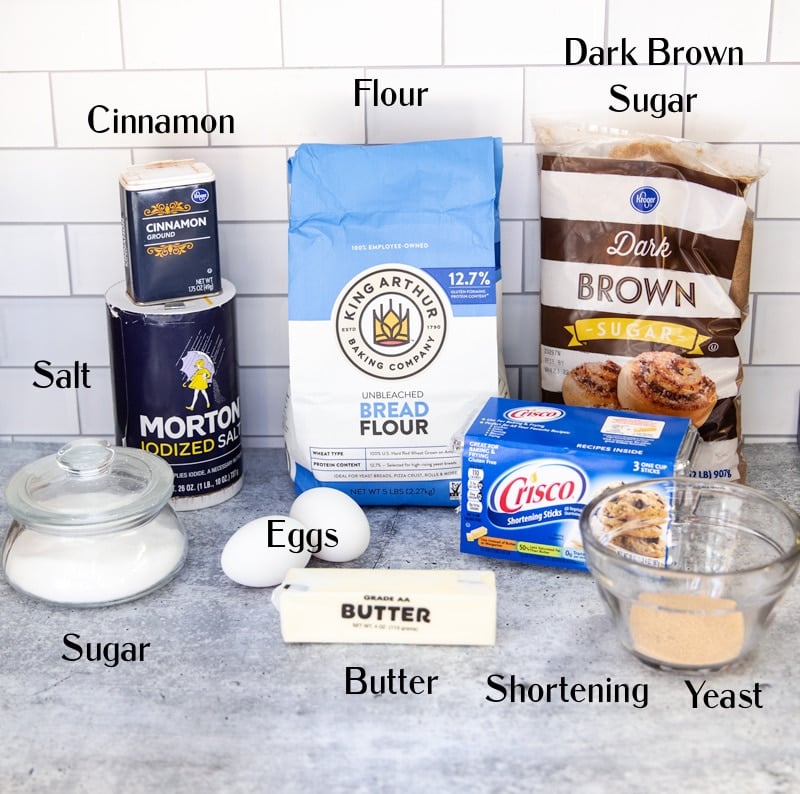
Below are the ingredients you'll need for making these easy homemade cinnamon rolls from scratch.
When making these easy cinnamon rolls, I recommend using bread flour. Bread flour has a higher protein level than unbleached all-purpose flour which will produce more gluten. Gluten helps lighten the texture making these cinnamon rolls really soft and chewy. King Arthur is a reputable brand of bread flour that I've had great success with when baking breads.
There's a lot of choices when it comes to yeast and it's important to know the difference between each type of yeast. I prefer using Fleischmann's RapidRise yeast when making this recipe due to convenience. And, it's what my aunt Sondra uses. Just keep in mind that with a rapid rise version, there will be a stronger yeast flavor than you'll get from active dry.
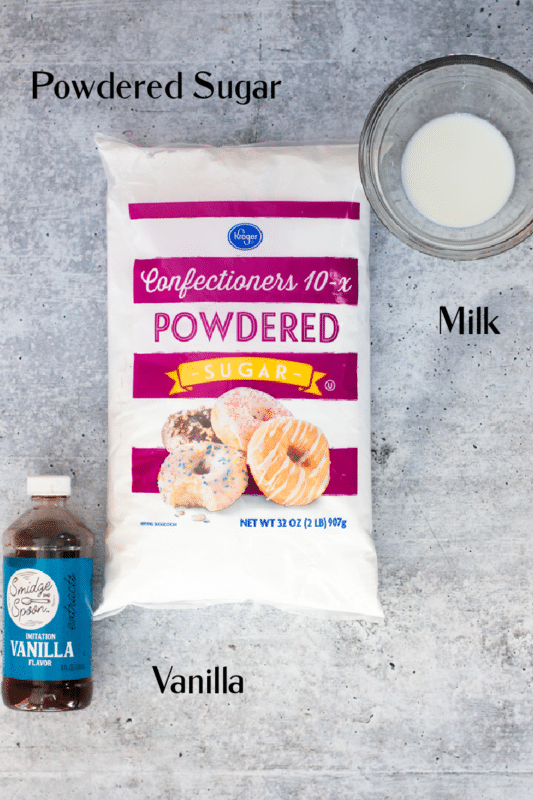
The ingredients for the cinnamon roll icing are very basic. All that's needed for a light glaze is 3 simple ingredients.
Step-by-Step Recipe Instructions
I've outline detailed steps for how to make these tasty cinnamon rolls, along with process pictures so you know what to expect in each step.
📖 Preparing the Yeast
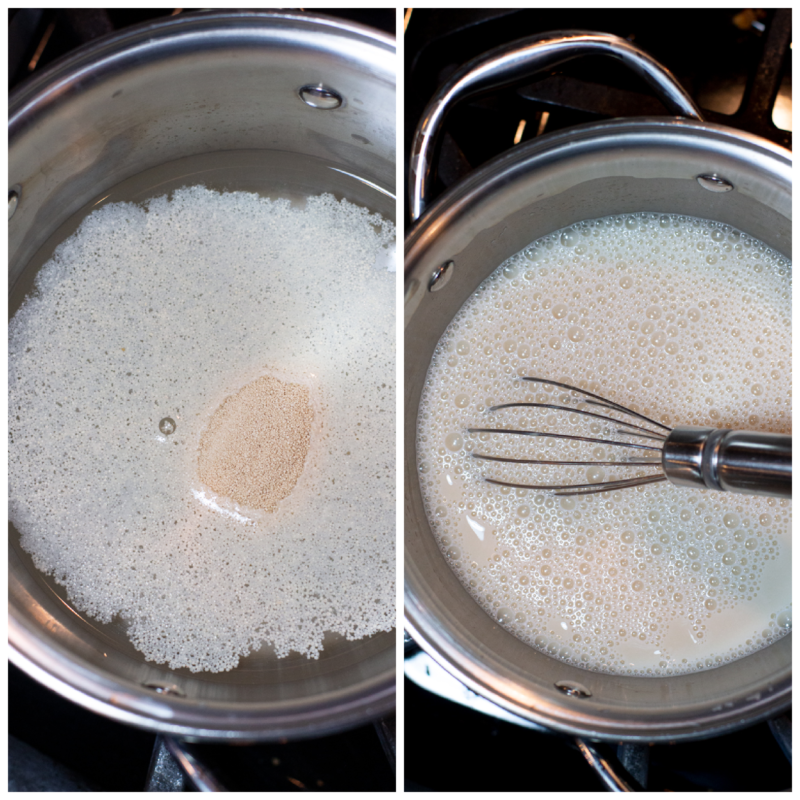
Start out by taking 1 cup of water and putting it in a small pot on the stovetop. Turn the burner to low so the water can become slightly warm. Expert Tip: You don't want the water to be hot. To test the water temperature, I stick my finger in the water a couple minutes after the burner has been lit to make sure it's warm and not hot.
Once the water is warm, take all 3 of the yeast packets and dissolve them in the warm water. Turn your burner off at this point. Important Note: The yeast should begin foam when added to the water. The foaming indicates that the yeast is alive. Lightly hand whisk until the yeast is dissolved and the clumps are gone. Turn the burner off and set aside.
Creating the Dough
Attach the paddle attachment to the standing mixer. Add ½ cup of sugar, 1.5 teaspoons of salt, and ¾ cups of Crisco shortening to the bowl and mix on medium-low speed until well combined, about 2-3 minutes. Expert Tip: Do not melt or soften your shortening. You want it firm at this point.
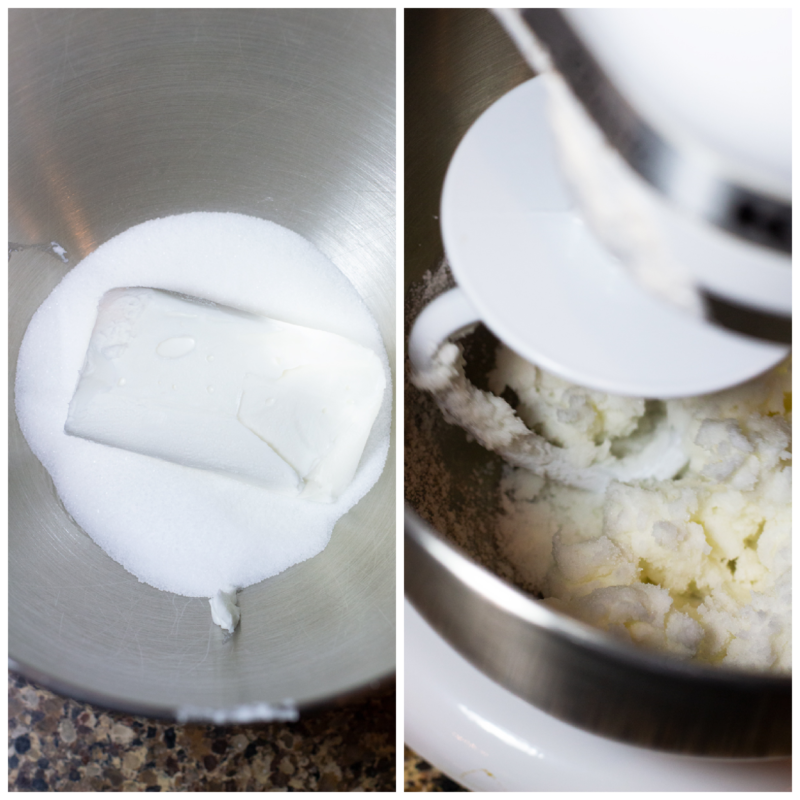
From there, bring 1 cup of water to a boil in a different pot than the one your yeast is in.
Once boiling, take the water and pour it into the standing mixing bowl. Mix the contents of the bowl on medium-low speed until slightly cooled. Notice that the shortening is starting to melt at this point. (that's a good thing)!
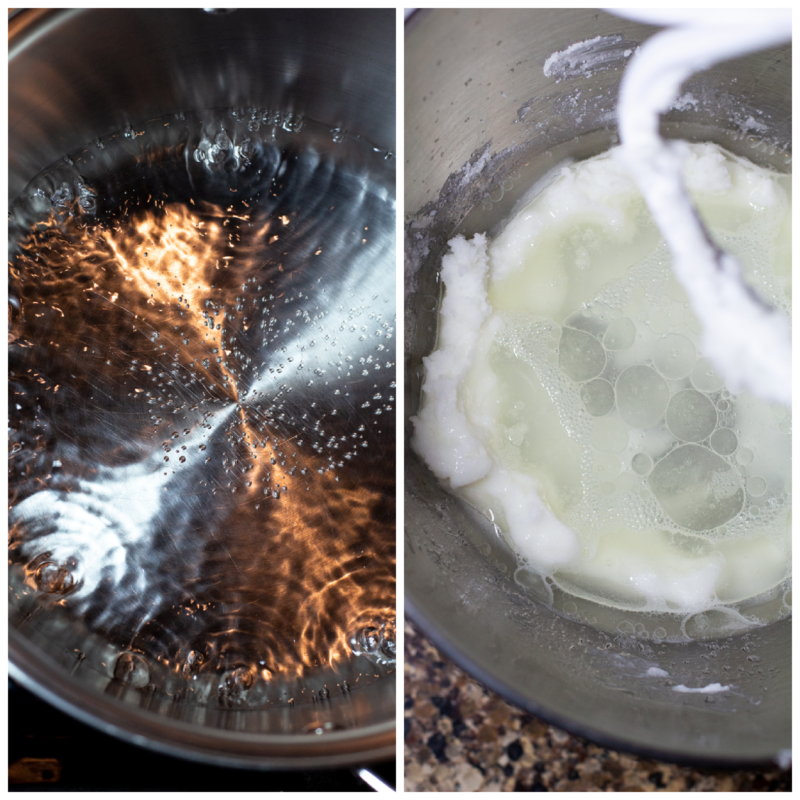
Once the mixture has slightly cooled, mix in 2 eggs on medium speed for about 1 to 2 minutes until well combined. Turn off the standing mixer, remove the paddle attachment and securely attach the hook attachment.
Mixing the Dough
You are now ready to mix in 3 cups of flour. Expert Tip: When making homemade cinnamon rolls, you'll need to add 1 cup of flour at a time and do it slowly. It took about a minute for me to mix in the first cup, then I would let the mixer combine it for another minute. I'd then repeat this process with another cup of flour. Let the mixer take it's time and mix it together nice and slow. Finally, I add in the 3rd cup...again adding the flour slowly and letting the mixer work the dough.
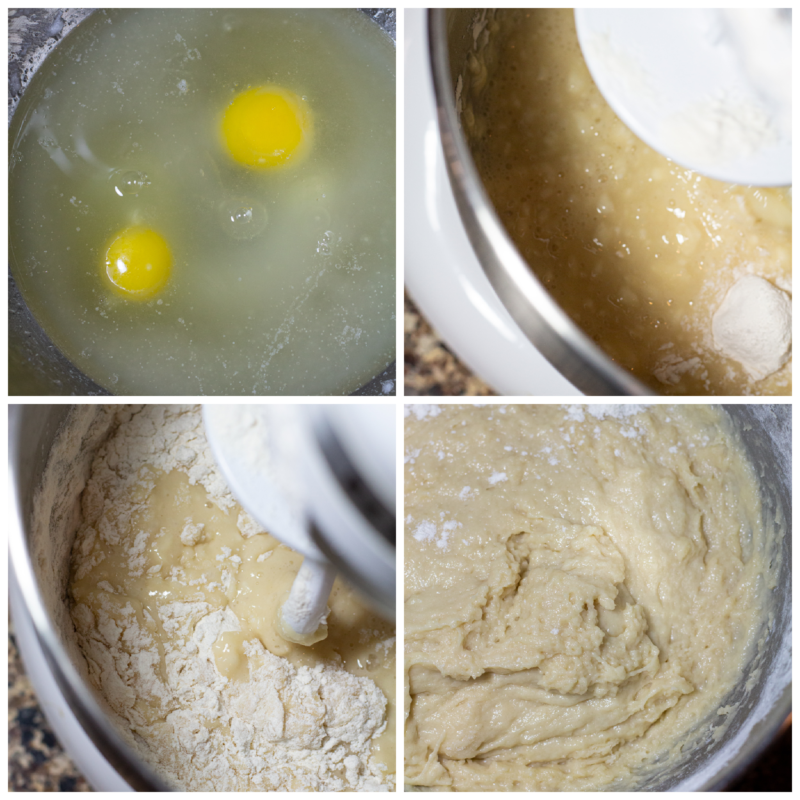
Once the flour has been mixed, slowly add in the yeast that has dissolved in the water. The dough will be very liquidy at this point of the process.
With the dough hook still attached and the mixer speed setting on a 2, gradually mix in 3 more cups of flour. Important Note: You may not need all 3 cups of flour. What you are looking for here is for the dough to form a ball around the hook and pull away from the sides and the bottom of the mixing bowl. What I typically do is slowly add in 1 cup of flour at a time, very slowly. I typically get to about 2 ½ to 2 ¾ cups of flour before my dough is pulling away nicely. But you will have to eyeball this part.
WANT TO SAVE THIS RECIPE?
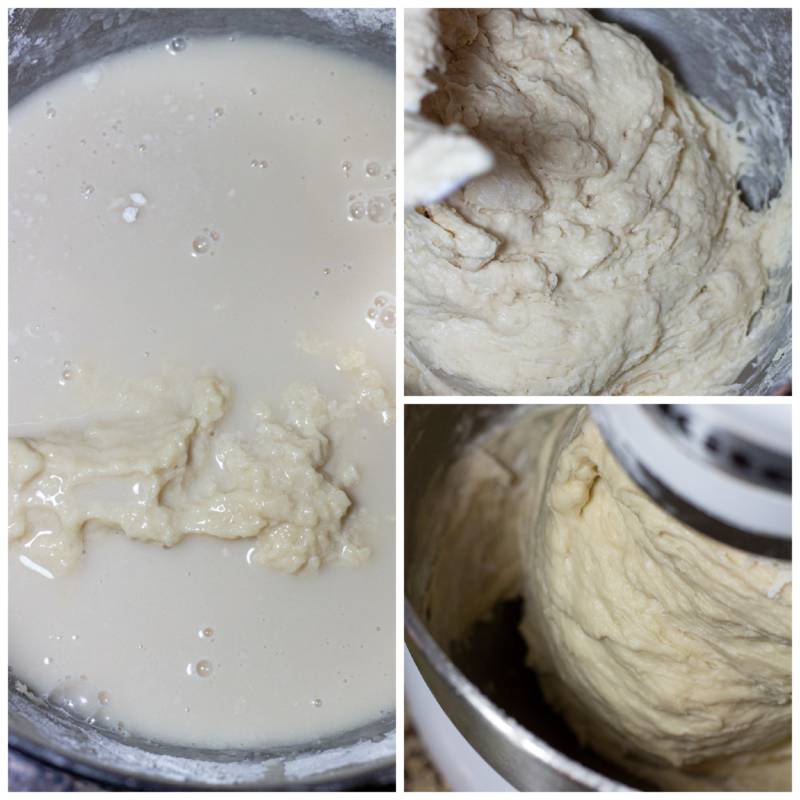
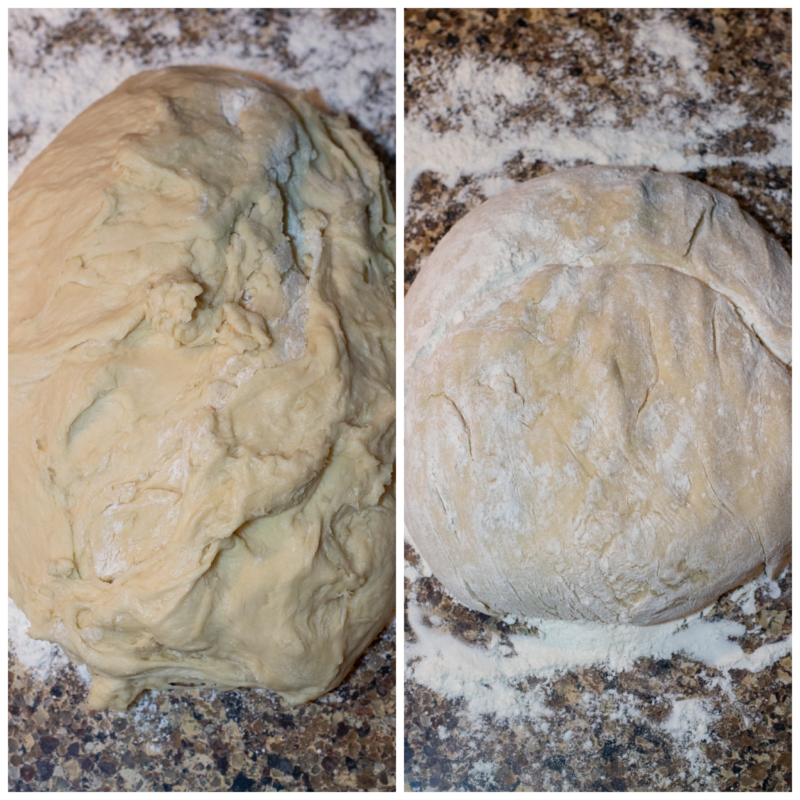
While that is mixing, and it takes some time, you need to prepare an area on your counter where you can flour the surface. When the dough has pulled away, you will need to turn the dough out onto the lightly floured board/counter.
Take your time here and do this slowly. I always keep my dough in a ball when transporting it off the hook to my counter. Knead in additional flour as needed until the dough is no longer tacky.
Rising of the Dough
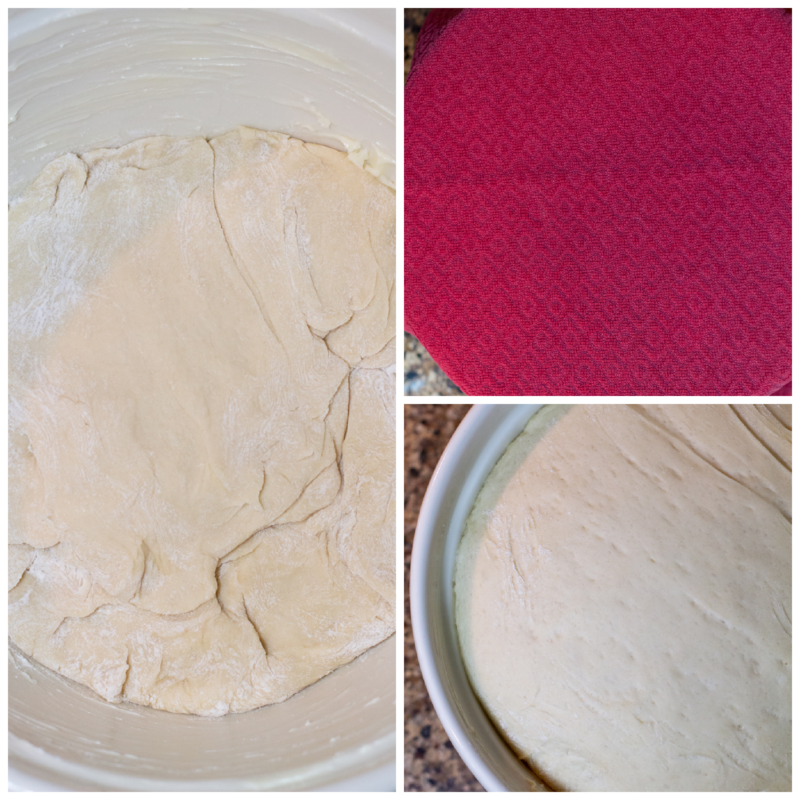
Place the ball of dough in a large greased bowl, cover with a cloth and place in a warm (NOT HOT) place until the dough doubles in bulk. I use unsalted butter to grease the bowl. Expert Tip: I always place my bowl on my stovetop since it's still warm from boiling the water. Make sure the bowl you use won't melt.
Rolling the Dough
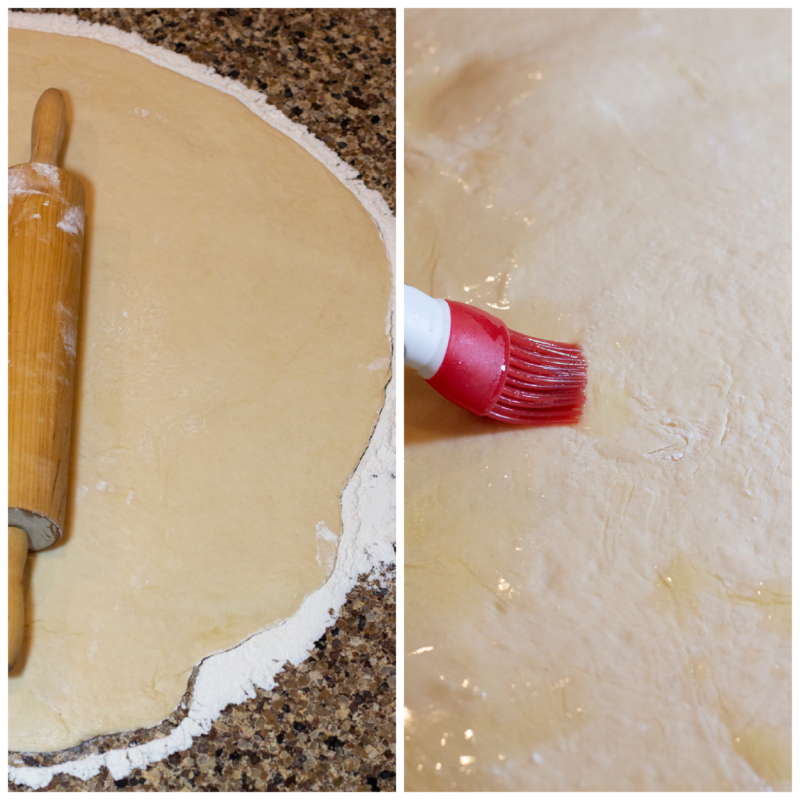
From there, remove the risen dough from the bowl and place it on a lightly floured counter top. Using a rolling pin, roll the dough into a large rectangle, approximately 12x18 inches.
Melt about 2-3 tablespoons of unsalted butter in a bowl and then lightly baste the top of the rolled dough with the butter until it's completely covered.
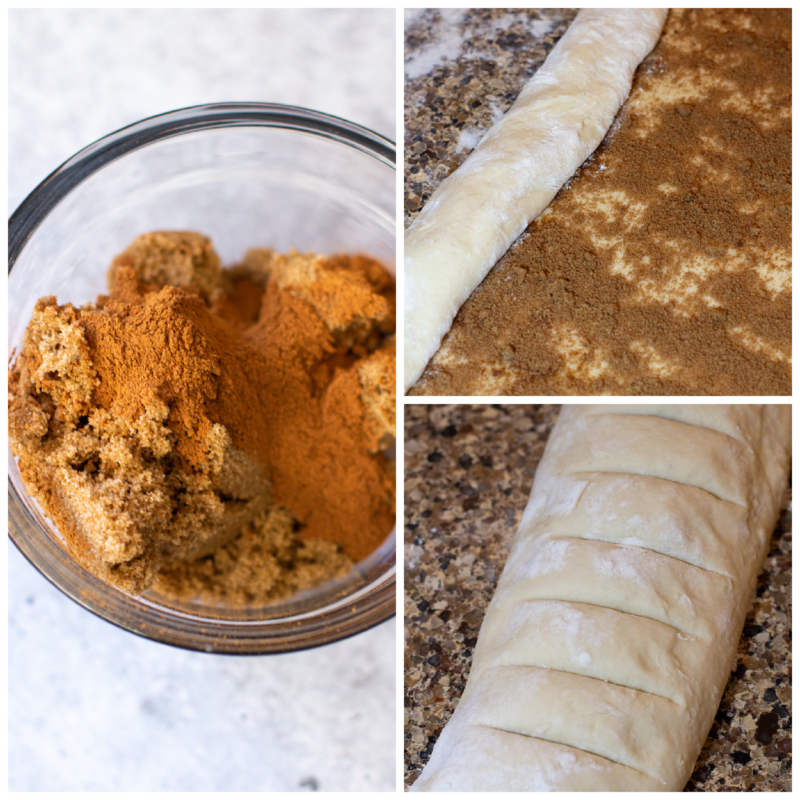
In a separate bowl, mix together with a whisk or a fork ¾ cups of the packed brown sugar and 1 tablespoon of cinnamon. Using your hand, sprinkle the brown sugar mixture evenly on top of the dough where you just brushed the butter. Don't spread it out perfectly even; just sprinkle it evenly onto the dough.
Next, tightly roll up the dough, in the form of a jelly roll, and pinch the ends together. The length of the dough roll should be about 18" long. Using a serrated knife, cut the cinnamon roll dough into 14 or 15 equal slices, approximately 1 ¼ " wide.
Using unsalted butter, heavily butter the bottoms and the sides of three 9-inch metal round cake pans. Place the homemade cinnamon roll slices side-by-side in the cake pans, fitting 6-7 rolls in each pan.
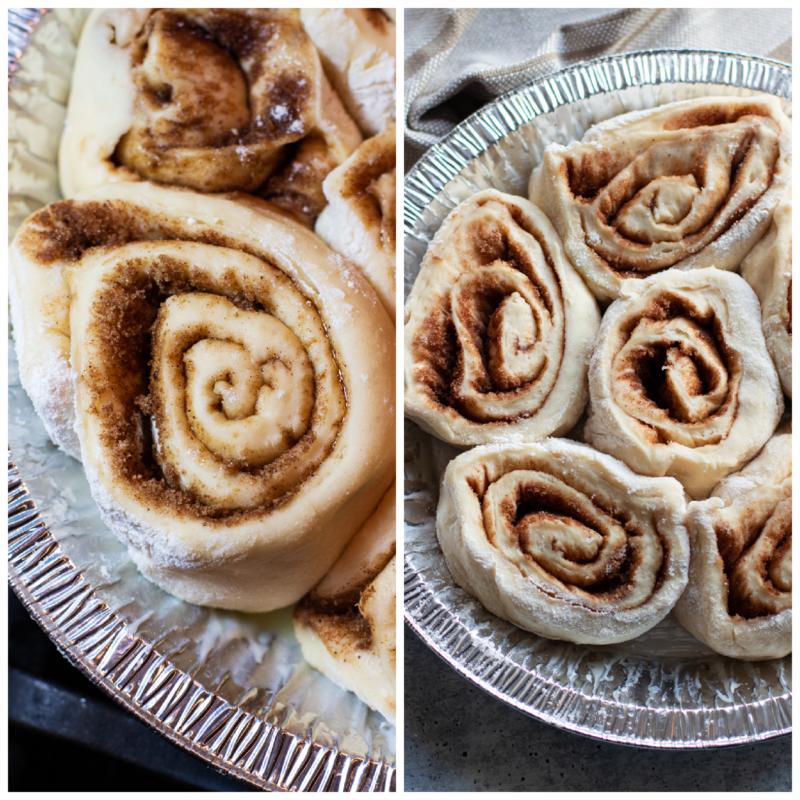
Allow the cinnamon rolls to rise a bit more, about 45 minutes, until they have doubled in size. Expert Tip: There's no need to cover the rolls at this point. Again, I place the pans on the stovetop to rise during this step of the process.
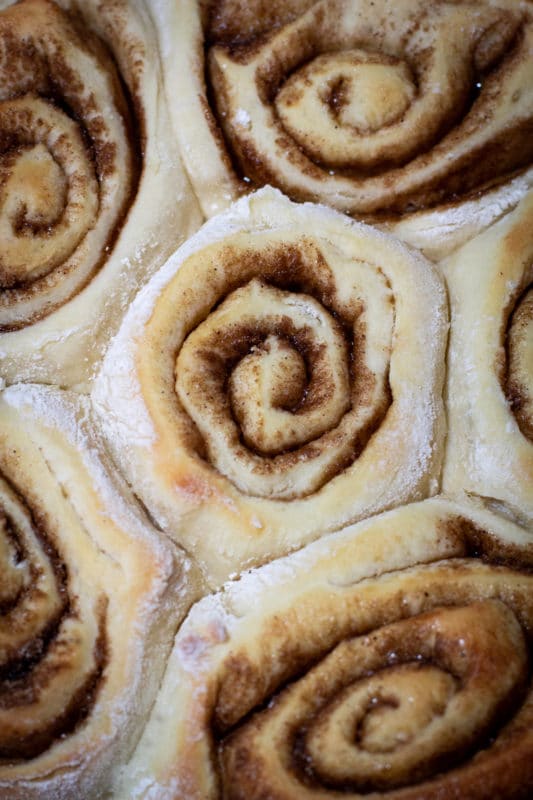
Baking Cinnamon Rolls
Once the rolls have risen, preheat the oven to 350°F and bake for 13-15 minutes, checking after 10 minutes. Bake until the tops are golden brown, ensuring the side don't become too dark brown in color.
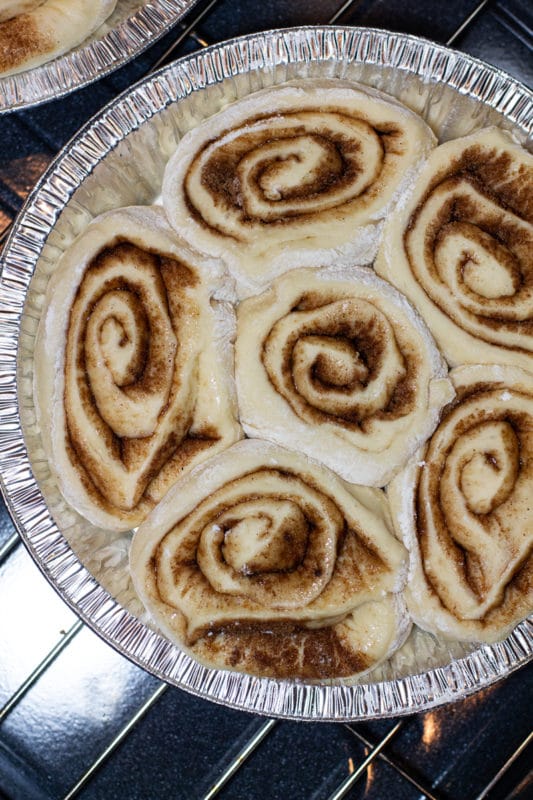
When the rolls are done, pull them out of the oven and place the pans on a cooling rack.
🍽️ How to Make Cinnamon Roll Icing
Using the standing mixer with the wire whisk attached, slowly combine 2 cups of powdered sugar and 1 teaspoon vanilla extract.
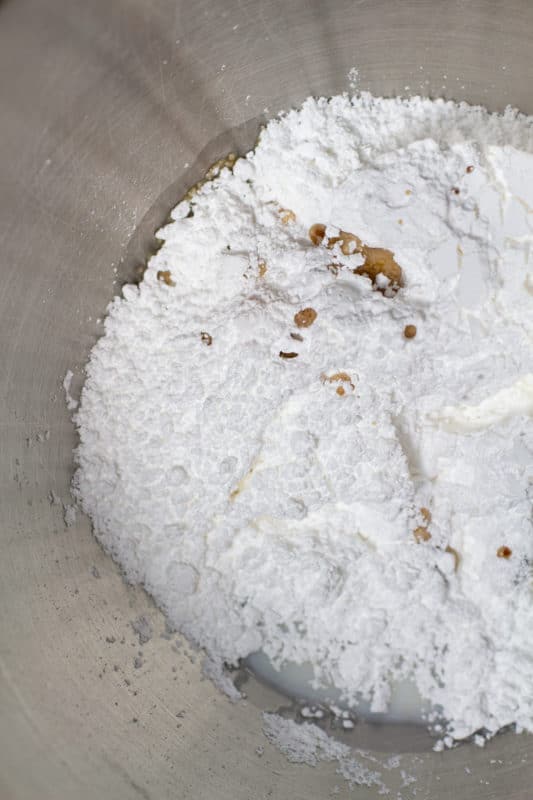
Add in just enough milk (typically 1-2 tablespoons of milk) so that the consistency of the glaze starts to liquify, yet slightly thicken.
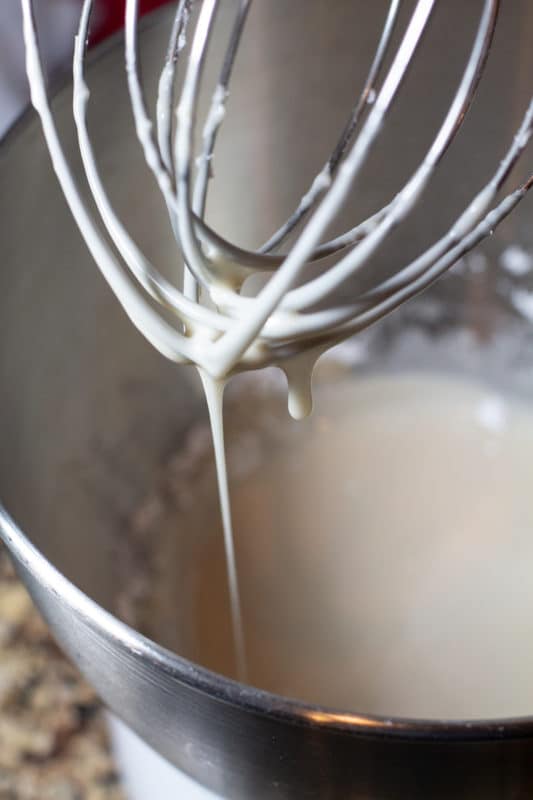
Once the glaze has a nice consistency and is no longer thin, slowly pour the mixture over the cinnamon rolls in each pan.
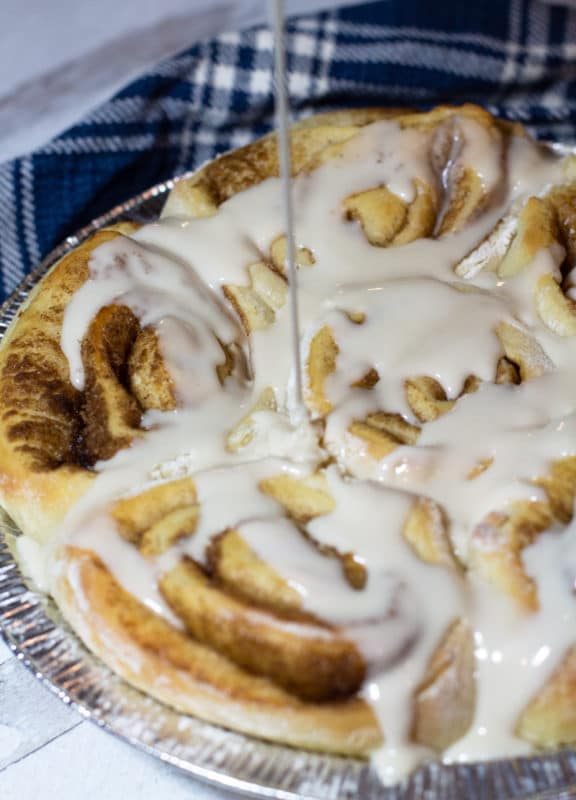
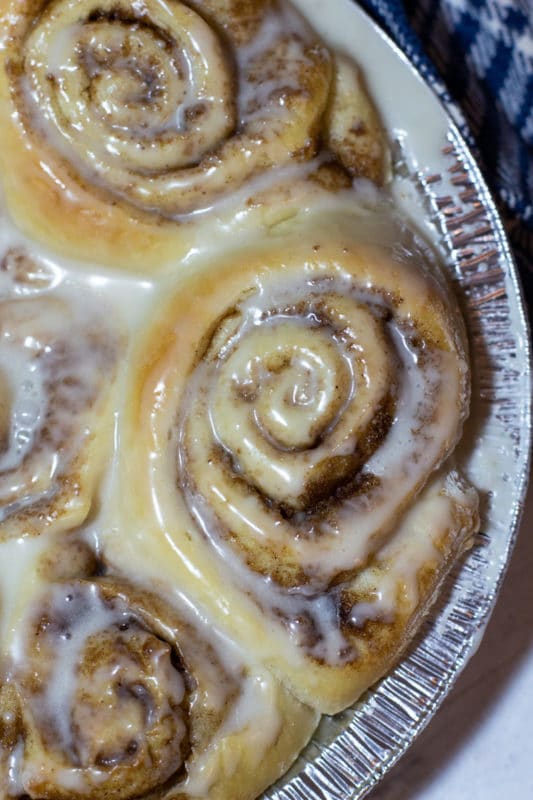
When the glaze has started to set, the cinnamon rolls are ready to eat. Allow them to completely cool before covering each pan with plastic wrap.
💭 Expert Tips and FAQs
- It's really important to use yeast that is still alive so that these cinnamon rolls come together as expected. I recommend using yeast within 4 months of purchase.
- To check and see if your yeast is still alive, you'll need to proof it.
- I recommend using unsalted butter when greasing the pans and basting the dough so that you can control the level of saltiness.
- Do you like sticky buns? If so, just add ¾ cups of chopped pecans to the cinnamon and sugar mixture. Sometimes they are also called cinnamon buns because they're made with pecans.
- If the icing is too thin, add more powdered sugar. If it's too thick, add extra milk.
- These make for the best gifts for the holiday season! I typically make 2 batches and hand deliver them to my kiddos teachers to enjoy over break!
These are the best homemade cinnamon rolls. We're talking comfort food at its finest! And I just know you're going to enjoy them!
😊 More Breakfast Recipes You'll Love
If you're looking for some other breakfast bread recipes, then check out my Lemon Blueberry Bread. It's moist and topped with a simple lemon glaze that tastes like blueberry cake! These Acorn Squash Muffins are also delectable, subtly sweet and full of cinnamon spice!
Homemade Cinnamon Rolls
Ingredients
For The Cinnamon Rolls
- 3 packets yeast (or 2 tablespoons bulk)
- 1 cup warm water
- ½ cup granulated sugar
- 1.5 teaspoons salt
- ¾ cup Crisco shortening
- 1 cup boiling water
- 6 cups bread flour
- ¾ cup dark brown sugar, packed
- 1 tablespoon ground cinnamon
- 4 tablespoons unsalted butter
For The Icing
- 2 cups powdered sugar
- 1 teaspoon vanilla extract
- 1-2 tablespoons milk
Instructions
To Make The Cinnamon Rolls
- Start out by taking 1 cup of water and putting it in a small pot on the stovetop. Turn the burner to low so the water can become slightly warm. Expert Tip: You don't want the water to be hot. To test the water temperature, I stick my finger in the water a couple minutes after the burner has been lit to make sure it's warm and not hot.
- Once the water is warm, take all 3 of the yeast packets and dissolve them in the warm water. Turn your burner off at this point. Important Note: The yeast should begin foam when added to the water. The foaming indicates that the yeast is alive. Lightly hand whisk until the yeast is dissolved and the clumps are gone. Set aside.
- Attach the paddle attachment to the standing mixer. Add ½ cup of sugar, 1.5 teaspoons of salt, and ¾ cups of Crisco shortening to the bowl and mix on medium-low speed until well combined, about 2-3 minutes. Expert Tip: Do not melt or soften your shortening. You want it firm at this point.
- From there, bring 1 cup of water to a boil in a different pot than the one your yeast is in.
- Once boiling, take the water and pour it into the standing mixing bowl. Mix the contents of the bowl on medium low speed until slightly cooled. Notice that the shortening is starting to melt at this point. (that's a good thing)!
- Once the mixture has slightly cooled, mix in 2 eggs on medium speed for about 1 to 2 minutes until well combined. Turn off the standing mixer, remove the paddle attachment and securely attach the hook attachment.
- You are now ready to mix in 3 cups of flour. Expert Tip: When making homemade cinnamon rolls, you'll need to add 1 cup of flour at a time and do it slowly. It took about a minute for me to mix in the first cup, then I would let the mixer mix it up for another minute. I'd then repeat this process with another cup of flour. Let the mixer take it's time and mix it together nice and slow. Finally, I add in the 3rd cup...again adding the flour slowly and letting the mixer work the dough.
- Once the flour has been mixed, slowly add in the yeast that has dissolved in the water. The dough will be very liquidy at this point of the process.
- With the dough hook still attached and the mixer speed setting on a 2, gradually mix in 3 more cups of flour. Important Note: You may not need all 3 cups of flour. What you are looking for here is for the dough to form a ball around the hook and pull away from the sides and the bottom of the mixing bowl. What I typically do is slowly add in 1 cup of flour at a time, very slowly. I typically get to about 2 ½ to 2 ¾ cups of flour before my dough is pulling away nicely. But you will have to eyeball this part.
- While that is mixing, and it takes some time, you need to prepare an area on your counter where you can flour the surface. When the dough has pulled away, you will need to turn the dough out onto the lightly floured board/counter.
- Take your time here and do this slowly. I always keep my dough in a ball when transporting it off the hook to my counter. Knead in additional flour as needed until the dough is no longer tacky.
- Place the ball of dough in a large greased bowl, cover with a cloth and place in a warm (NOT HOT) place until the dough doubles in bulk. I use unsalted butter to grease the bowl. Expert Tip: I always place my bowl on my stovetop since it's still warm from boiling the water. Make sure the bowl you use won't melt.
- From there, remove the risen dough from the bowl and place it on a lightly floured counter top. Using a rolling pin, roll the dough into a large rectangle, approximately 12x18 inches.
- Melt about 2-3 tablespoons of unsalted butter in a bowl and then lightly baste the top of the rolled dough with the butter until it's completely covered.
- In a separate bowl, mix together with a whisk or a fork ¾ cups of the packed brown sugar and 1 tablespoon of cinnamon. Using your hand, sprinkle the brown sugar mixture evenly on top of the dough where you just brushed the butter. Don't spread it out perfectly even; just sprinkle it evenly onto the dough.
- Next, tightly roll up the dough, in the form of a jelly roll, and pinch the ends together. The length of the dough roll should about 18" long. Using a serrated knife, cut the cinnamon roll dough into 14 or 15 equal slices, approximately 1 ¼ " wide.
- Using unsalted butter, heavily butter the bottoms and the sides of three 9-inch metal round cake pans. Place the homemade cinnamon roll slices side-by-side in the cake pans, fitting 6-7 rolls in each pan.
- Allow the cinnamon rolls to rise a bit more, about 45 minutes, until they have doubled in size. Expert Tip: There's no need to cover the rolls at this point. Again, I place the pans on the stovetop to rise during this step of the process.
- Once the rolls have risen, preheat the oven to 350°F and bake for 13-15 minutes, checking after 10 minutes. Bake until the tops are golden brown, ensuring the side don't become too dark brown in color.
- When the rolls are done, pull them out of the oven and place the pans on a cooling rack.
How to Make Cinnamon Roll Icing
- Using the standing mixer with the wire whisk attached, slowly combine 2 cups of powdered sugar and 1 teaspoon vanilla extract.
- Add in just enough milk (typically 1-2 tablespoons of milk) so that the consistency of the glaze starts to liquify, yet slightly thicken.
- Once the glaze has a nice consistency and is no longer thin, slowly pour the mixture over the cinnamon rolls in each pan.
- When the glaze has started to set, the cinnamon rolls are ready to eat. Allow them to completely cool before covering each pan with plastic wrap.
Notes
- It's really important to use yeast that is still alive so that these cinnamon rolls come together as expected. I recommend using yeast within 4 months of purchase.
- To check and see if your yeast is still alive, you'll need to proof it.
- I recommend using unsalted butter when greasing the pans and basting the dough so that you can control the level of saltiness.
- Do you like sticky buns? If so, just add ¾ cups of chopped pecans to the cinnamon and sugar mixture. Sometimes they are also called cinnamon buns because they're made with pecans.
- If the icing is too thin, add more powdered sugar. If it's too thick, add extra milk.
- These make for the best gifts for the holiday season! I typically make 2 batches and hand deliver them to my kiddos teachers to enjoy over break!
WANT TO SAVE THIS RECIPE?
Nutrition
Update Notes: This post was originally published in July 2015, but was re-published with updated instructions and pictures in January 2021.



Jen
Gave this recipe a try and they came out so well! These cinnamon rolls were delicious right out of the oven
Amanda Mason
So glad they turned out so good!!!!
Kristen
Can these be prepped the night before then put in the oven in the morning?
Amanda Mason
I have never tried preparing these the night before as my aunt taught me to make these as written. My worry about these sitting overnight is they will continue to rise and be huge in size, which may skew the cooking time. You could try it, but I worry they will just be huge in size and not turn out right.
Natalia
These are great! I used almond milk instead of cows milk. I used rapid rise yeast as I was in a hurry, it worked out perfectly! Light and fluffy as air!
Lisa
I love soft and pillowy cinnamon rolls. And perfect for Sunday brunch!
Amanda Mason
I'm so glad they turned out soft and fluffy for you!
Veronika
Cinnamon rolls are a classic for the holidays and we always try a new recipe every year. We really enjoyed your version!
Amanda Mason
I'm happy that you all enjoyed them so much!
Elaine
I love cinnamon rolls so much! Fabulous recipe that is so easy to follow - thank you!
Amanda Mason
So glad to hear this, Elaine!!
Jenny
The only thing better than a sweet cinnamon roll is a homemade sweet cinnamon roll. This recipe is calling me! Cheers.
Amanda Mason
Enjoy it!