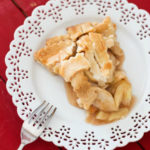


This is the best apple pie recipe and it is so easy to make! A crisp, buttery, and flaky crust covers a lightly spiced apple pie filling. Bubbly and delicious, this is the best homemade apple pie you're guaranteed to love!
Jump to:
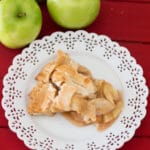
Homemade Apple Pie is a classic recipe that everyone loves! Every Christmas Eve, I make these 7 Layer Bars and these Frozen Caramel Silk Pecan Pie and this apple pie recipe. My husband LOVES this dessert so much that he says it's the best apple pie he's ever tasted. Learning how to make apple pie has never been so easy!
ℹ️ Why This Recipe Works
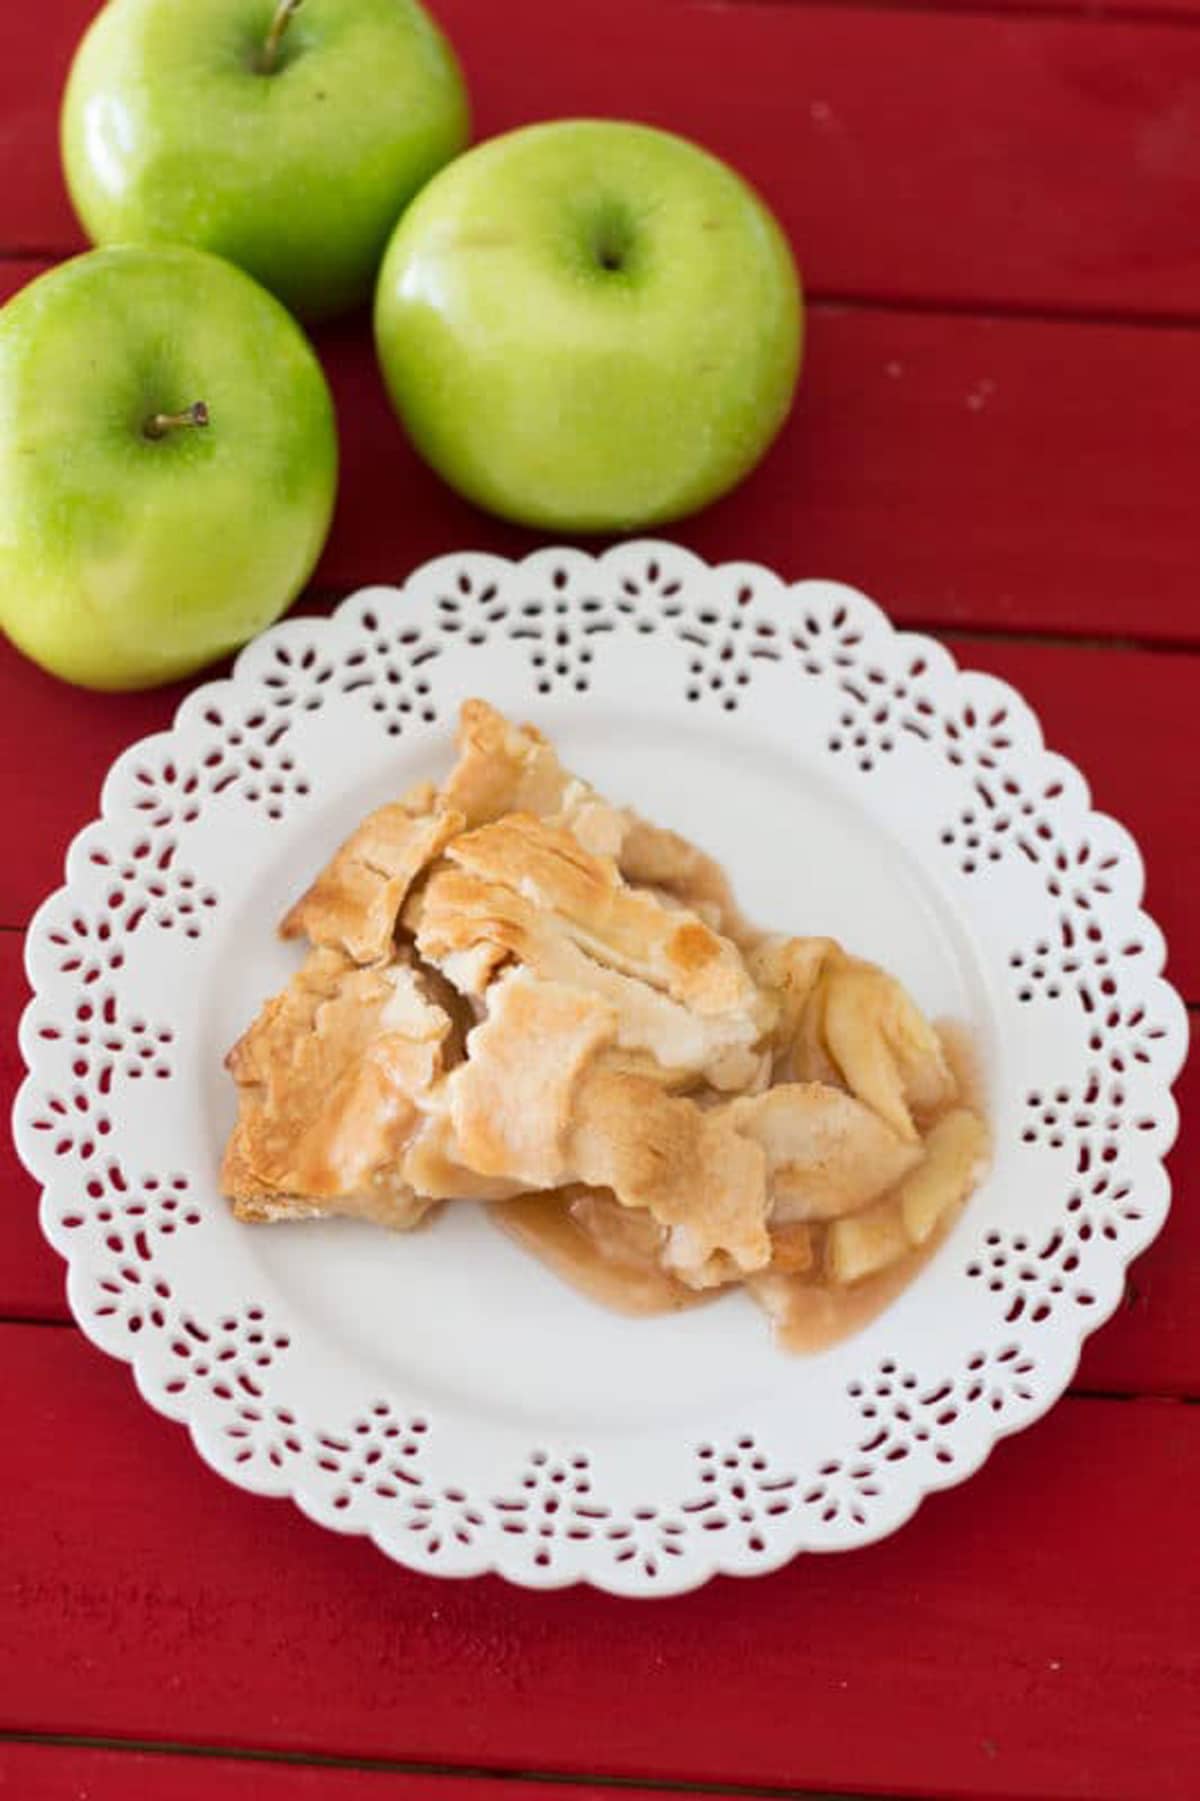
1. The type of apples I use are the key to success. The best apples for apple pie are granny smith apples. The tartness pairs amazingly well with the cinnamon and nutmeg I use in this recipe.
2. The crust recipe is easy to make. Plus, you can use a store bought version if you don't want to make a homemade crust.
3. I don't pre cook the apples. The pie filling ingredients cook at the same time the crust does which results in an a bubbly and delicious homemade apple pie!
🍎 Apples For Pie
The best apples for apple pie are granny smith apples. A lot of apple pie recipes out there use different varieties of apples. Personally, I only use granny smith apples because the tartness blends perfectly with the amount of sugar, flour, nutmeg, and cinnamon this recipe calls for.
This homemade apple pie recipe is the perfect blend of both sweet and tart. If you do choose to use different apples, here's a couple of varieties I recommend.
- Granny Smith - Tart, crisp and fail-proof for an apple pie recipe.
- Jazz - Crisp texture, juicy, and sweet.
- Honeycrisp - Extremely crispy and is great to use when baking.
- Pink Lady - Both sweet and tart.
🛒 Ingredients You'll Need
If you're making the crust from scratch, you'll need flour, salt, shortening, and water. Lard, such as Crisco, is great to use when making homemade crust recipes because it produces an extremely flaky crust. This pie crust recipe yields a double crust, one to cover the pie dish and the other for the top crust. This crust is delicious and incredibly easy to make!
For the filling, you'll need sliced apples, flour, sugar, cinnamon, and nutmeg. Fresh lemon juice is optional and can be squeezed on top of the apples to not only prevent browning, but it also help balance the sweetness of the sugar and tartness of the granny smith apples.

📋 Step By Step Recipe Instructions
Begin by making the crust. If you're using a store bought crust and dough, you can skip this step. For the top crust, you can opt to completely cover the pie filling with the dough or you can use a mold to perfectly place the crust. Another option is to layer on a lattice top crust.
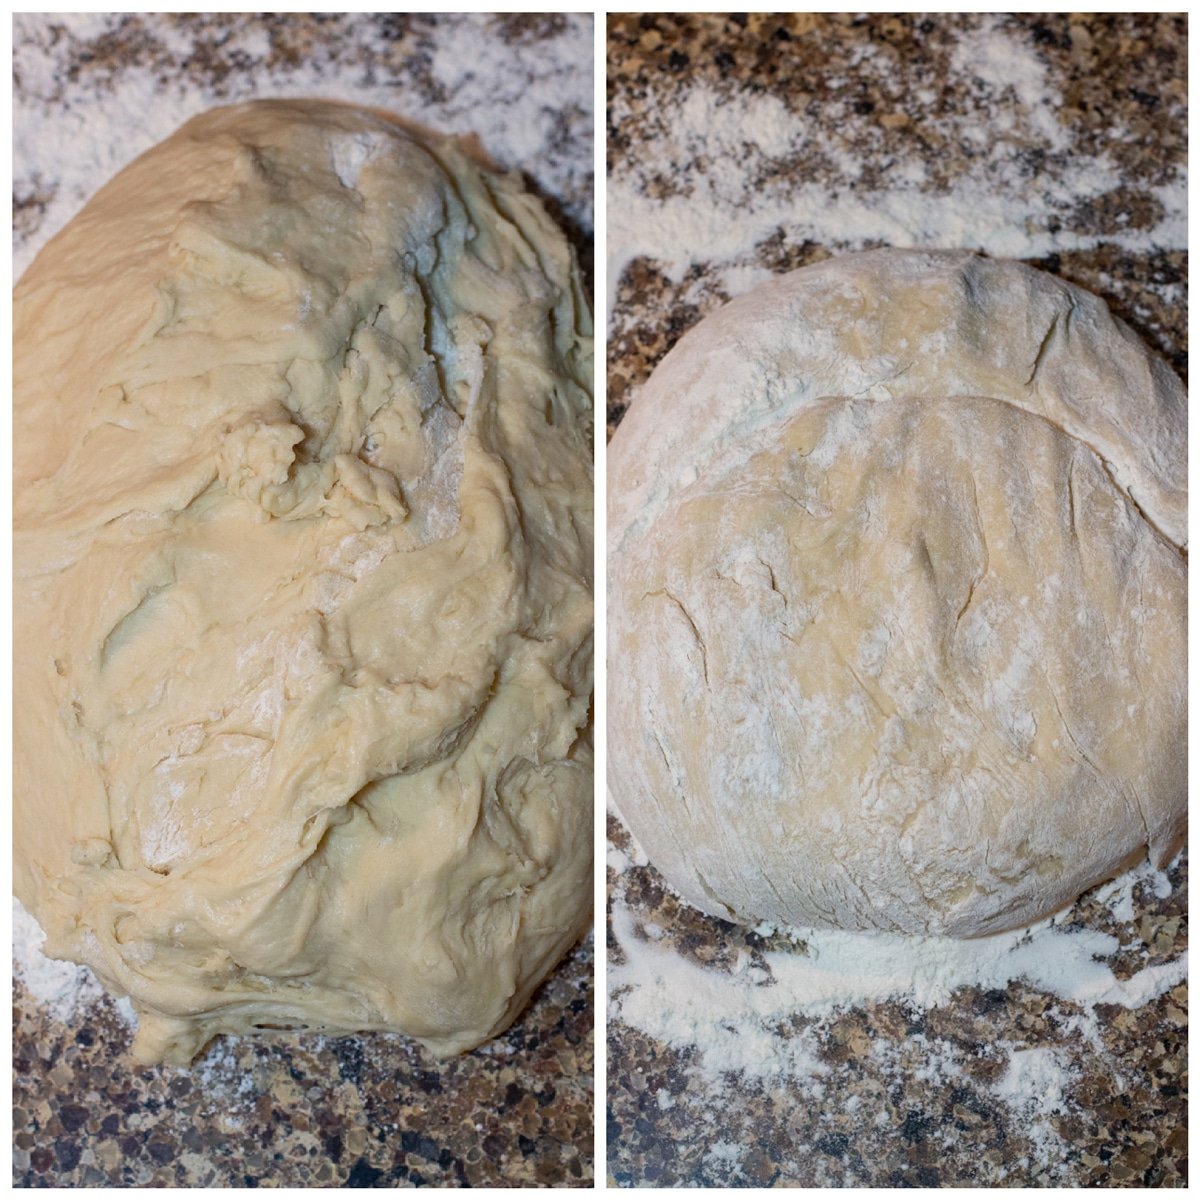
In a medium bowl, stir together flour and salt with a hand held whisk. Cut in shortening with a pastry blender. Add a tablespoon of water over one side of the flour mixture and mix with a fork. Push the moistened dough to the side of the bowl, then repeat using 1 tablespoon of water at a time until all the flour mixture is slightly moist.
Divide the dough in half forming each half into a ball. On a clean and floured surface, use your hands to flatten one of the dough balls. Using a rolling pin, roll the dough from the center to the edges.
For an easy transfer, wrap the dough around the rolling pin and then unroll it into a 9-inch pie dish. Trim the dough evenly around the rim of the dish. Leave the covered dish on the counter and place the remaining ball of dough in the refrigerator until ready to use.
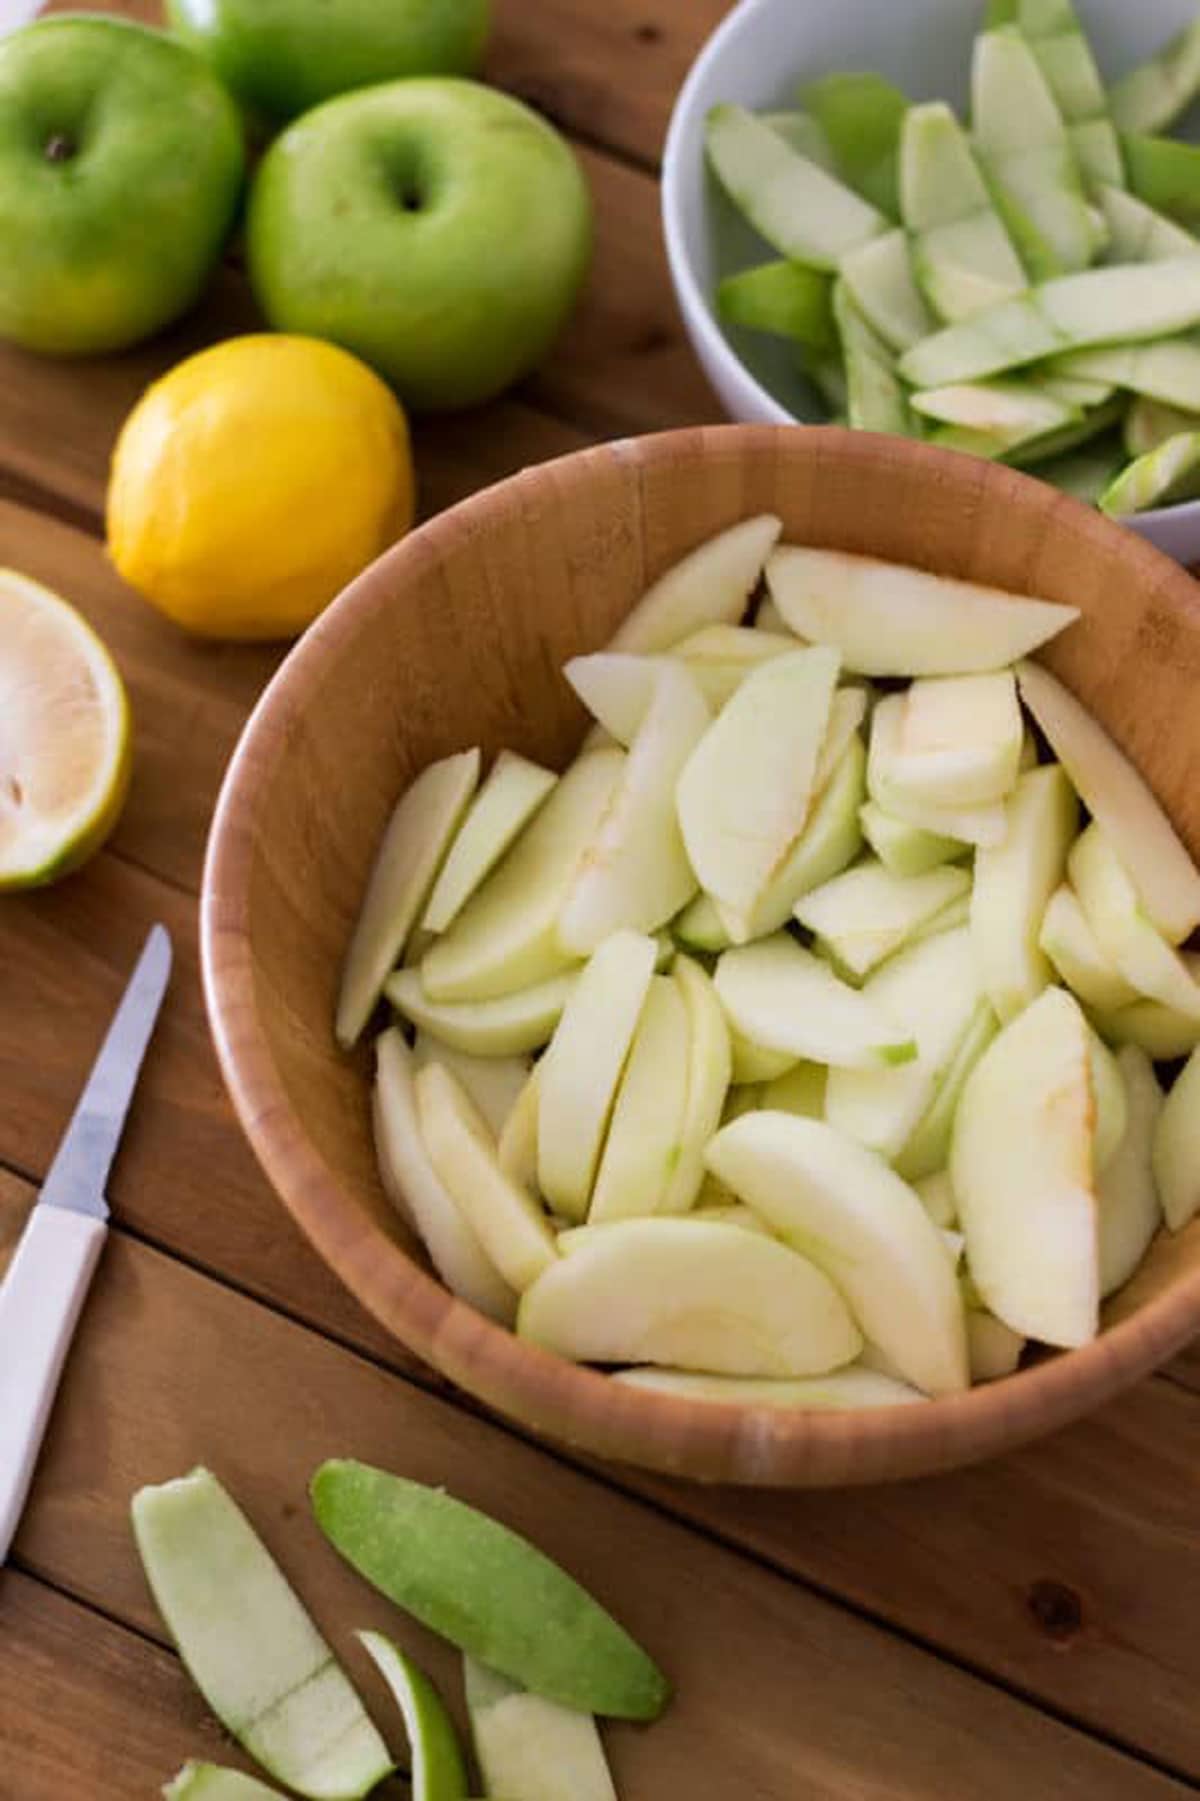
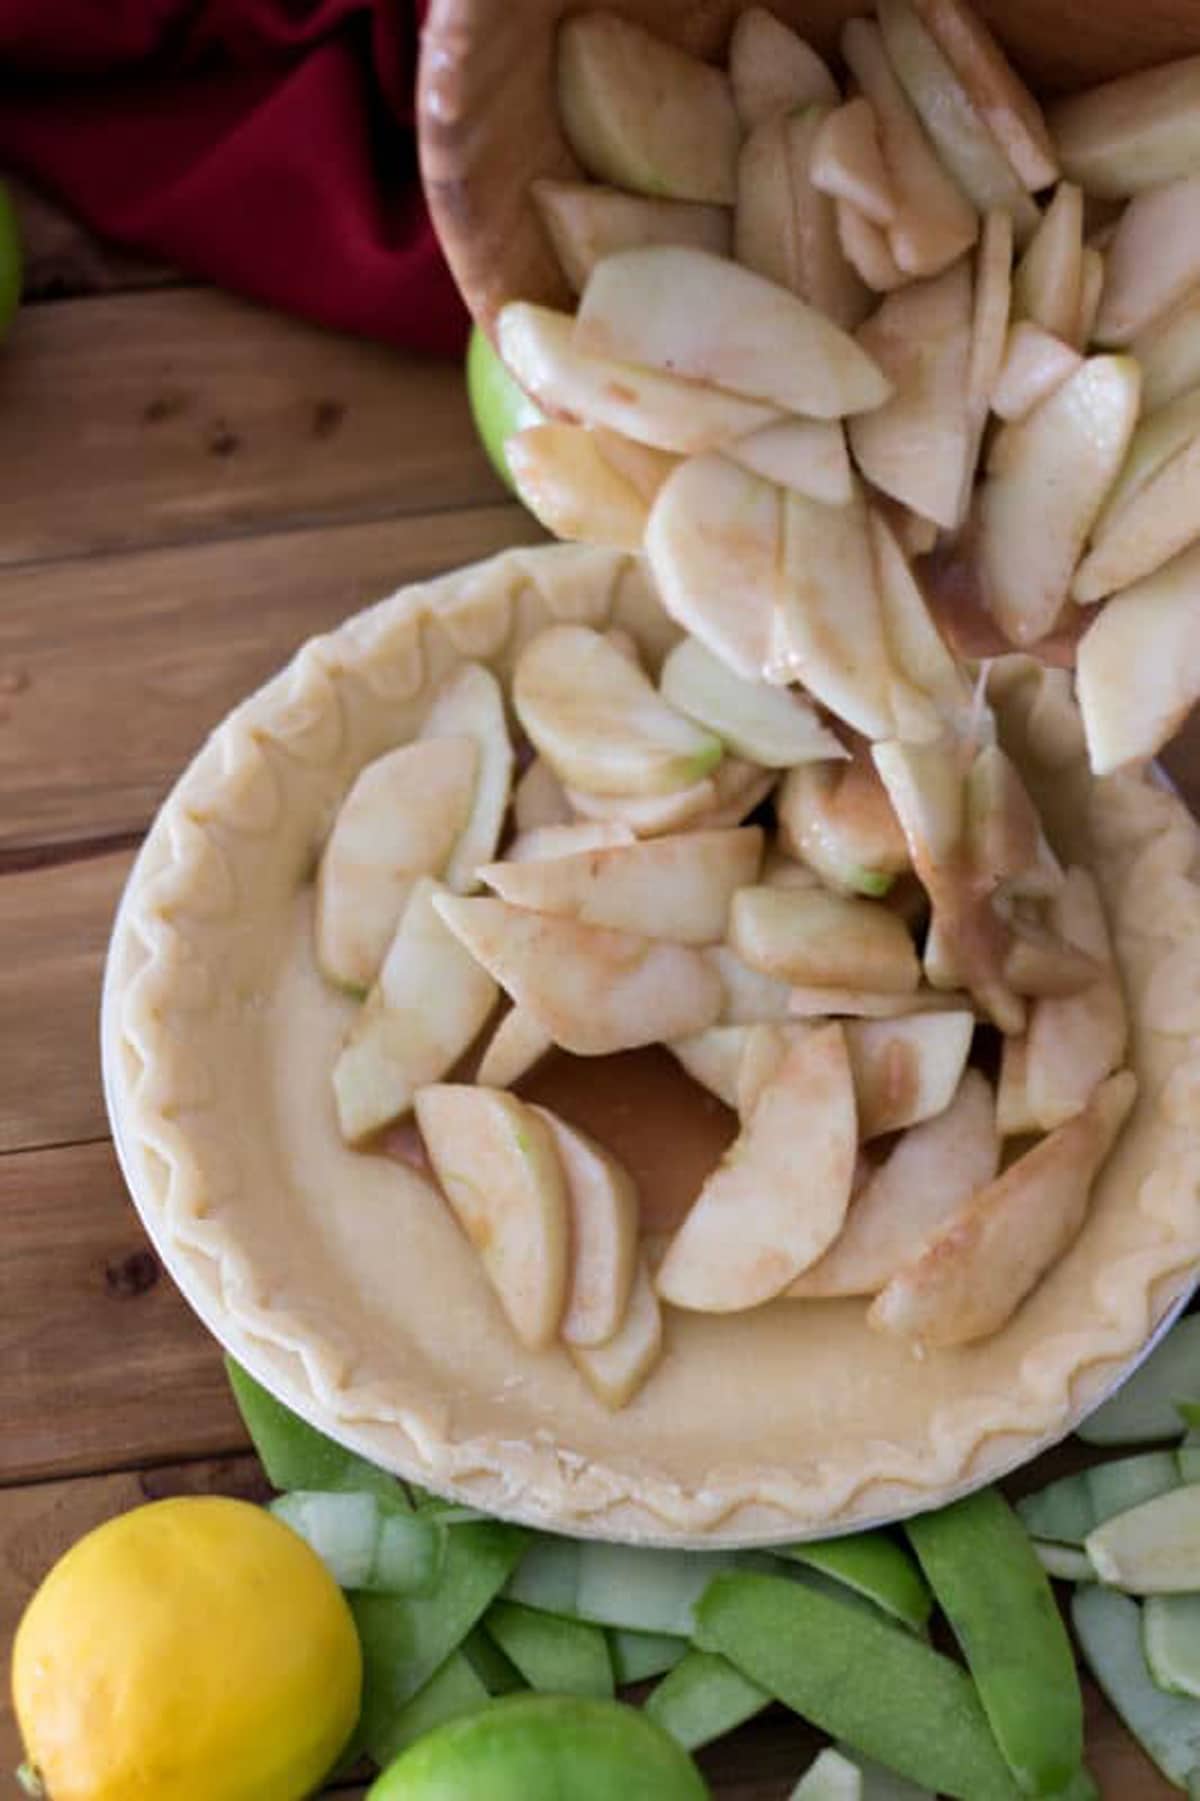
Next, take a paring knife and slice the apples ¼ inch thick. Then, cut off the peelings and place the apples in a bowl. Expert Tip: Unless you are using an apple peeler, it's easier to remove the peelings from the apple after they have been cut into slices.
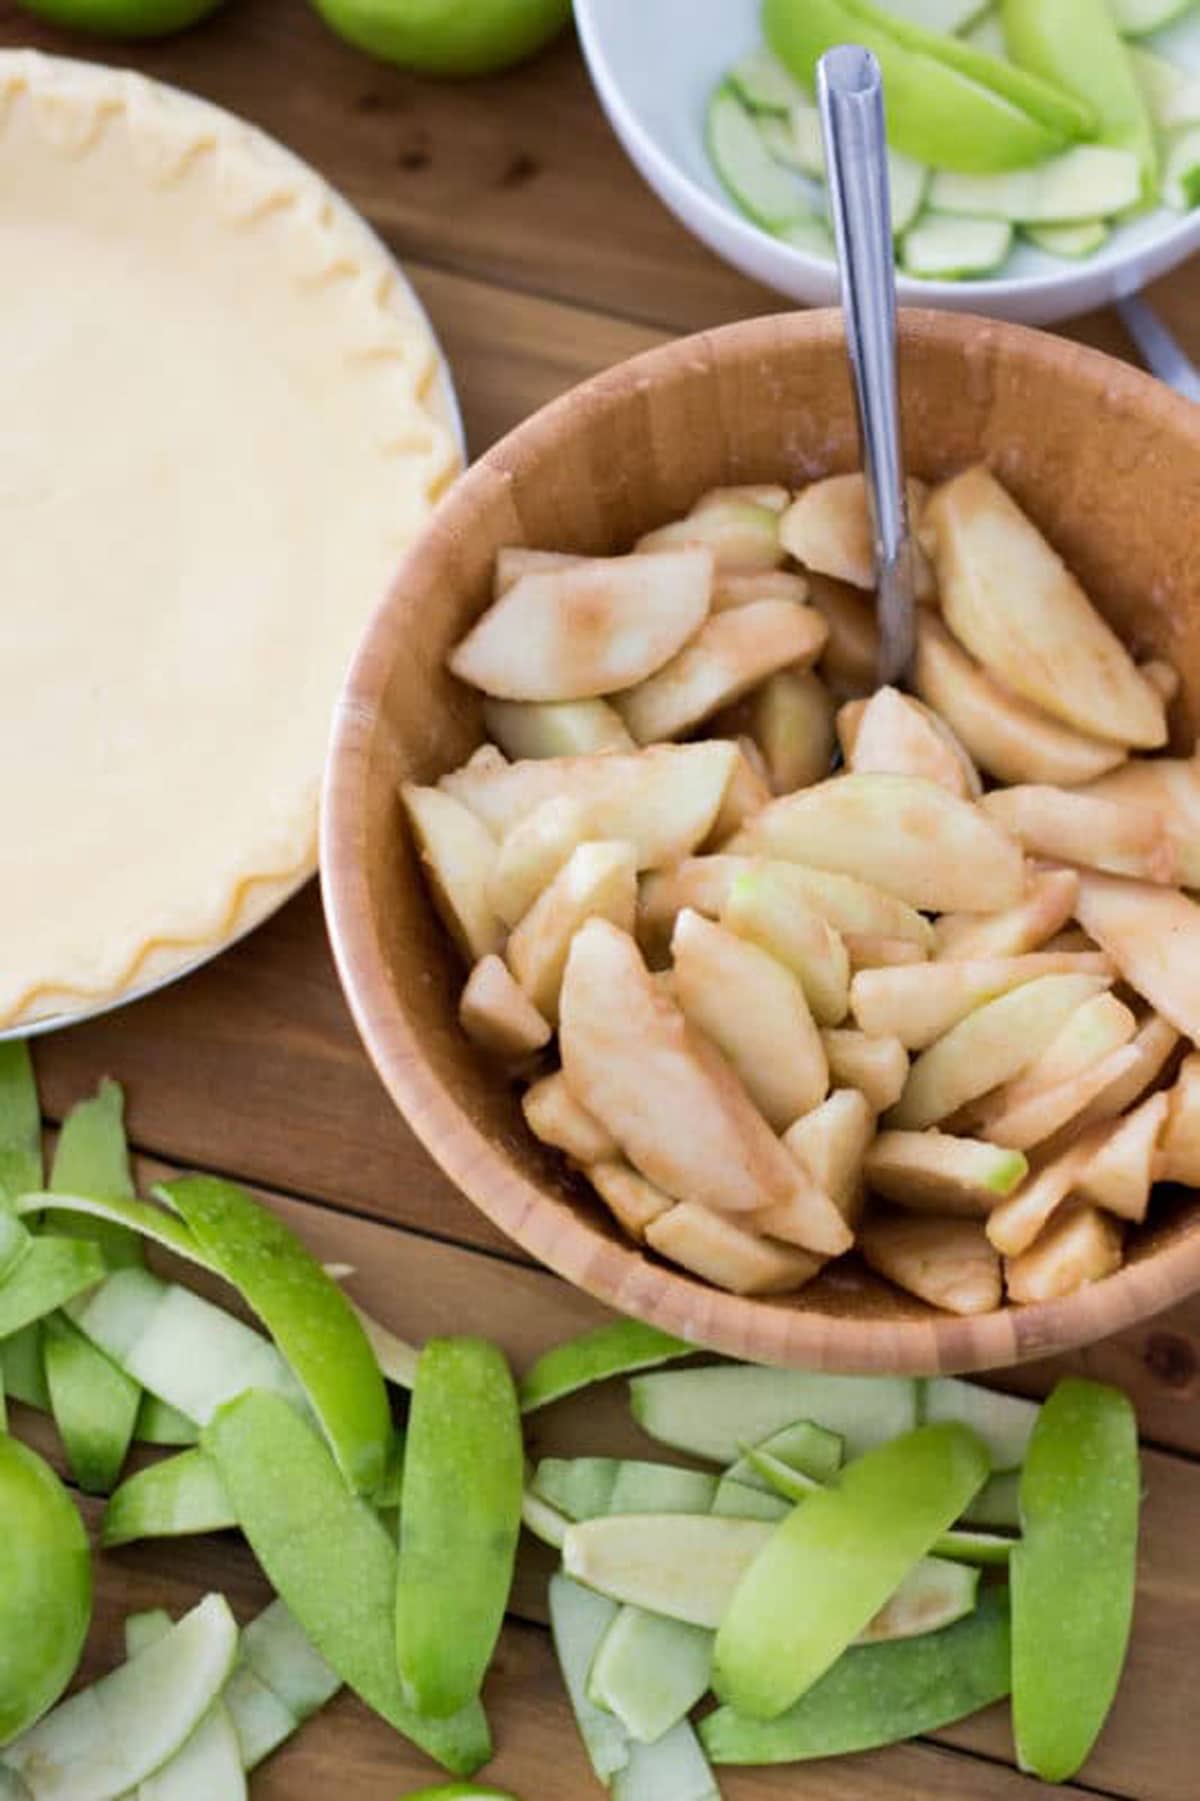
Squeeze a teaspoon of fresh lemon juice onto the sliced apples and quickly stir. Add the sugar, flour, nutmeg, and cinnamon mixture into a bowl and using a spoon, mix to combine. Now, add the apple slices to the bowl and stir until the apples are coated.
WANT TO SAVE THIS RECIPE?
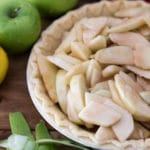
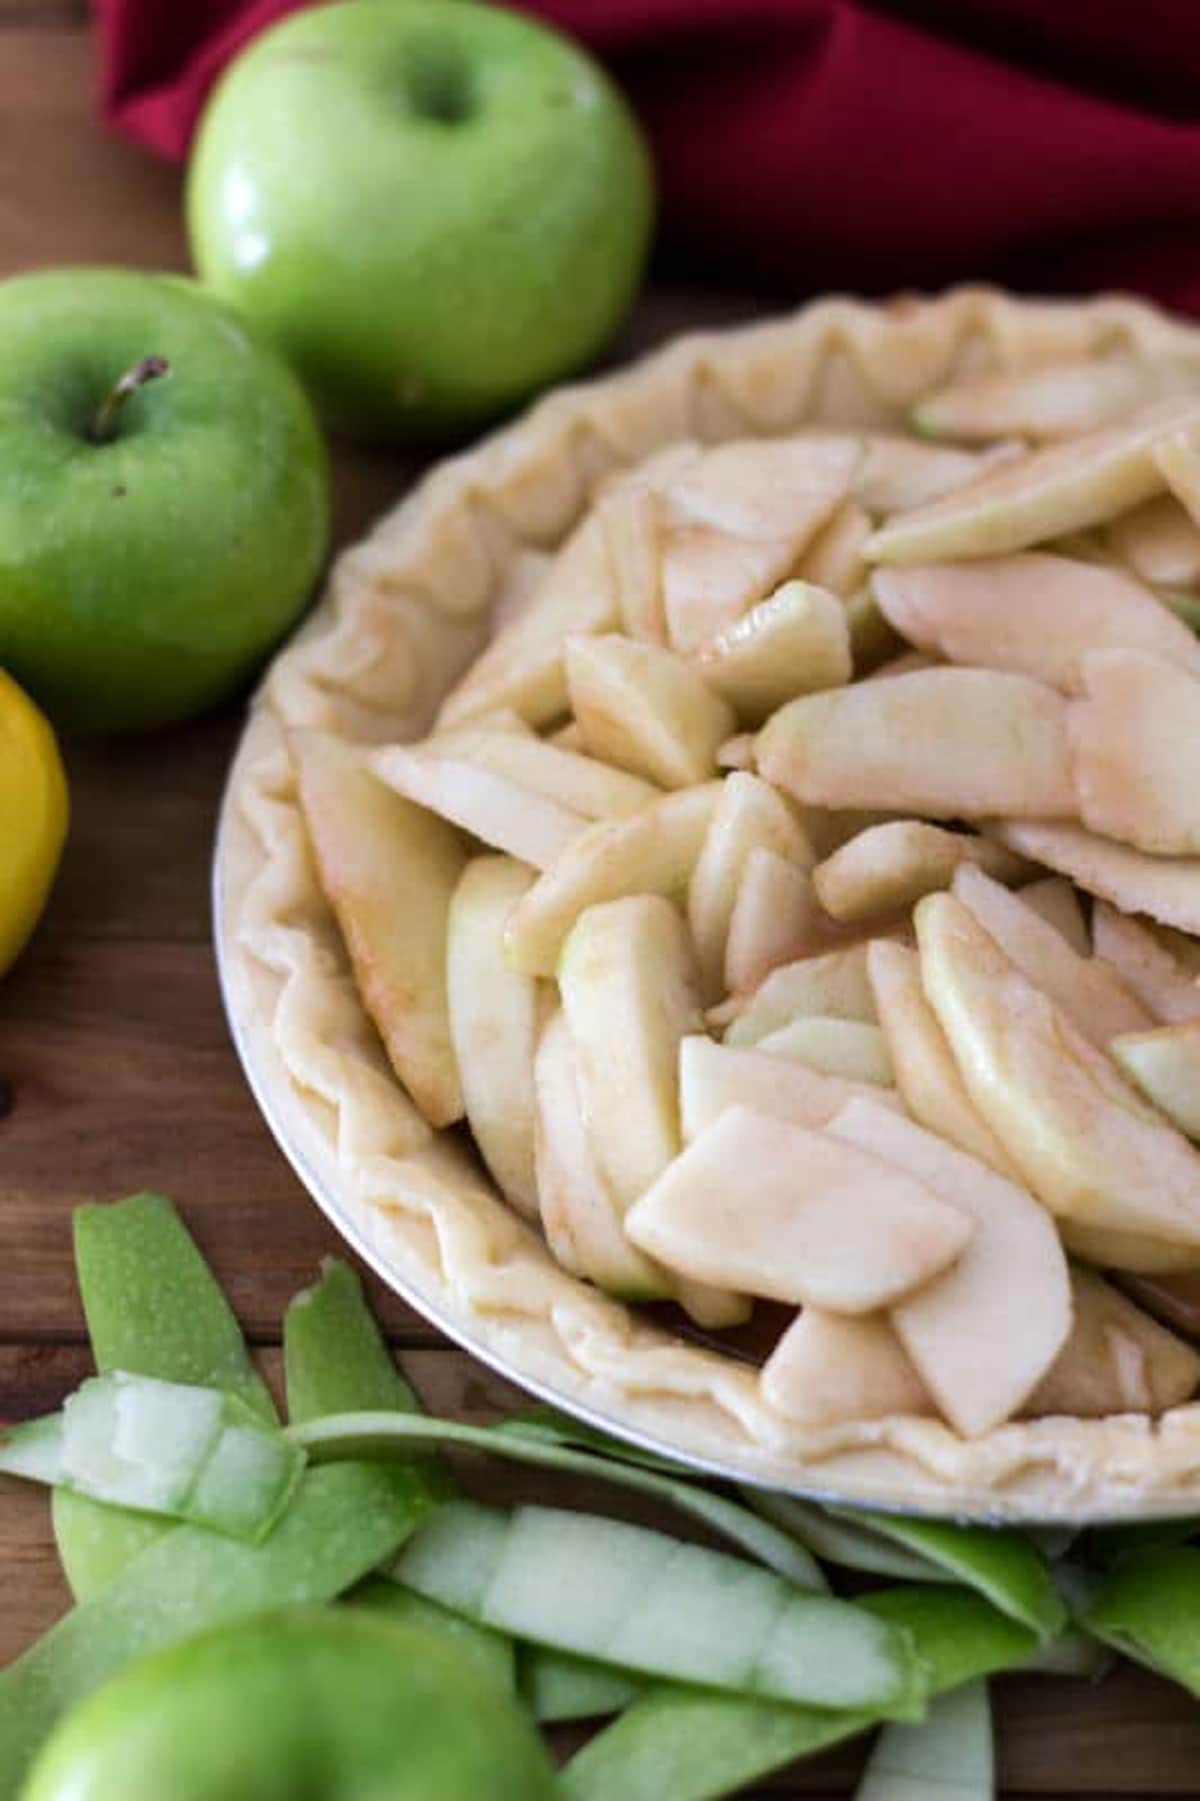
Pour the apple filling mixture into the prepared pie dish. The filling is what makes the flavor so decadent, rich and delicious.
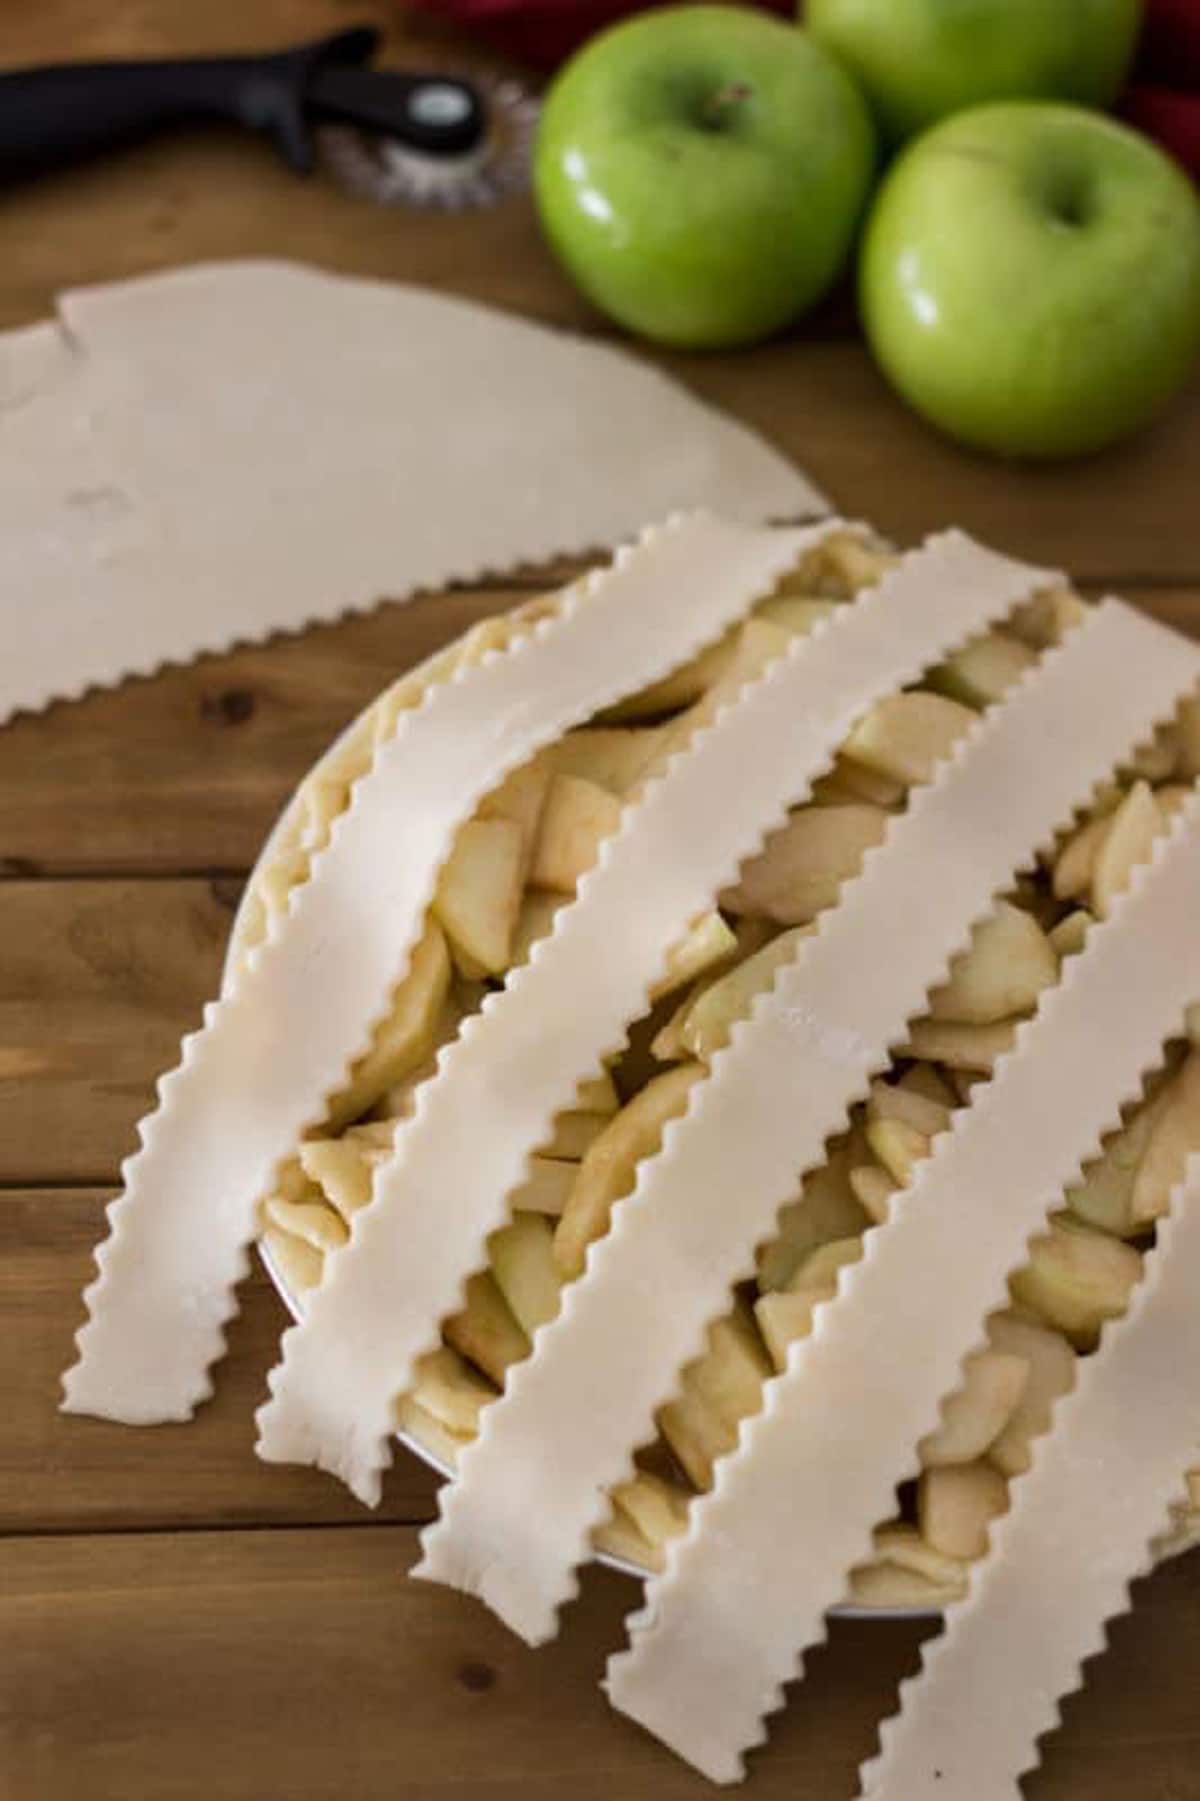
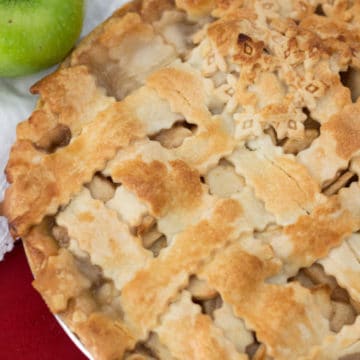
Take the dough out of the refrigerator and roll it into an 11-inch circle on a clean flat surface. Place the dough over the apple mixture and crease the edges with your fingers or a fork. Or, if you are making a lattice crust, use a wheeled cutter and cut the dough into 11 lattice strips. Lay 5 lattice crust strips on top of the pie filling.
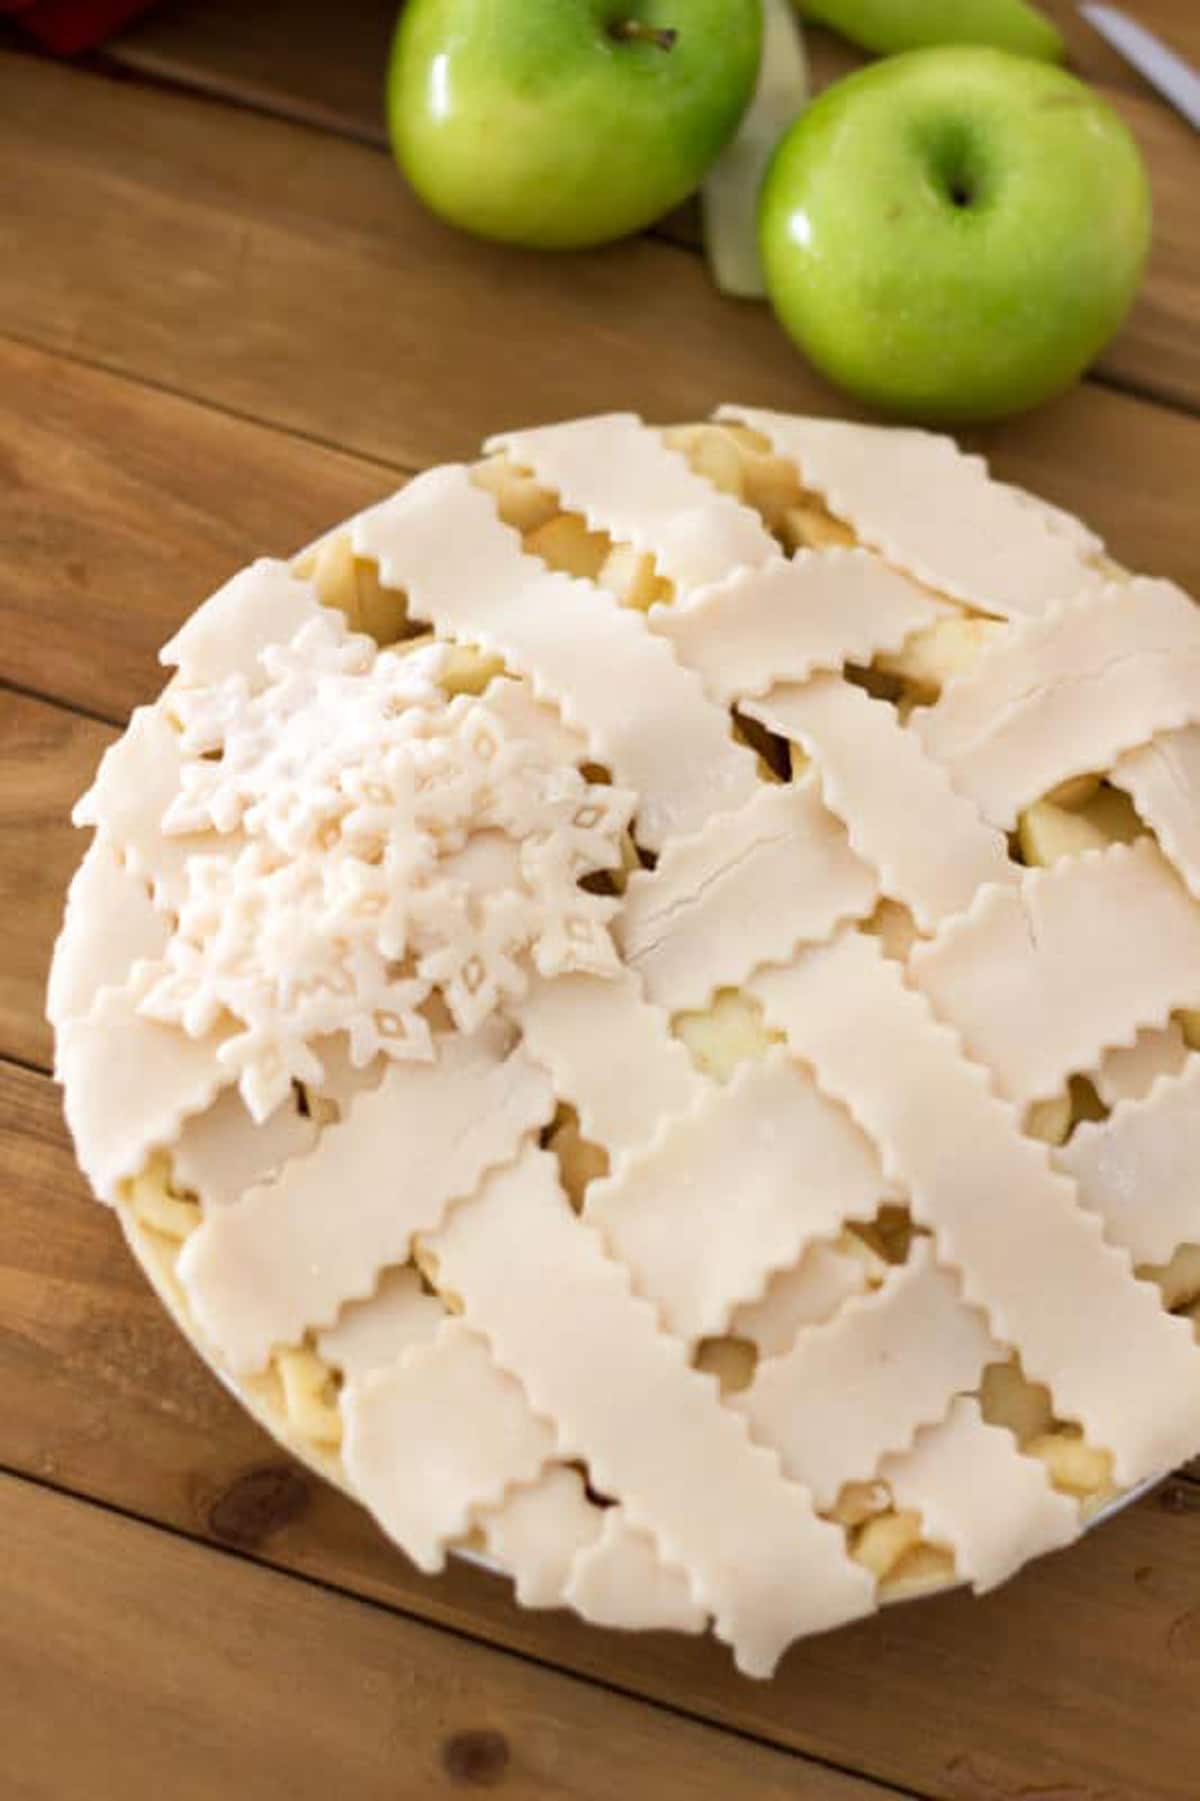
Then, gently intertwine the remaining lattice cut crusts and push the edges down. Expert Tip: If you have extra dough left over, use a cookie cutter to place a fun shape on top of the crust. There are hundreds of molds out there so get creative and have some fun!
Place the apple pie in a preheated oven of 375°F and bake for a total of 60 minutes. When it has finished baking, pull it out of the oven and place it on a wire rack to cool at room temperature.
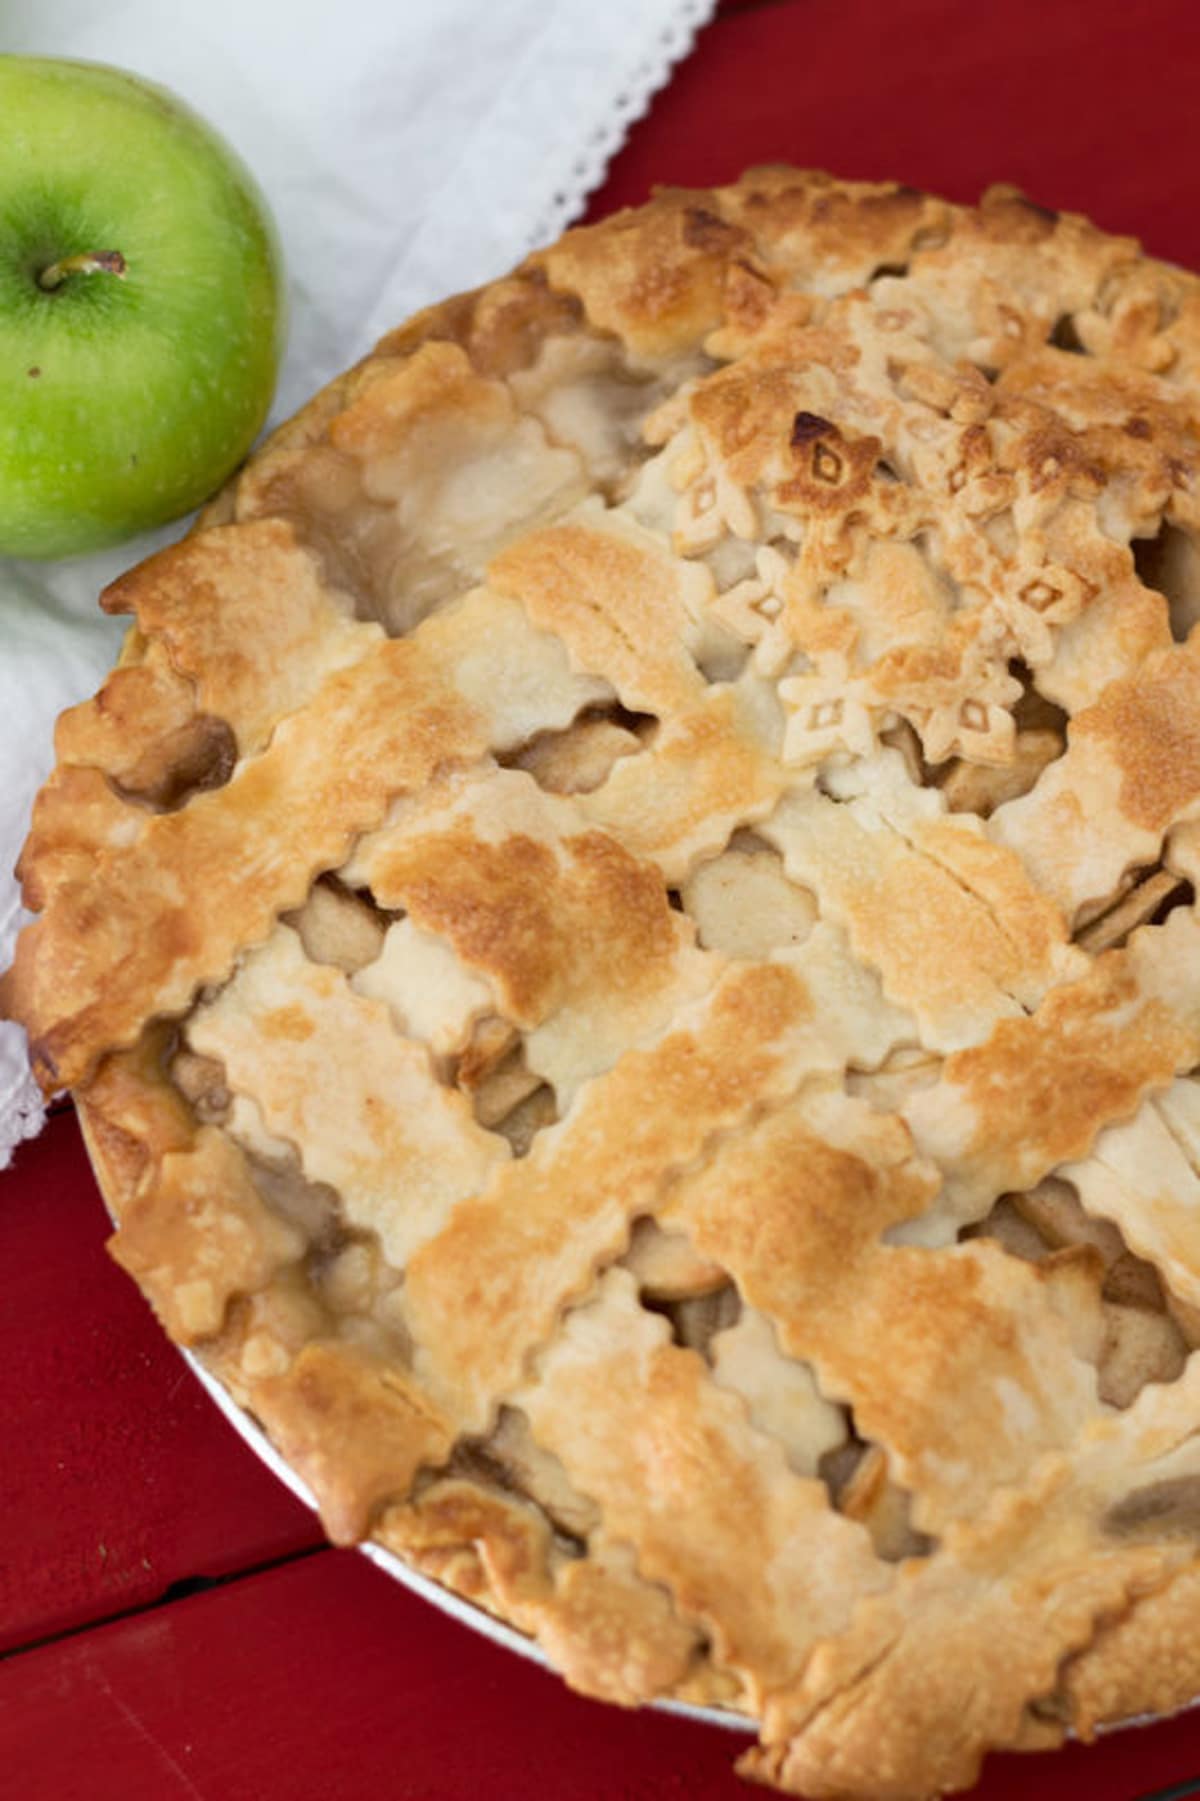
Once it has completely cooled, slice and serve. You'll know the apple pie is done when the crust is golden brown and the filling is thick and bubbly.
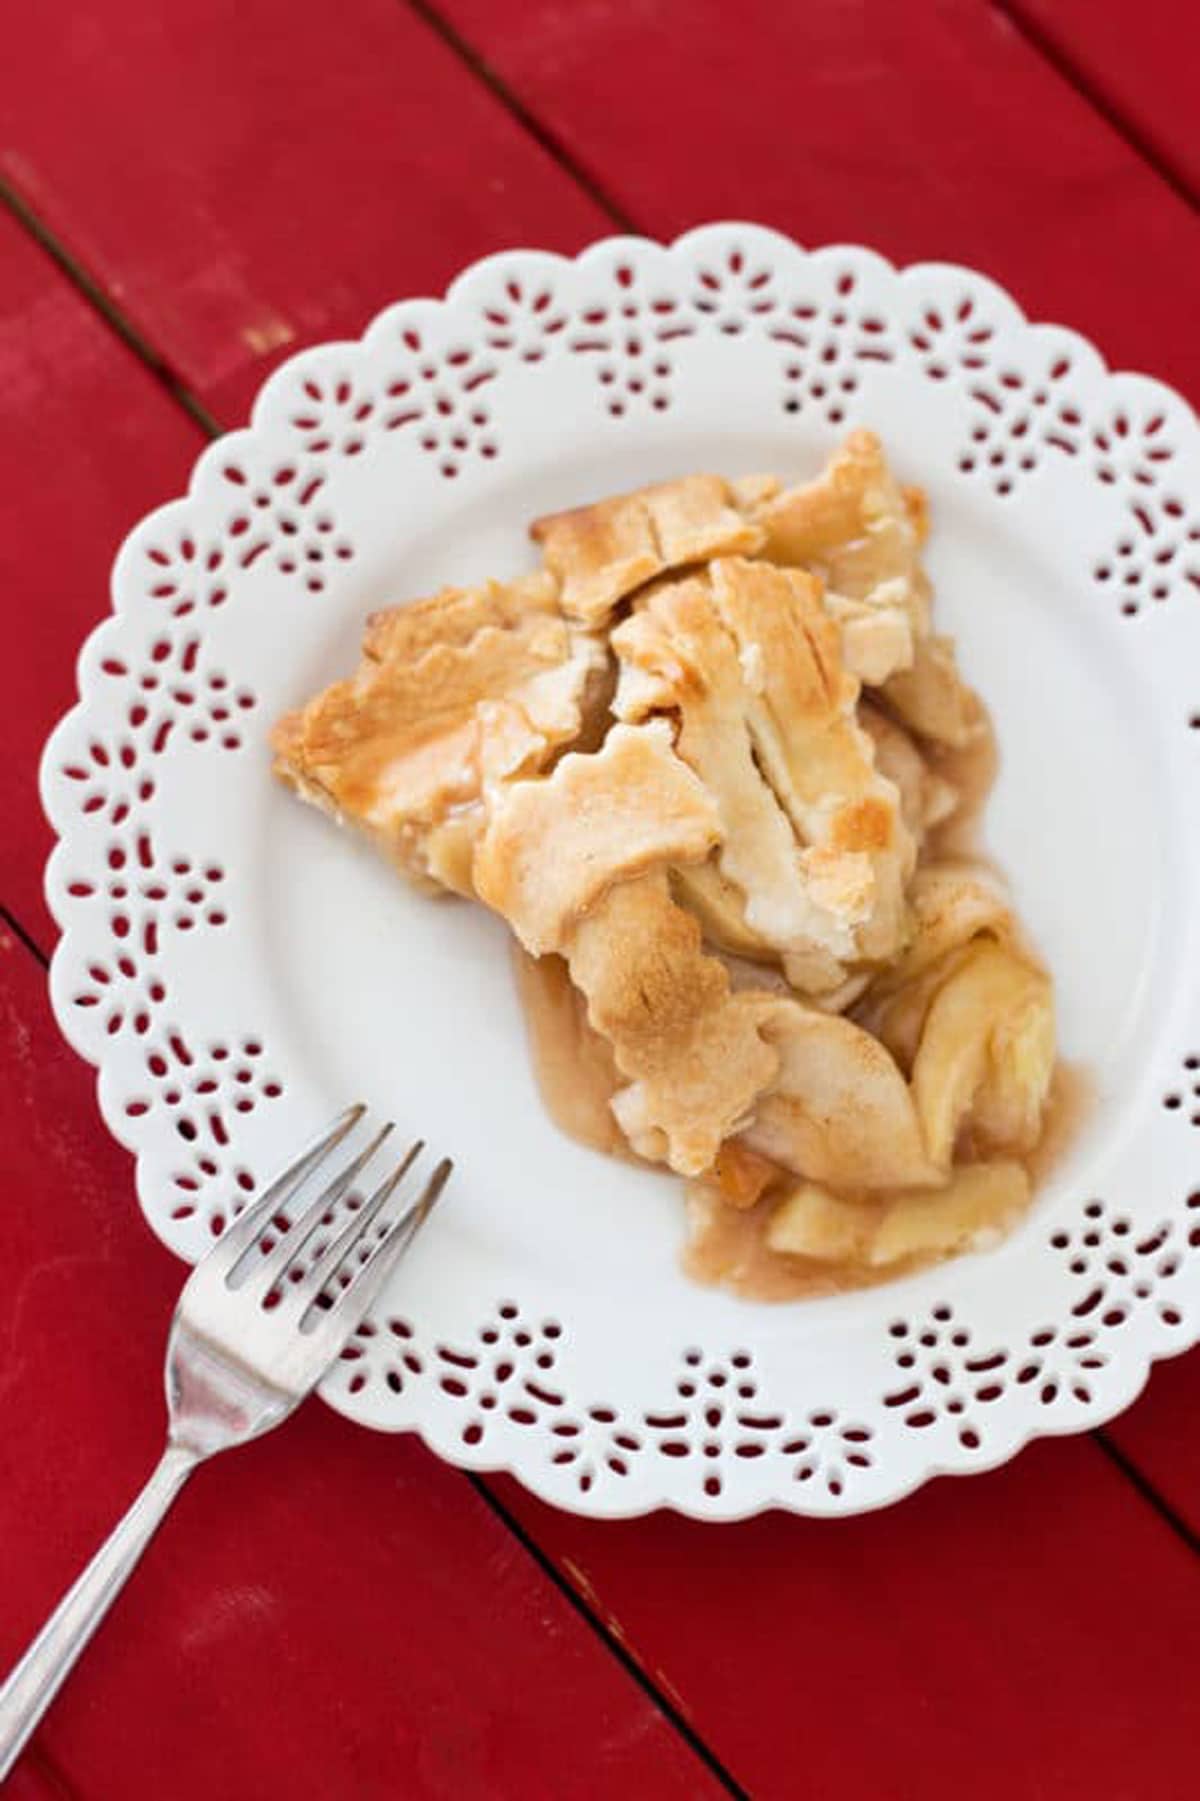
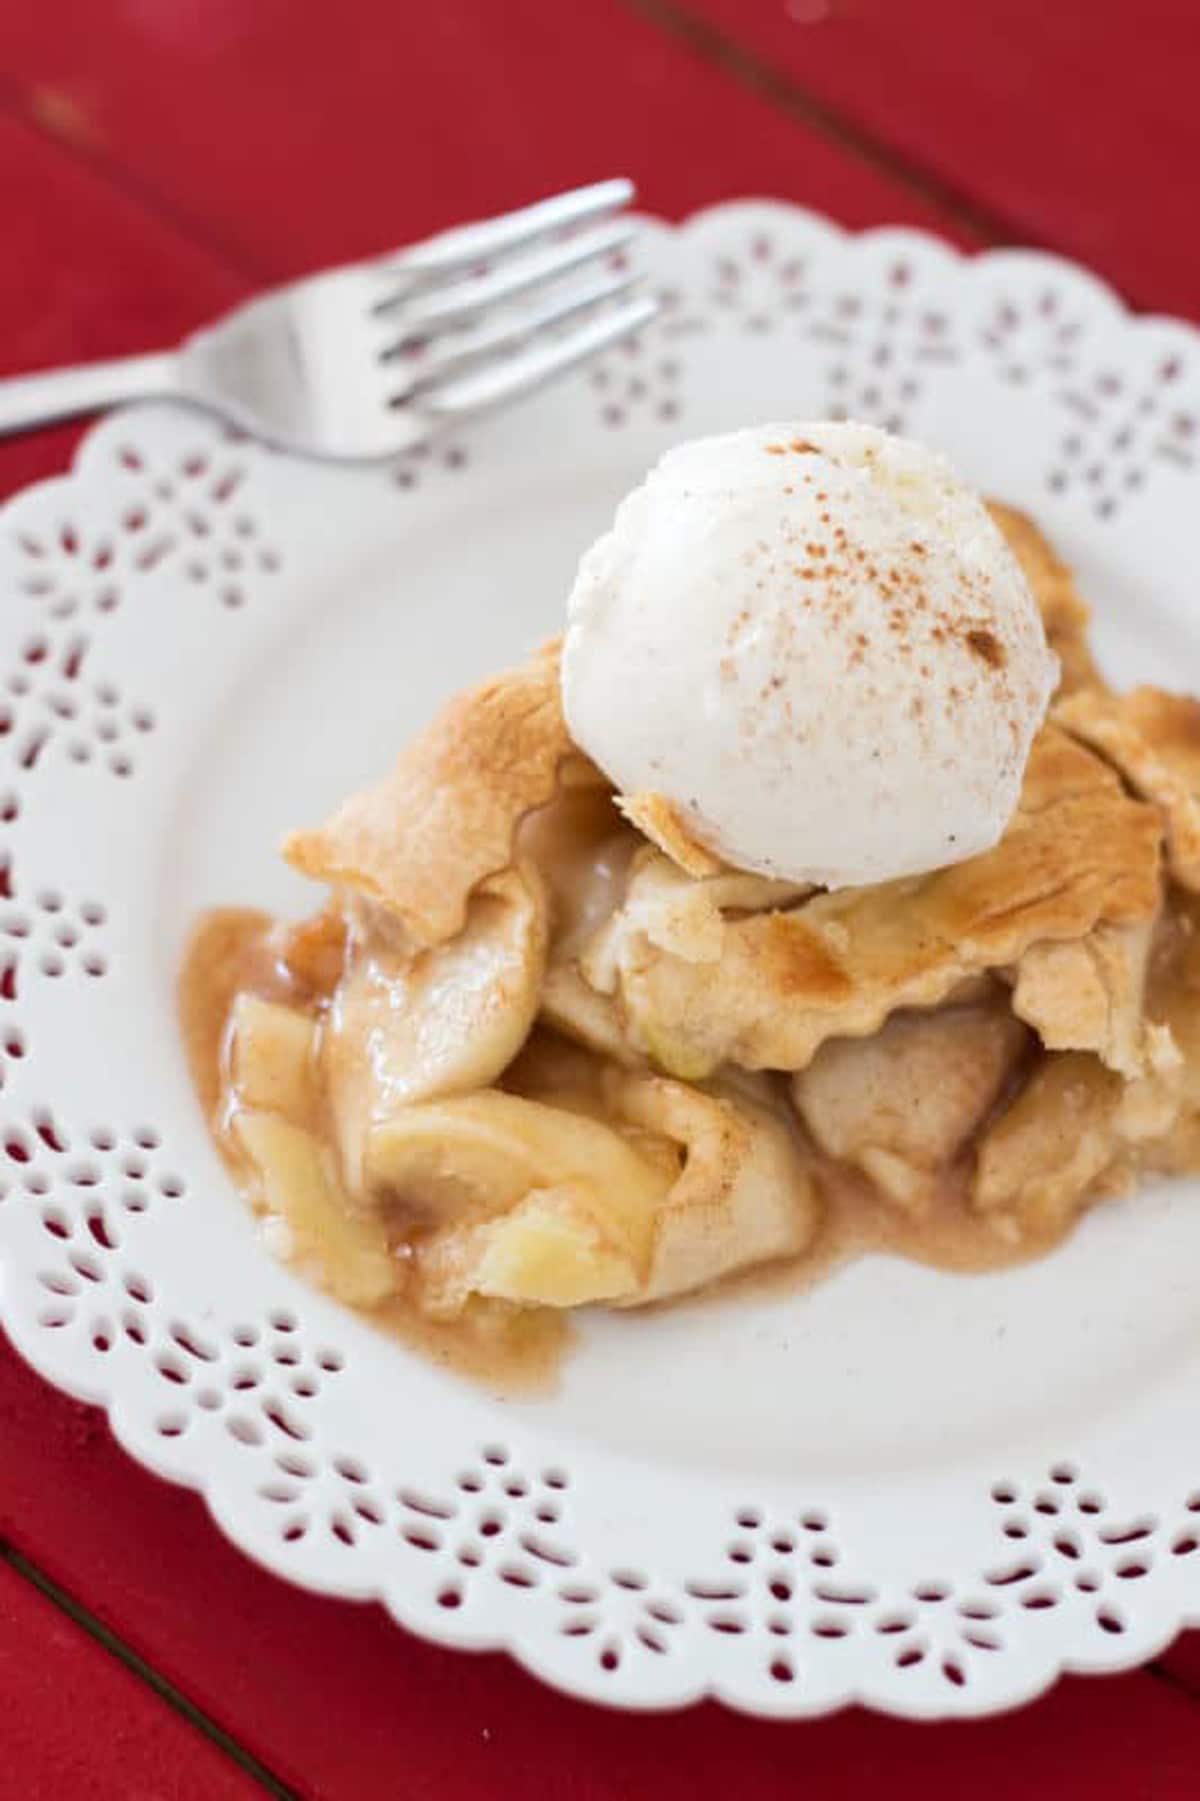
If you're anything like me, you'll want to serve it A La Mode style. Adding vanilla bean ice cream topped with a sprinkle of cinnamon is my favorite way to enjoy this dessert.
💭 Expert Tips
- If you're pressed for time, use a store bought pie shell and a pre-made pastry dough for the top crust.
- While there are many different types of apples that can be used for this recipe, I don't recommend using Red Delicious or Macintosh. They don't hold up well when baking and tend to turn mushy.
- Just before baking, brush the crust with 2 tablespoons of milk and evenly sprinkle on 1 teaspoon of sugar. This gives the crust a nice golden brown color.
- To prevent over browning, cover edges of the crust with foil or a crust shield for 40 minutes. Remove the foil or shield and cook for an additional 20 minutes. When you pull this out of the oven, the filling will be thick, hot, and bubbly and oh my goodness it tastes so amazing!
- If you don't have a pie dish, you can use an aluminum pie pan. These can be washed and stored for future use.
- Make sure you completely cool the pie before you slice. Cooling gives the filling extra time to thicken.
Frequently Asked Questions
Q: Can I make this recipe ahead of time and freeze the apple pie?
A: Yes! To freeze this homemade apple pie recipe, all you need to do is prepare the filling and then pour it into the prepared pie shell. Then, add on the top layer of the pie crust. From there, either wrap it tightly in plastic wrap or place it in a freezer safe bag and freeze. Make sure to cook it within 3 months of the freeze date. When you're ready to bake it, remove it from the freezer and let it sit out on the counter until it has thawed, about for 30-45 minutes. Preheat the oven to 375°F and bake for 60 minutes.
Q: Does apple pie have to be refrigerated?
A: No. You can either store it on the counter or in the refrigerator. Regardless of how you store it, discard after 3-4 days if there's any left!
Q: How can I tell when the pie is done?
A: From a visual cue perspective, the juices need to be bubbly and slightly thick. You can also use an internal thermometer to check the center and if the temperature gauge has reached 195°F, it's done.
Q: From start to finish, how long does it take to make a homemade apple pie?
A: It takes 1 hour and 45 minutes to make from start to finish.
Q: Can I make the pie crust ahead of time?
A: Yes. Wrap the dough in saran wrap and place it in the refrigerator until ready for use.
More Easy Apple Dessert Recipes
- Apple Pumpkin Spice Cake with Butter Rum Glaze - a rich and flavorful bundt cake topped with the perfect glaze.
- Cherry Apple Cake - super versatile, you can use any fruit you want!
- Apple Snickers Salad - a candy bar whipped cream delightful treat.
- Gluten Free Apple Crumble - the perfect apple crumble that is gluten free.
- Zucchini, Carrot and Apple Olive Oil Cake - perfect for breakfast, dessert, or a snack!
Apple desserts are amazing, but let's not forget about other types of fruit recipes! This lemon meringue pie is full of tart flavor topped with a homemade meringue! Lightly toasted in the oven, you'll love every bite!
How To Make Apple Pie
Ingredients
Recipe for Double Crust Pie
- 2 ¼ cup all-purpose flour
- ¾ teaspoon salt
- ⅔ cup shortening
- 10 Tablespoons cold water
Recipe for Apple Pie Filling
- 1 Recipe for Double-Crust Pie (above) or use a store bought ready made pie shells and topping if you are short on time.
- 6 cups Thinly sliced peeled Granny Smith Apples (about 5-6 apples)
- 1 Tablespoon Lemon juice from fresh lemon
- ¾ cup sugar
- 2 Tablespoons all-purpose flour
- ½ teaspoon ground cinnamon
- ⅛ teaspoon ground nutmeg
- 1 Tablespoon milk (for topping)
- 1 teaspoon sugar (for topping)
Instructions
For The Double Crust Pie
- In a medium bowl, stir together the flour and salt with a whisk.
- Using a pastry blender, cut in the shortening until there are no longer big clumps.
- Sprinkle 1 tablespoon of the water over half of the flour mixture. Gently toss with a fork. Push the moistened dough to the side of the bowl. Repeat, using 1 tablespoon of water at a time until all the flour mixture is moistened.
- Divide the dough in half and form each half into a ball.
- On a lightly floured surface, use your hands to flatten 1 dough ball. Roll the dough from the center to the edges into a circle that is 12 inches in diameter.
- To transfer the rolled pastry, wrap it around the rolling pin and then unroll it into a 9-inch pie dish.
- Ease the dough into the pie plate without stretching it. Using your fingers or a dull knife, trim the excess dough by lining the rim of the dish.
- Transfer the apple pie filling into the pastry-lined pie plate.
- Roll the remaining dough ball into a circle, about 12 inches in diameter. Place in the refrigerator until ready for use.
For The Apple Pie Filling
- Core the apples and cut them into ¼ inch slices.
- Using a knife, peel the apple slices and place them in a large bowl.
- Take 1 tablespoon of fresh lemon juice and sprinkle over the apple slices. Combine the apple slices with a spoon to ensure that the juice is covering all slices.
- In a separate bowl, stir together sugar, flour, cinnamon, and nutmeg until well combined.
- Pour the mixture over the apple slices and mix well until all the apple slices are well coated.
- Transfer the apple mixture to the pastry-lined pie plate.
- Place on the top crust and cut slits in pastry and crimp edges as desired. Expert Tip: You can also lattice the top crust or use a pie crust mold.
- Brush the top layer of the crust with milk and evenly sprinkle on 1 teaspoon of sugar. This gives the crust a nice brown topping. Important Note: To prevent over browning, cover edge of the crust with foil or use an edge cover.
- Bake at 375°F for 40 minutes.
- Remove foil or pie edge cover and cook for an additional 20 minutes.
- Remove from the oven and allow the pie to completely cool on a wire rack.
- Once cooled, serve topped with your favorite vanilla ice cream.
Notes
- If you're pressed for time, use a store bought pie shell and a pre-made dough for the top crust.
- While there are many different types of apples that can be used, I don't recommend using Red Delicious or Macintosh. They don't hold up well when baking and tend to turn mushy.
- To prevent over browning, cover edge of the crust with foil or a crust shield for 40 minutes. Remove foil or shield and cook for an additional 20 minutes. When you pull this it out of the oven, the filling will be thick, hot and bubbly and oh my goodness it tastes so amazing!
- If you don't have a pie dish, you can use an aluminum pie pan. These can be washed and stored for future use.
- Make sure you completely cool the pie before you slice. Cooling gives the filling extra time to thicken.
WANT TO SAVE THIS RECIPE?
Nutrition
Update Notes: This post was originally published in December 2017, but was re-published with updated step-by-step instructions, pictures, and tips in August 2021.
Melissa Brown
I am a little confused about the apple peeling process. Your recipe indicates you should pare,or cut the apples and then remove the skin. Is there a reason why you wouldn't peel first and then cut the apples? This seems like a lot more work and very tedious. I want to try this recipe, but not sure if this step is vital, not sure I have the patience! Thanks!
Amanda Mason
Hi Melissa! How you peel the apple is totally up to you! As long as the apples are peeled and sliced before you bake the pie, you're good to go!
Lois. O
I barely make apple pie because I'm the only one that likes it in my family. But I would convince them to like it with this recipe. Looks so delicious!
Amanda Mason
Thanks! I hope they get to try it and enjoy!
Julie
I love a good apple pie and that lattice crust is so beautiful! Such a great fall/winter treat.
Amanda Mason
Thank you!!
Tina
I can smell the apple pie baking now. Your crust looks so pretty and I really appreciate the step by step pictures. Thank you for sharing your recipe.
Amanda Mason
Thanks, Tina!! I hope you enjoy!!