
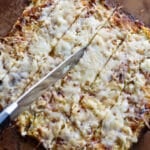


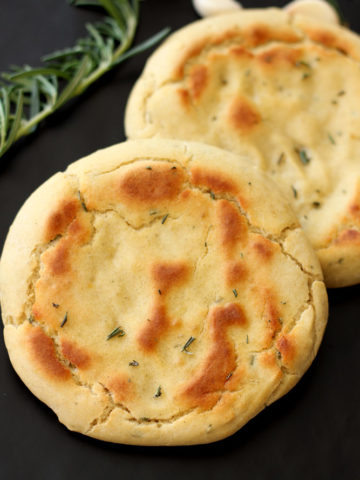
These cauliflower breadsticks are so delicious! Crispy on the edges, tender in the middle, and loaded with flavor, these are the perfect low-carb alternative to traditional garlic bread. Serve them with marinara sauce for dipping, and get ready for everyone to ask for seconds!

Jump to:
- Better Than The Rest - Here's Why:
- Cauliflower Breadsticks: What To Know & Recipe Highlights
- 🛒 Ingredients You'll Need
- 🥣 Here's Exactly How To Make It
- 🙋🏼 Top Questions I Get Asked About This Recipe
- 🍝 Here's What Goes Great With These Breadsticks
- 🍞 More Bread Recipes To Try Next
- Cheesy Garlic Cauliflower Breadsticks
Better Than The Rest - Here's Why:
- These cauliflower Breadsticks actually get crispy - Thanks to the perfect balance of cheese and cauliflower (and not too much moisture), these bake up golden and crisp around the edges—no soggy crust here!
- So much flavor - Between the fresh garlic, oregano, and two kinds of cheese, every bite is packed with savory goodness.
- Simple ingredients - You don’t need anything fancy—just a few pantry staples and a head of cauliflower to make something that tastes restaurant-worthy.
- A lighter twist on a classic - You get all the cheesy, garlicky satisfaction of traditional garlic bread… without the carbs or guilt.
Cauliflower Breadsticks: What To Know & Recipe Highlights
- Make Them Ahead Of Time: If you want, you can go ahead and prepare the "dough" and bake the crust ahead of time. After you bake it, store it in the fridge for up to 3 days. When you’re ready to serve, just add the toppings and reheat it in the oven until the cheese is melted and bubbly.
- Dairy Free Version: Just use your favorite dairy-free cheese substitutes! It might not melt quite the same, but it’ll still taste great!
- Best Way To Reheat: Don't heat these up in the microwave - it makes the crust soft and they don't taste as good.. It's best to put them in the oven or air fryer (at 400°F) for a few minutes until the edges get crispy again.
- Freezer Friendly: Once you bake the breadsticks and they have completely cooled, slice them and store them in a freezer-safe bag or container.
🛒 Ingredients You'll Need

- Cauliflower - he star of the recipe! Cauliflower form the base of these breadsticks, giving them a soft and "bread-like" texture without any actual flour. It’s mild in flavor, low in carbs, and packed with nutrition — making it the perfect healthy substitute for traditional dough.
- Mozzarella Cheese - used for the base of the breadsticks and for the topping. I like to grate my own from a fresh block, but using a bag of shredded Mozzarella cheese also works well. It adds that irresistible stretch and melty goodness that makes these breadsticks taste so amazing. It also helps bind the cauliflower mixture together, along with the egg.
- Parmesan Cheese - used for the base of the breadsticks and for the topping. Make sure you use fresh grated Parmesan from a block of cheese. That will give you the best results. The Parm brings a sharp, nutty flavor that complements the mozzarella and gives the breadsticks a golden, crispy edge as they bake. It adds depth and that classic “cheesy bread” smell that will fill up your kitchen!
- Egg - it's the binding ingredient that holds everything together and will help the breadsticks keep their shape once they are baked.
- Dried Oregano - this is the main seasoning ingredient. It brings that wonderful Italian flavor and infuses the breadsticks with a warm, savory aroma that instantly reminds you of your favorite pizzeria. I actually like dried oregano over fresh chopped oregano in this recipe.
- Garlic Cloves - skip the jarred version and mince your own! The fresh flavor makes a massive difference taste wise! Garlic is used for the base of the breadsticks and the the topping.
- Salt - flavor enhancer.
- Olive Oil - used to grease the baking stone or baking sheet before baking.
🥣 Here's Exactly How To Make It
WANT TO SAVE THIS RECIPE?
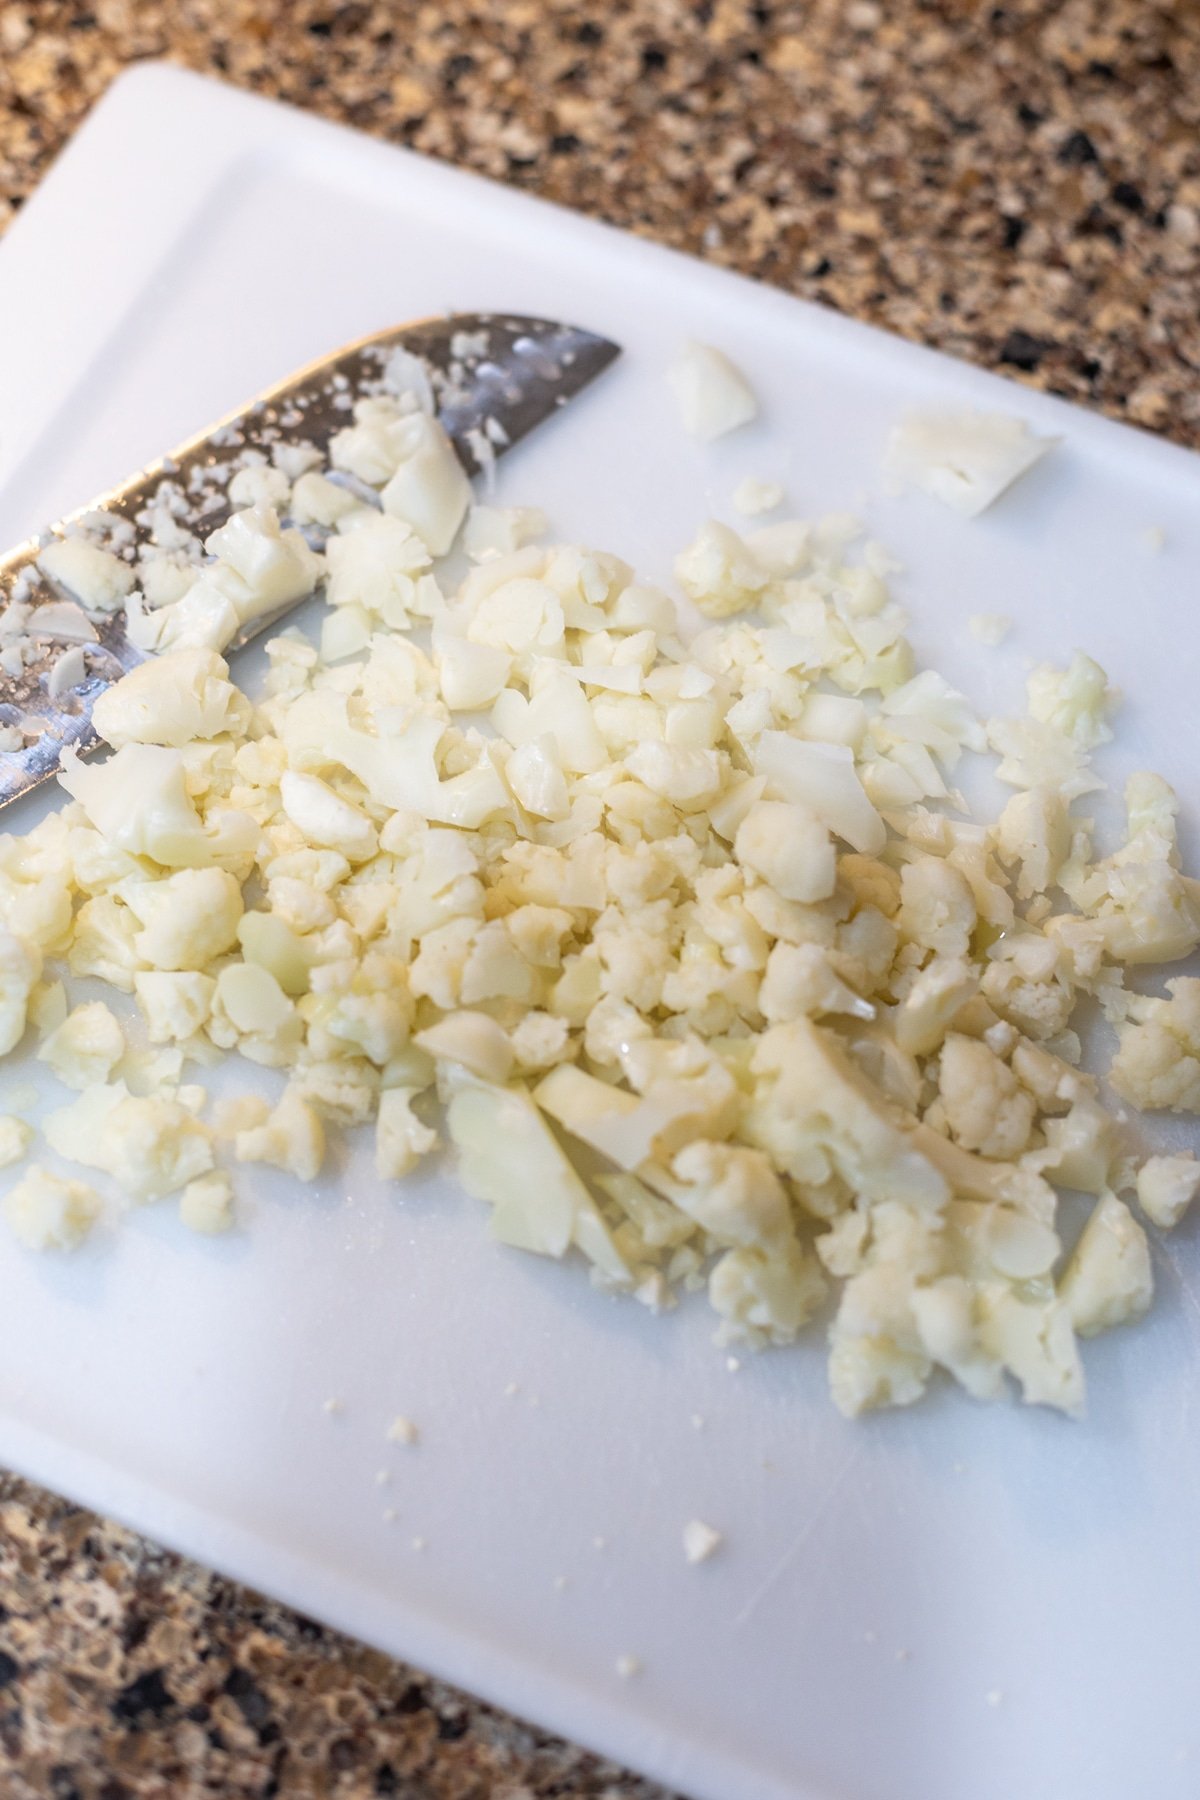
Step 1: Chop the cauliflower florets into chunks and steam them in a steamer or on the stove until slightly soft (about 15 min). Using a knife or a chopped, finely chop.

Step 2: In a medium bowl, stir together 1 cup of finely chopped cauliflower, egg, Parmesan and mozzarella. The, add the oregano, crushed garlic and garlic salt. Stir until well combined.

Step 3: Now you are ready to transfer the batter and put it on the baking stone or baking sheet.

Step 4: Use your hands and pat out into a large rectangle. It is important to make sure your dough is not too thick.

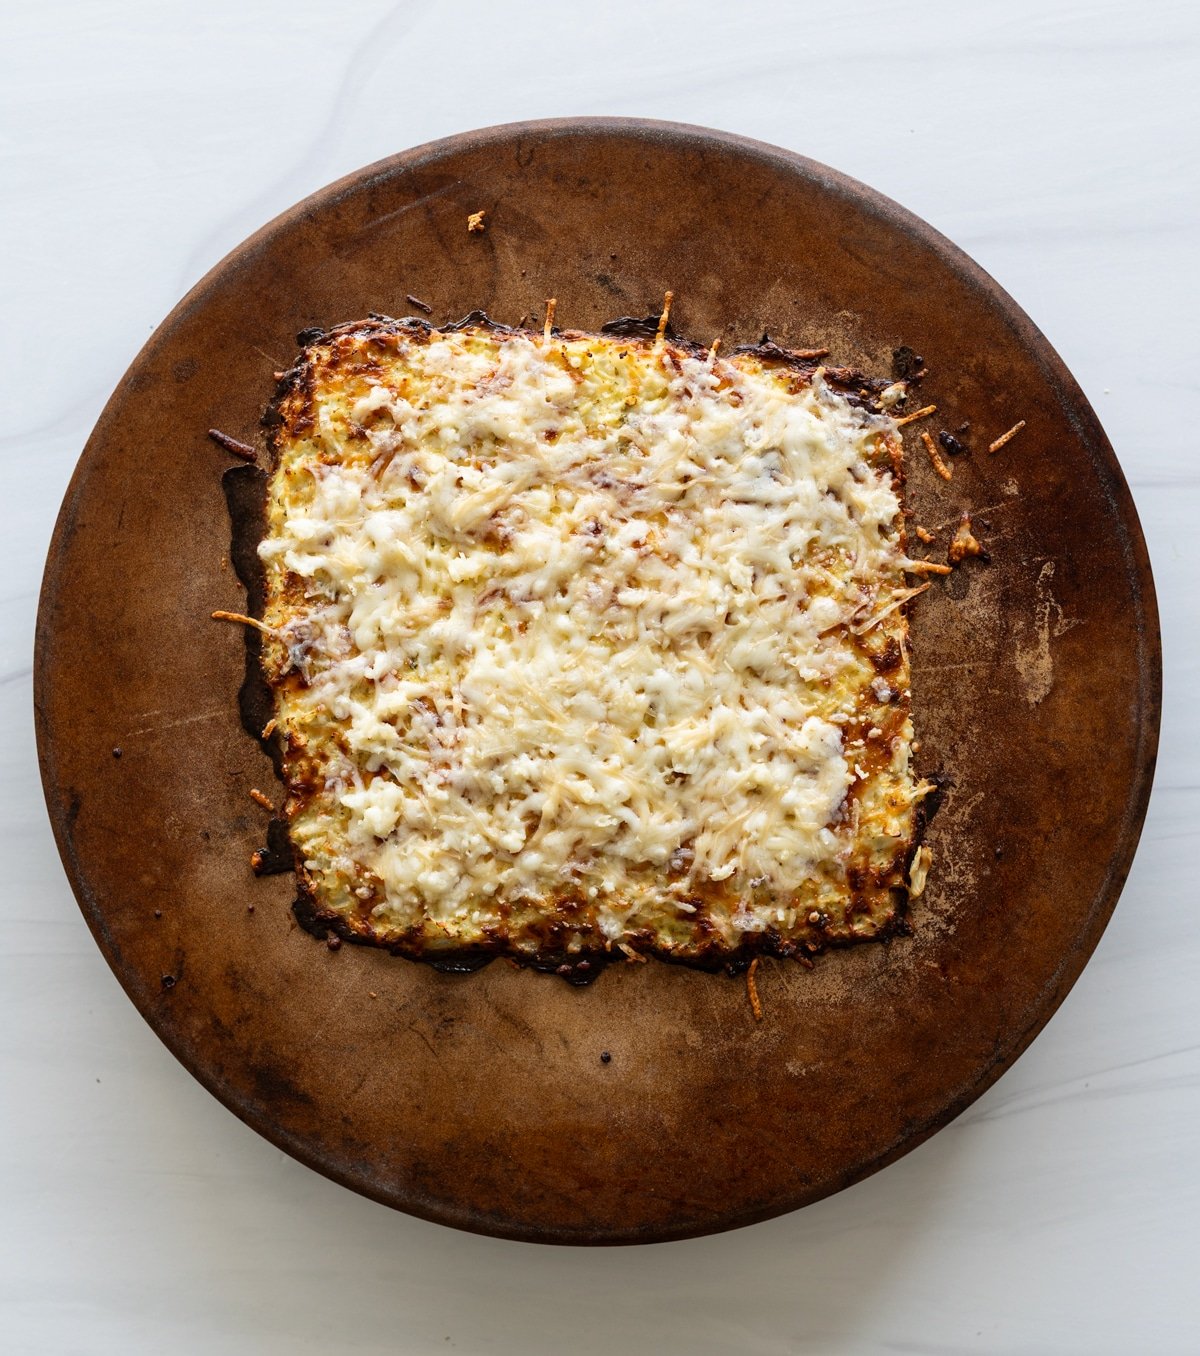
Step 5: Bake for 15 to 20 minutes, just until the tops are a light golden brown.
Step 6: Take the breadsticks out of the oven and sprinkle the toppings evenly across the top while they’re still warm. Place the breadsticks back in the oven and continue to bake until the cheese is melted.

Step 7: Let the bread cool for about 15 minutes and then slice with a serrated knife or a pizza cutter.

Step 8: Top with fresh parsley and serve!
🙋🏼 Top Questions I Get Asked About This Recipe
Yes! Just make sure to thaw it completely and squeeze out all the extra moisture with a clean kitchen towel or paper towels before using. If it’s too wet, your crust will turn out soft instead of crispy.
The key is removing as much moisture as possible from the cooked cauliflower and making sure your mixture is well combined with the egg and cheese. Those act as the “glue” that holds it all together.
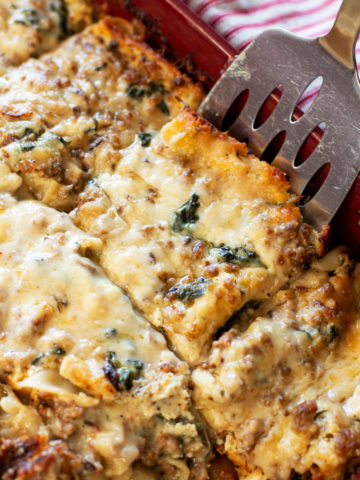
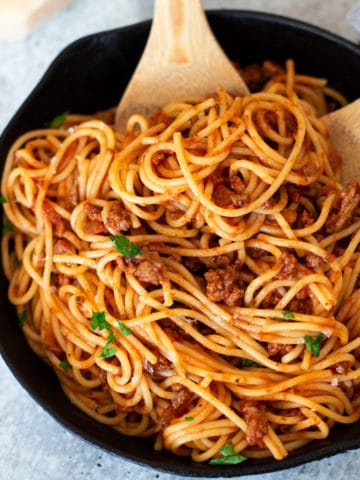
🍝 Here's What Goes Great With These Breadsticks

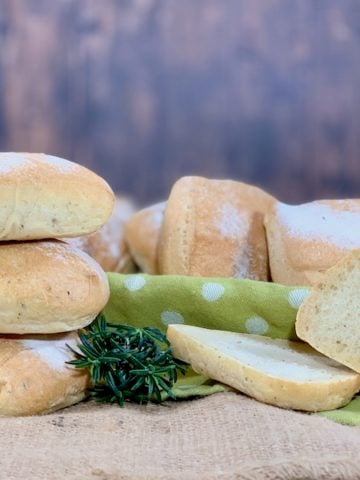
🍞 More Bread Recipes To Try Next

If you tried these cheesy garlic cauliflower breadsticks or any other recipes on my website, please let me know how it turned out in the comments below. I love hearing from you! And, please leave a 🌟 rating while you're there!
📧 Don't forget to subscribe to my newsletter so you don’t miss out on any of my delicious recipes!

Cheesy Garlic Cauliflower Breadsticks
Ingredients
For The Breadsticks
- 1 cup cooked cauliflower, finely chopped
- ½ cup mozzarella cheese, shredded
- ½ cup Parmesan cheese, freshly grated
- 1 egg, beaten
- 1 teaspoon dried oregano
- 2 garlic cloves, freshly
- ½ teaspoon garlic salt
- 2 teaspoon olive oil
For Breadsticks Topping
- 3 garlic cloves, minced
- ¼ cup Parmesan cheese, freshly grated
- ¼ cup mozzarella cheese, shredded
Instructions
- Preheat over to 450°F.
- Chop the cauliflower florets into chunks and steam them in a steamer or on the stove until slightly soft (about 15 min).
- Using a knife or a chopped, finely chop.
- Lightly grease a baking stone or baking sheet with a small amount of olive oil. Avoid using too much — excess oil can drip into the oven and create smoke.
- In a medium bowl, stir together 1 cup of finely chopped cauliflower, egg, Parmesan and mozzarella. The, add the oregano, crushed garlic and garlic salt. Stir until well combined.
- Now you are ready to transfer the batter and put it on the baking stone or sheet. Use your hands and pat out into a large rectangle. It is important to make sure your dough is not too thick.
- Bake for 15 to 20 minutes, just until the tops are a light golden brown.
- Take the breadsticks out of the oven and sprinkle the toppings evenly across the top while they’re still warm.
- Place the breadsticks back in the oven and continue to bake until the cheese is melted.
- Let the bread cool for about 15 minutes, slice and serve!
Notes
- One large head of cauliflower should produce approximately 3 cups of riced (finely grained) cauliflower
Leave a Reply