
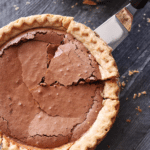
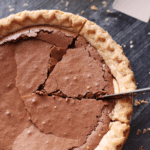
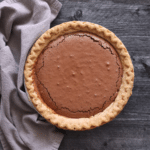


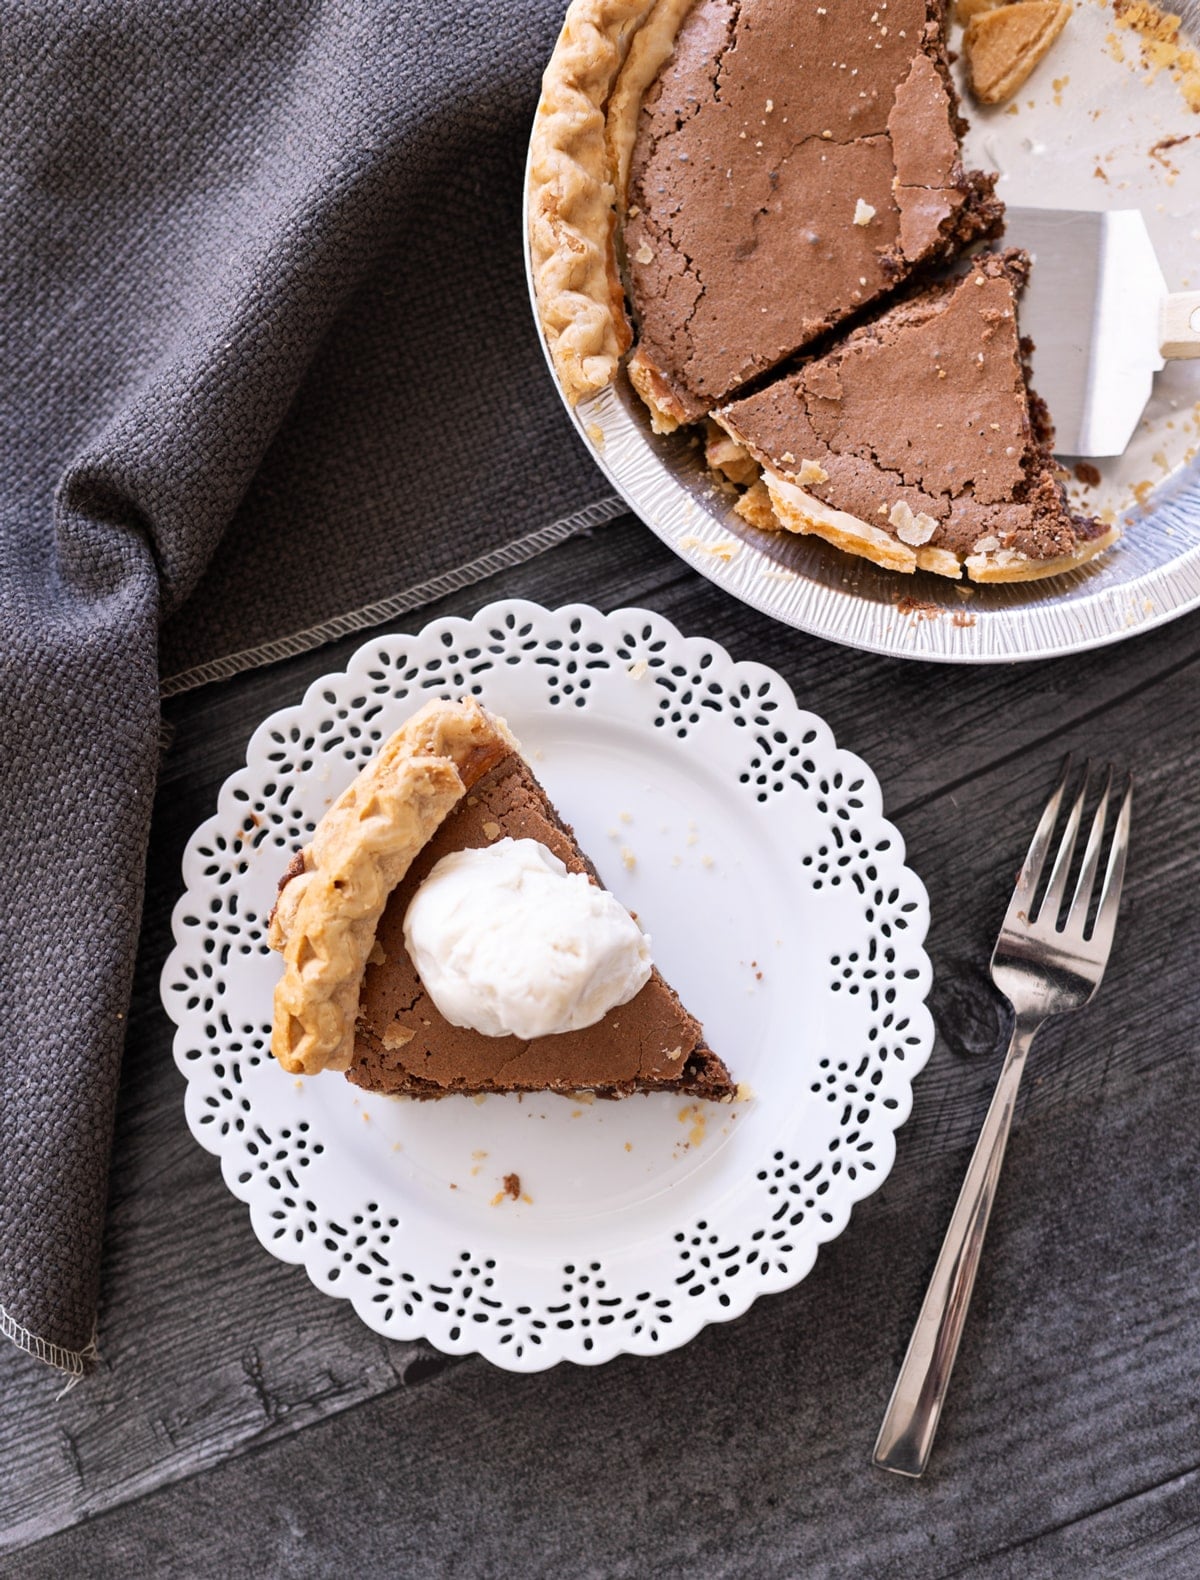
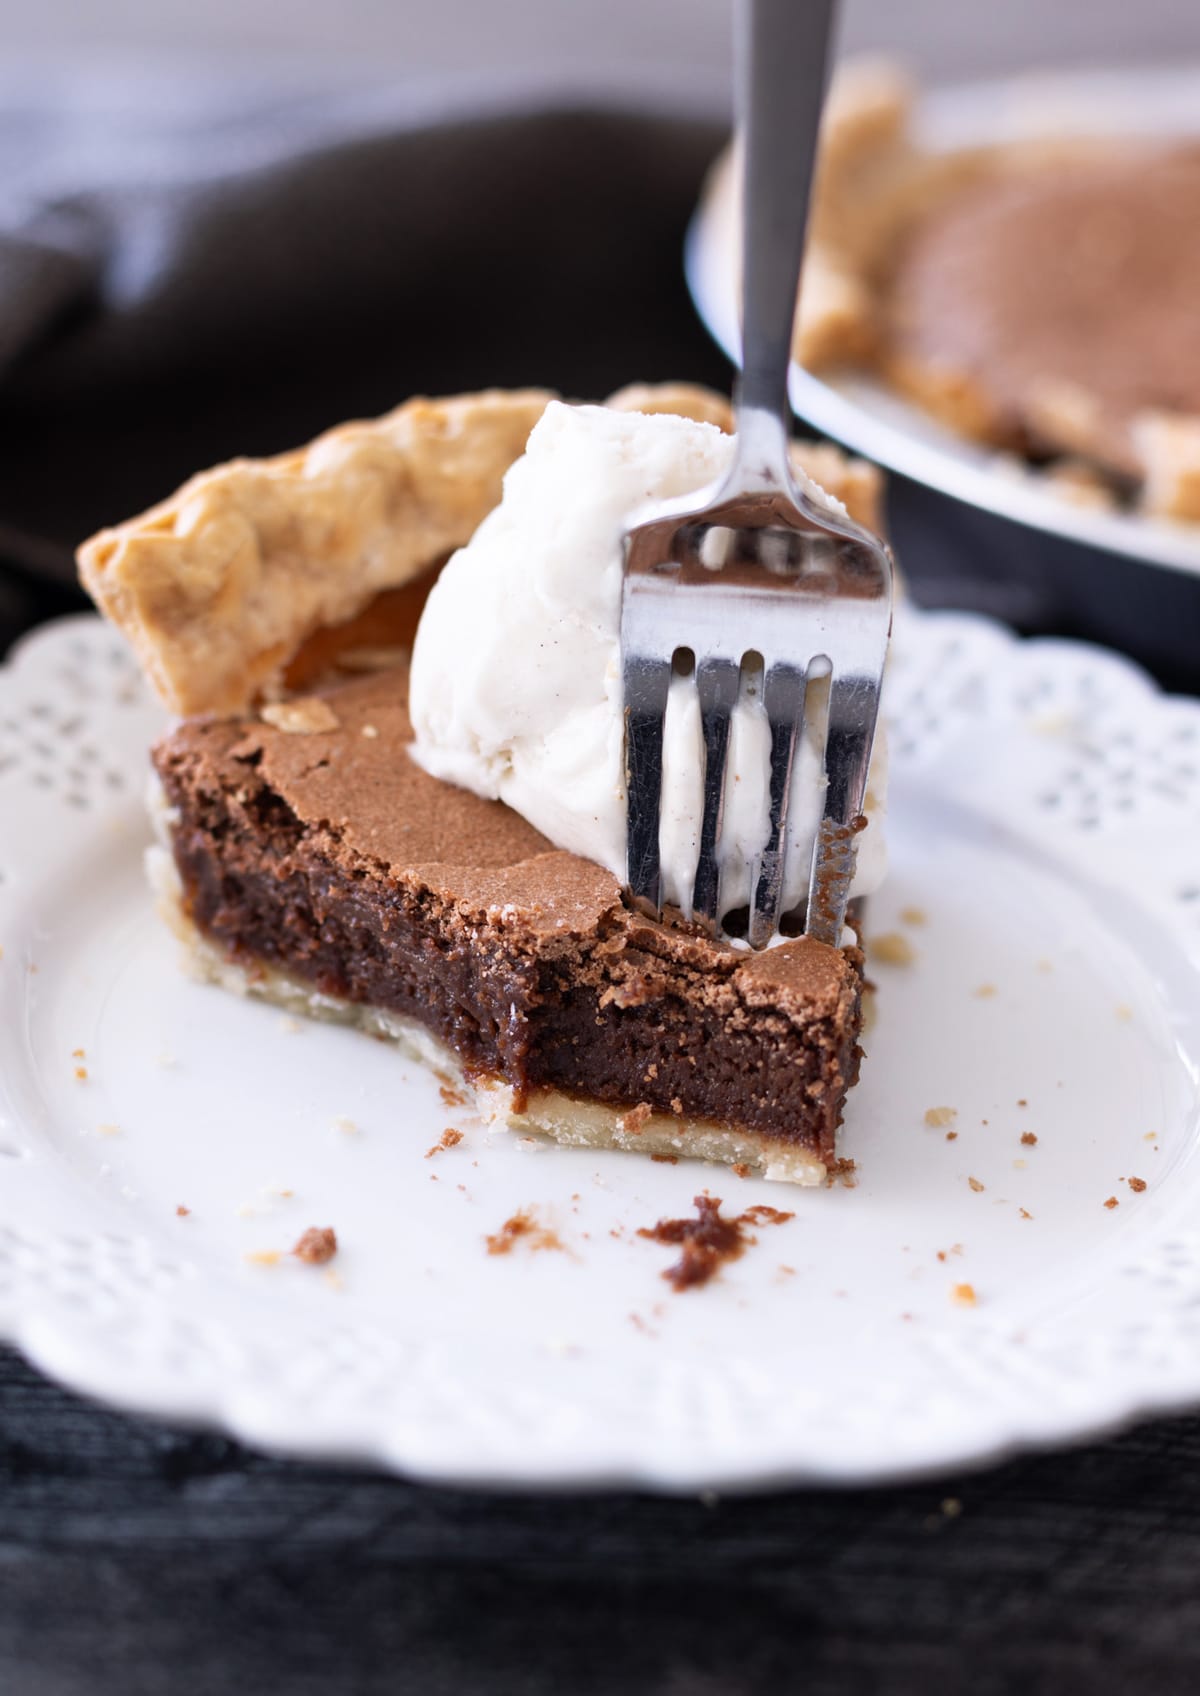
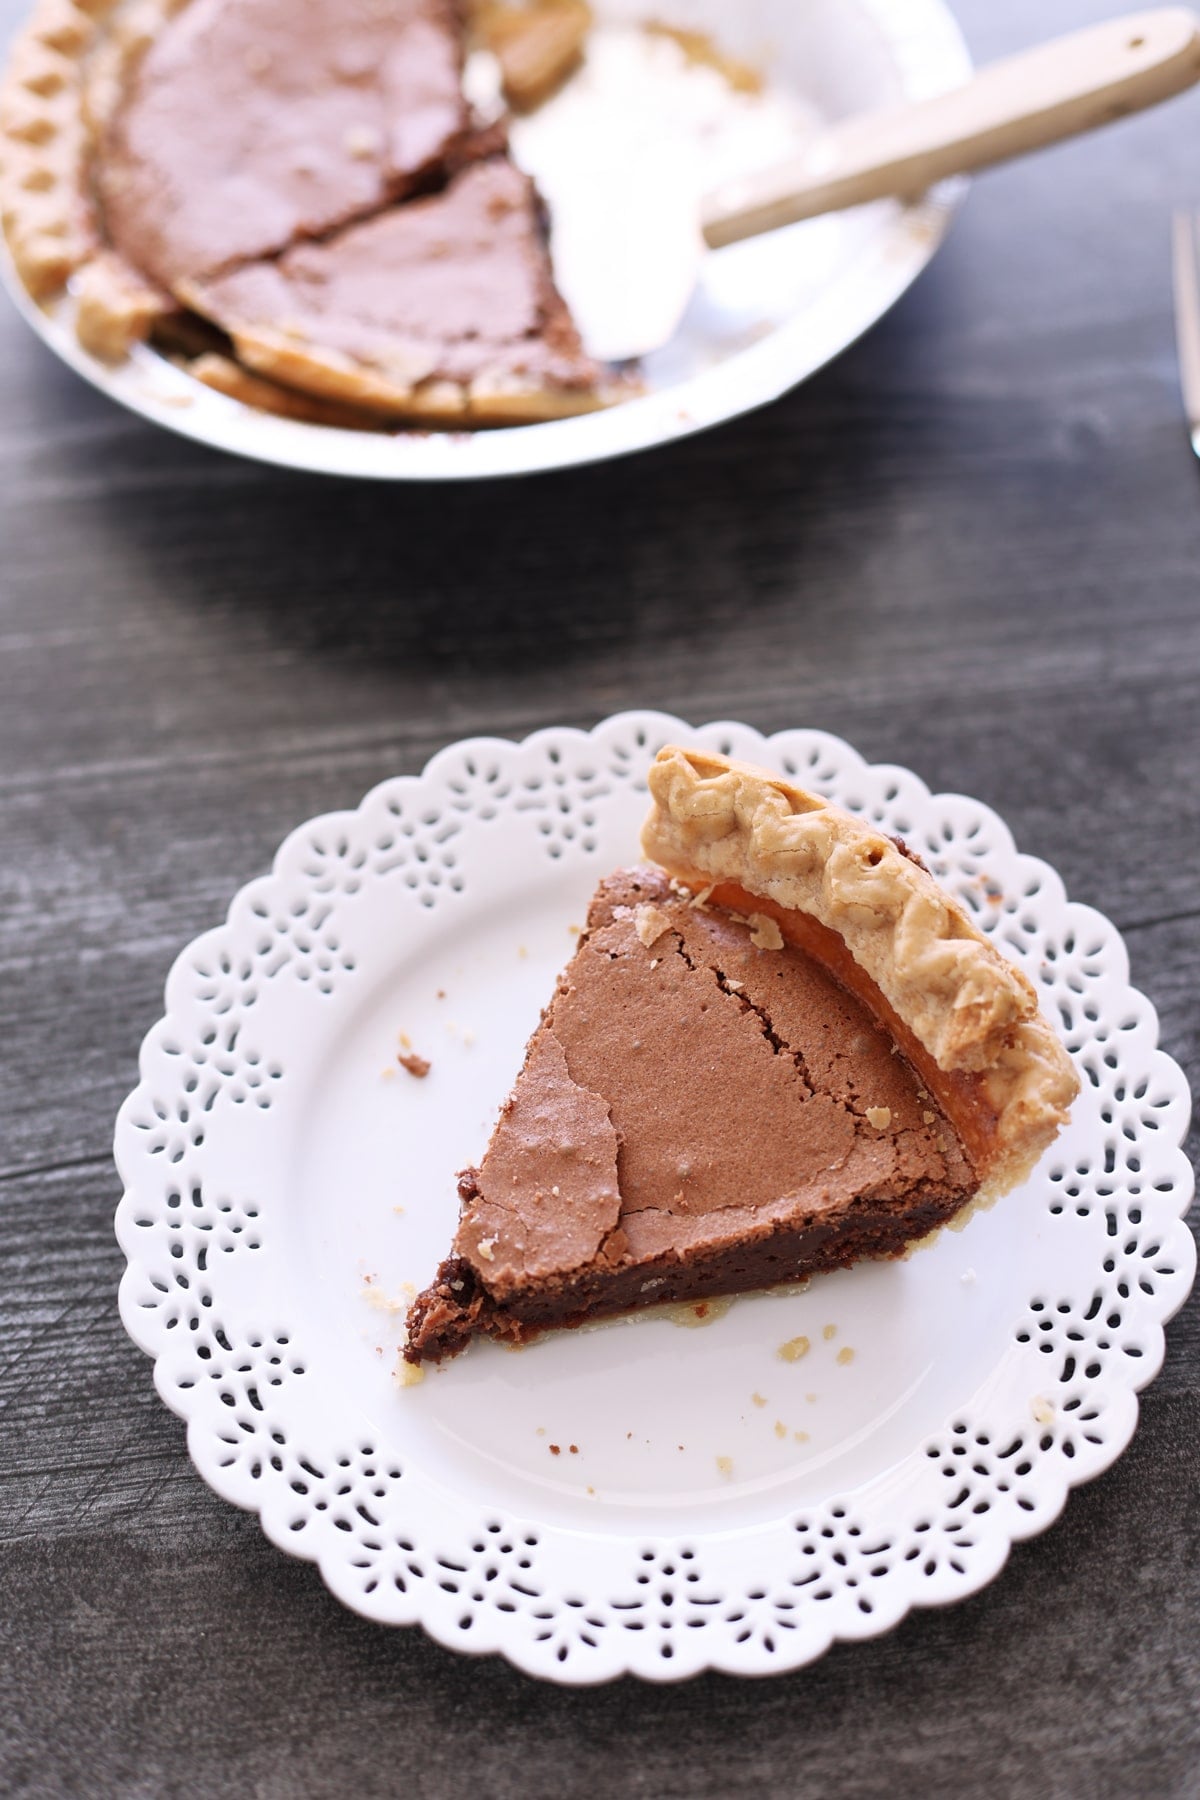
This chocolate pie is rich, creamy, and incredibly fudgy with an irresistible chocolate flavor in every bite. Whether you're making it for a holiday, family gathering, or simply to satisfy a chocolate craving, this easy dessert is guaranteed to impress.
Jump to:
Better Than The Rest - Here's Why
✅ This is not a "pudding pie" recipe. The texture is unique and absolutely irresistible—butter, sugar, and eggs make it a mix of chocolate cake and fudge...the perfect filling for a pie!
✅ You only need 7 ingredients and 10 minutes to get this chocolate pie recipe in the oven for a low-effort and incredibly decadent dessert.
✅ The pie sets perfectly every time and slices beautifully, making it a foolproof dessert recipe you’ll come back to again and again. It's everything you want in a homemade dessert—rich, creamy, chocolatey, and incredibly easy to make.
Chocolate Pie: What To Know
- Taste's Like Grandma's Recipe: Seriously...it does. It's an old-fashioned recipe that has been in my family forever.
- When making the filling, either use a handheld whisk and vigorously whisk for 2 minutes or use an electric hand mixer for one minute.
- Serve this pie at either room temperature or slightly cooled out of the refrigerator. You can make it up to 24 hours in advance – just take it out of the fridge and let it sit at room temperature for 10 minutes before serving.
- Use quality ingredients. High-quality cocoa powder, fresh eggs, and good butter (like Land O Lakes or Kerrygold) give this chocolate pie an amazing flavor and texture that lower-quality ingredients just can't match.
- Let the butter rest for several minutes after it melts and let your eggs sit out for about 10 minutes before combining the ingredients. Pouring butter that's too hot directly onto cold eggs can cause the eggs to cook slightly, interfering with the desired texture of the pie.
- Add Nuts: for a little flavor and texture variation, add chopped pecans or walnuts to the batter.
- Crust: a store-bought pie crust work well for this recipe, but you can make a homemade pie crust or switch things up by making a graham cracker crust or even a crust with crushed Oreos.
- Extra chocolate: for a chocolate overdose, add ½ cup of chocolate chips to the filling. They will melt as the pie bakes.
- Toppings: you can top it with whipped cream, a homemade meringue, melted chocolate drizzle, or some fresh berries!
🛒 Ingredients You'll Need
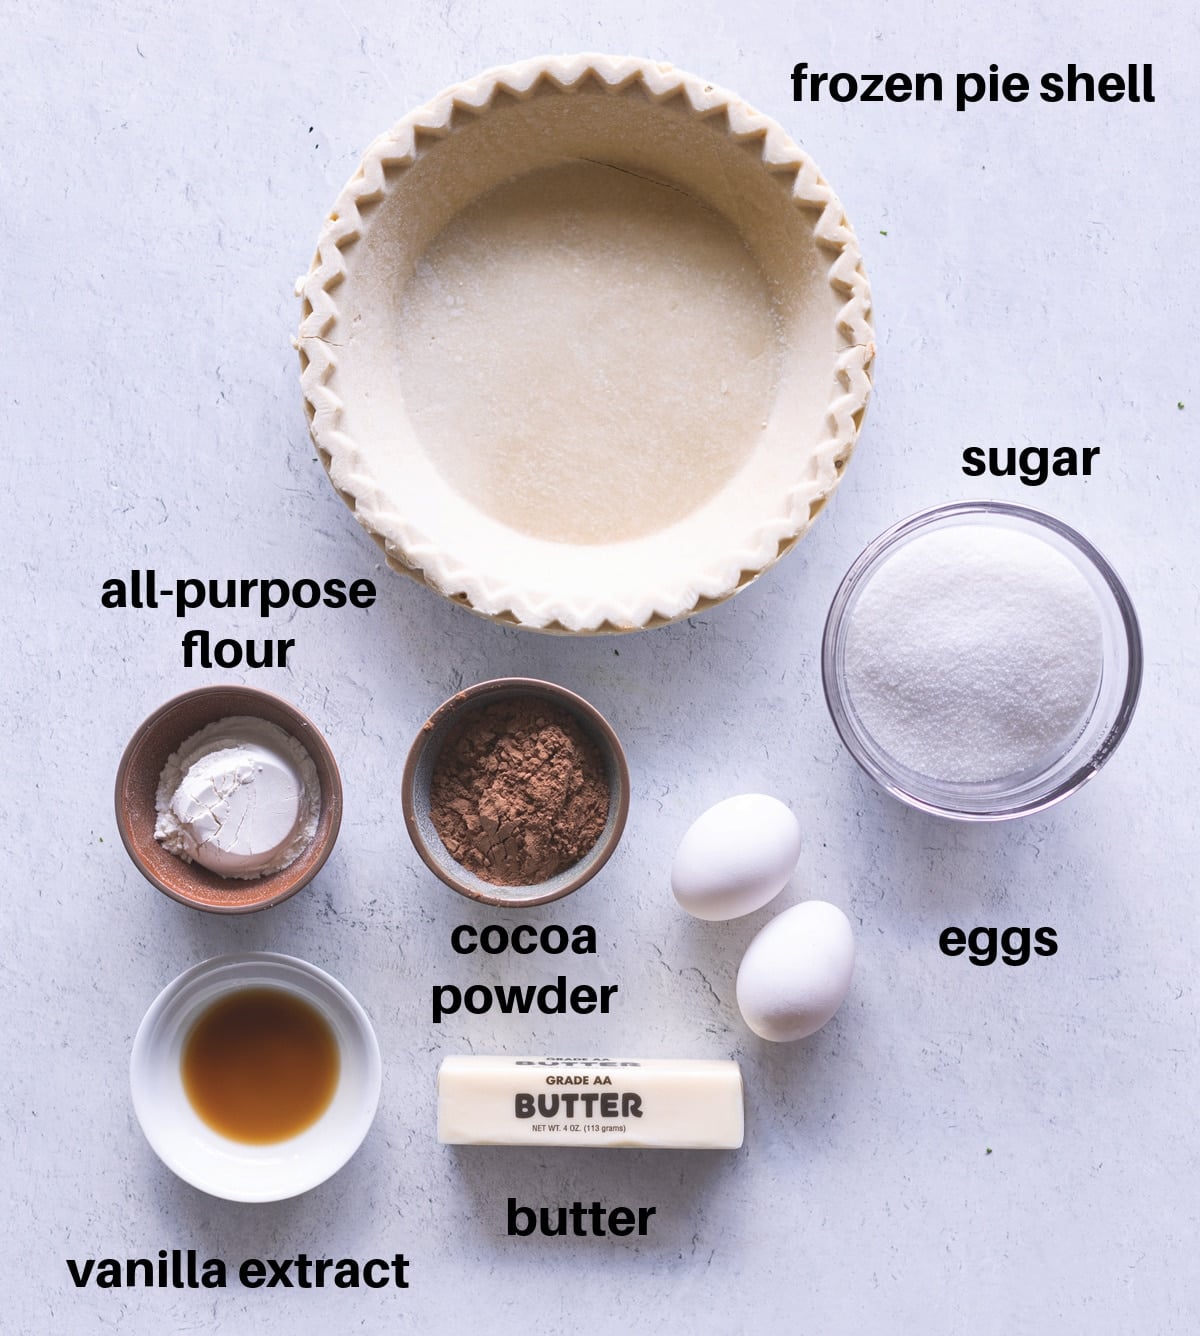
- Frozen Pie Shell: using a store-bought pie crust takes a lot of work and time off your hands. A frozen flaky crust is the perfect contrast to the fudgy chocolate filling.
- Butter: adds richness to the filling. I like to use salted butter, which helps bring out the chocolate flavor and cuts down on the sweetness a little bit.
- All-Purpose Flour: acts as a thickener, giving the pie filling structure as it cooks.
- Granulated Sugar: the perfect touch of sweetness to complement the richness of the cocoa powder.
- Cocoa Powder: the key ingredient, it adds a deep and intense chocolate taste that's super rich and satisfying.
- Eggs: helps create a smooth and rich filling that holds its shape after baking.
- Vanilla Extract: enhances the chocolate flavor and overall taste.
👩🏼🍳 Scroll down to the recipe card below for the full list of ingredients, exact measurements, and step-by-step instructions.
🥣 Here's How To Make It
WANT TO SAVE THIS RECIPE?
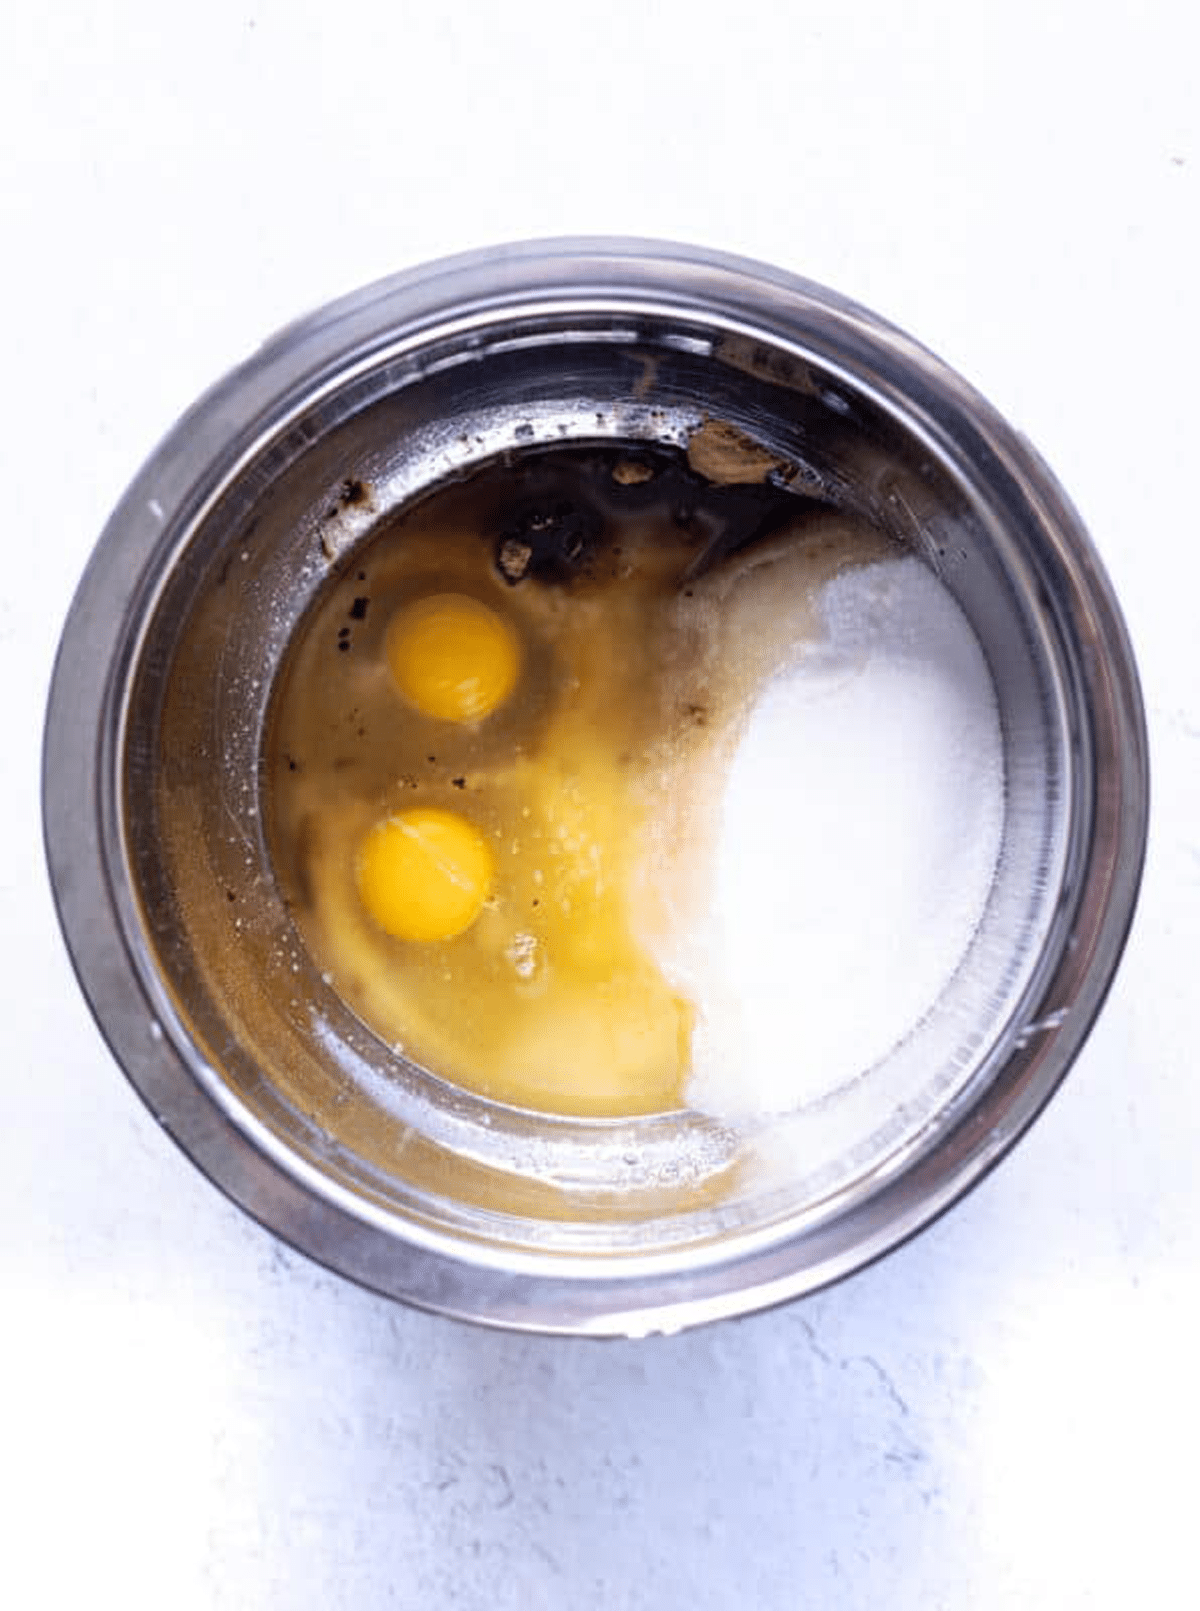
Step 1: In a large bowl, mix the melted butter, flour, cocoa powder, eggs, and vanilla extract until well combined.
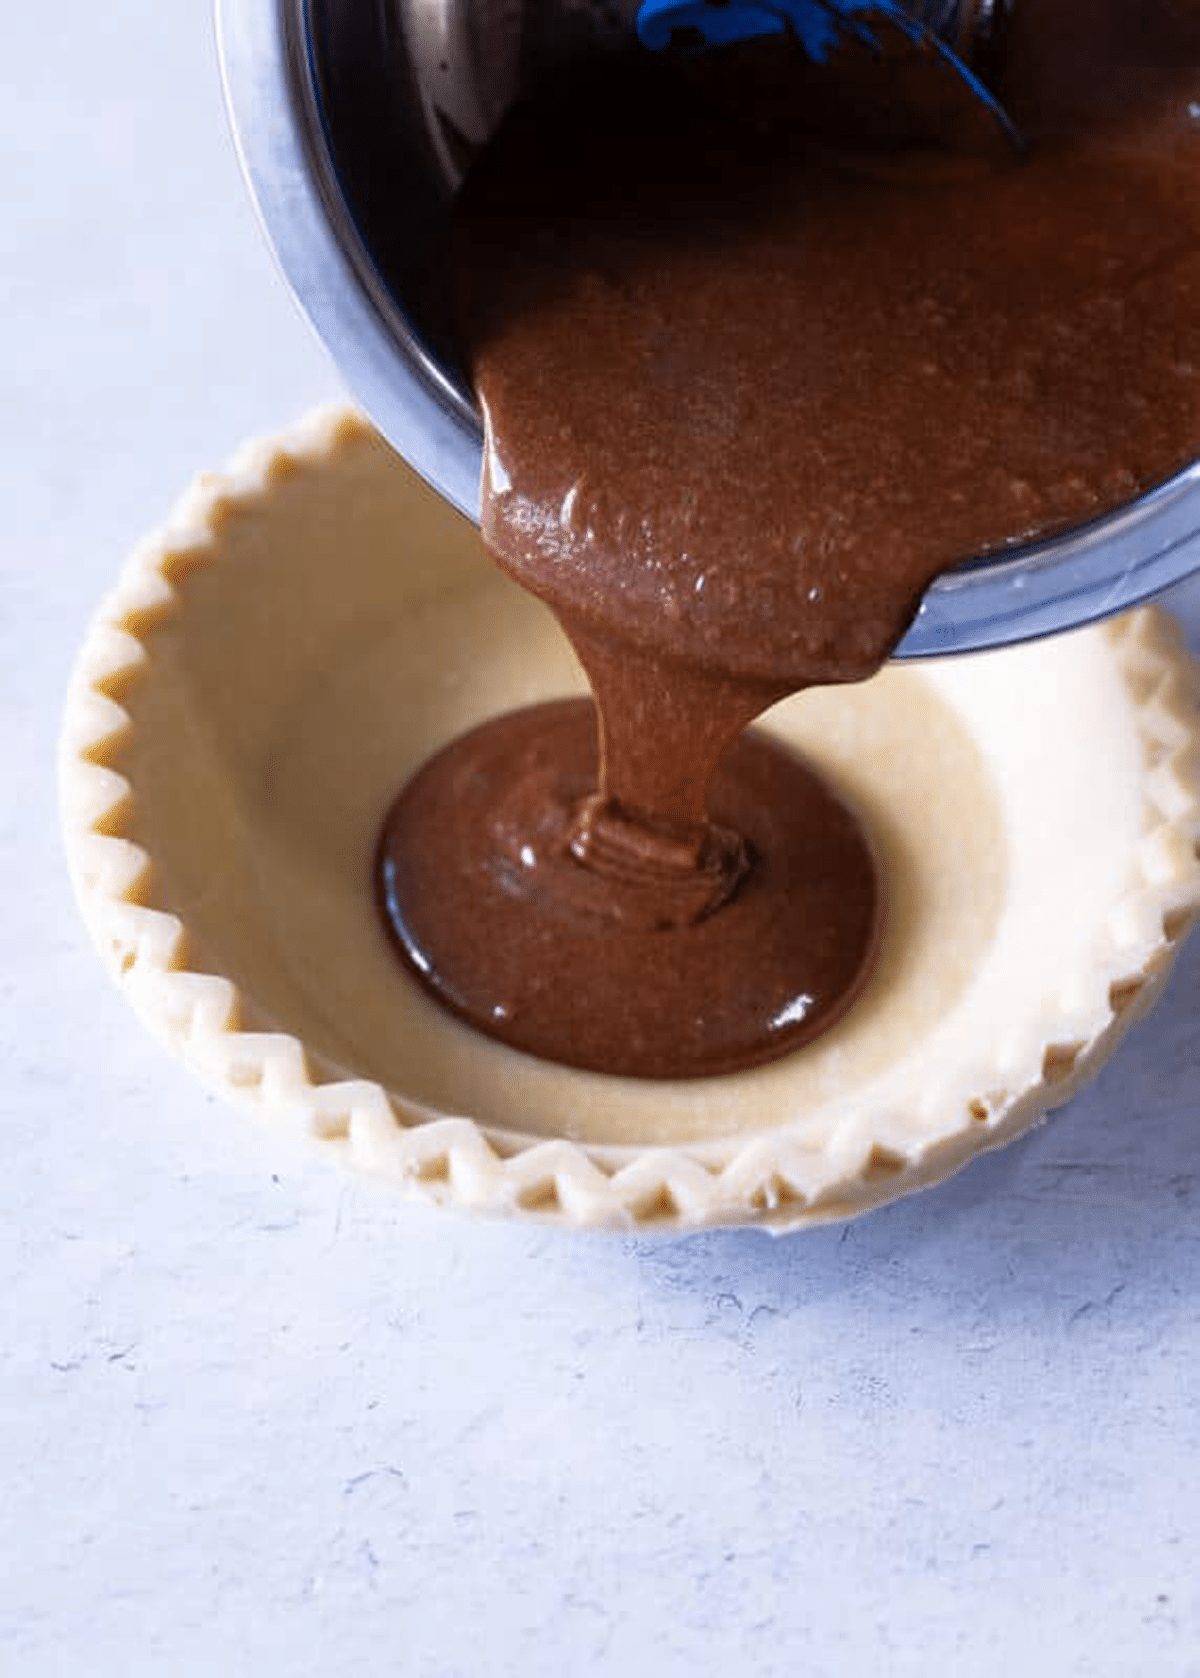
Step 2: Pour the pie mixture into the unbaked pie shell.
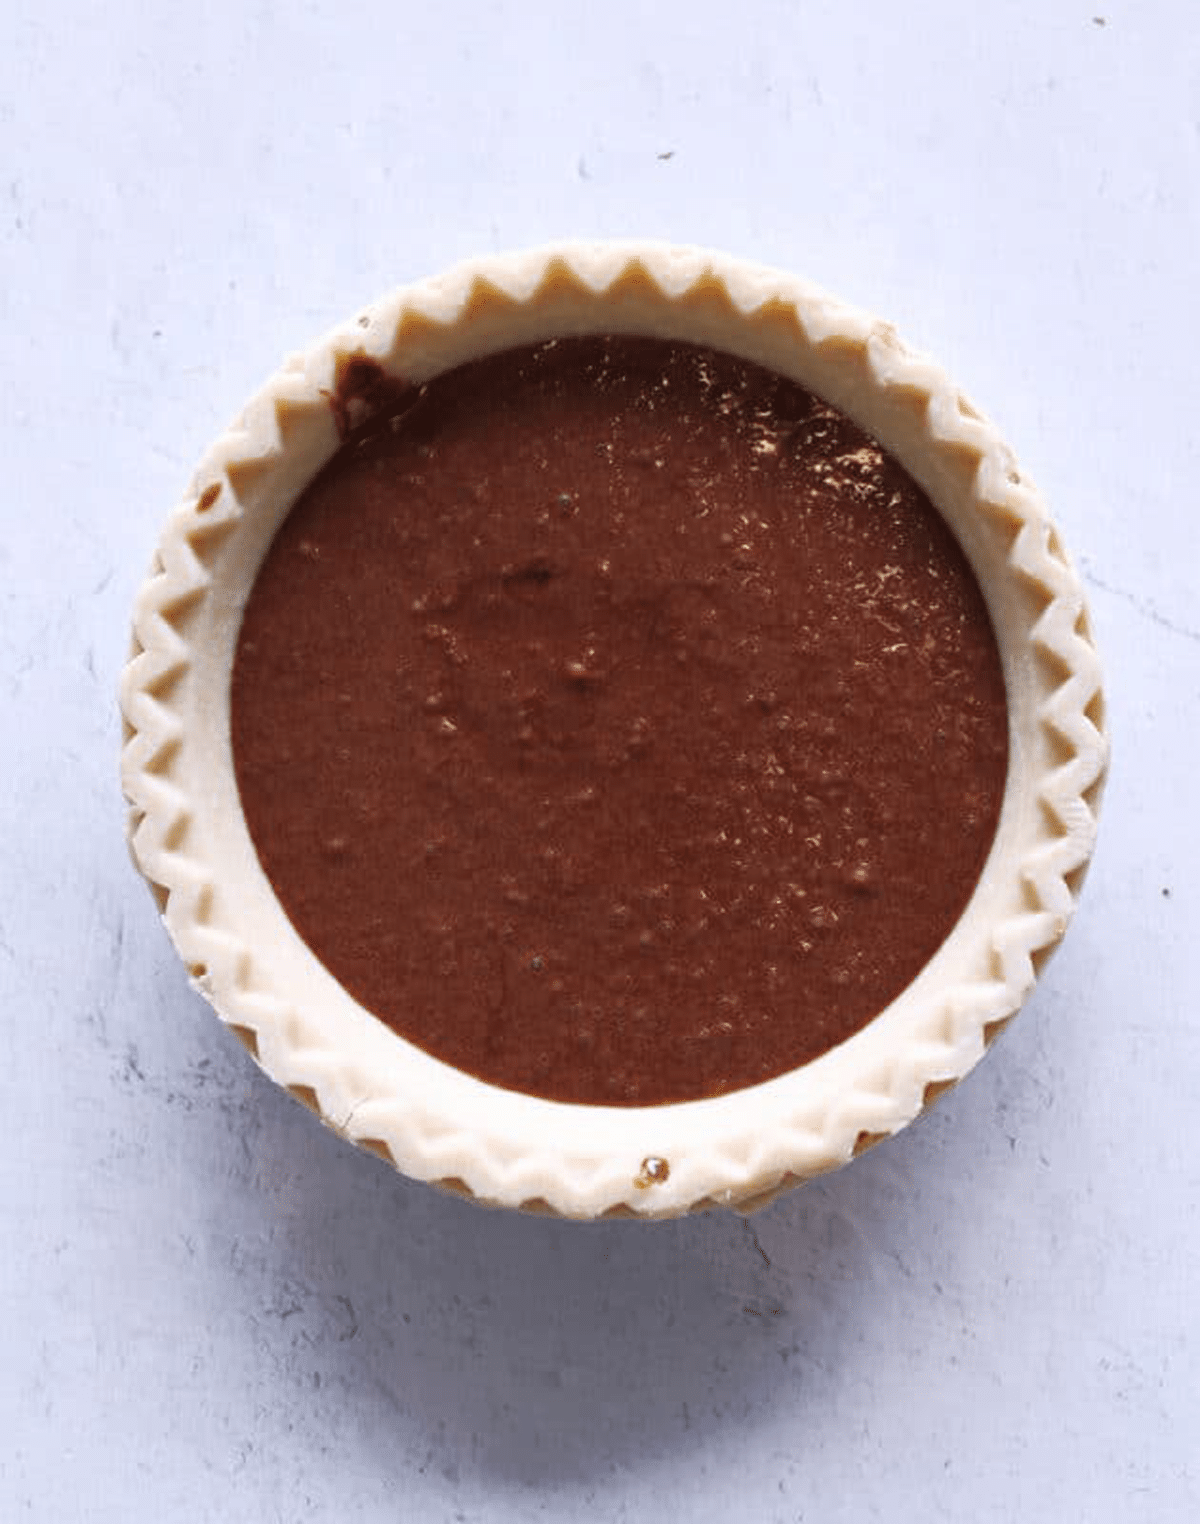
Step 3: Bake for 50-55 minutes until the center is firm and the crust is a golden brown.
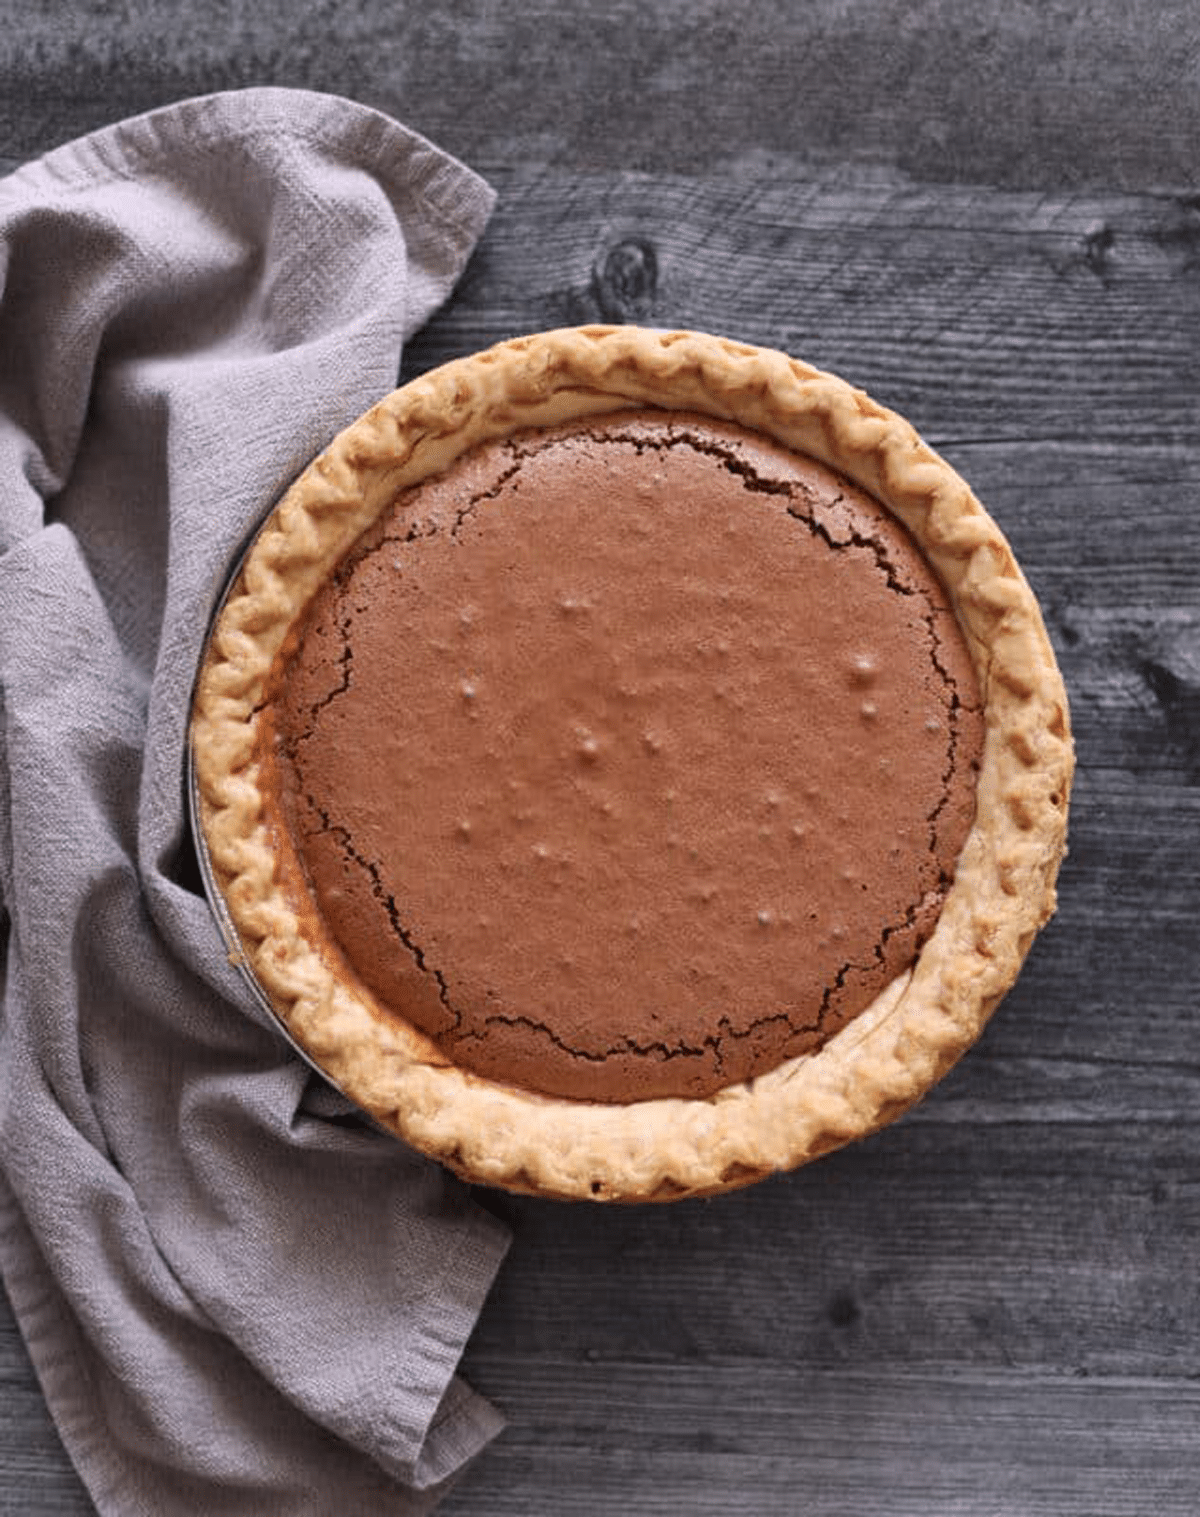
Step 4: Once the pie has cooled (about 20 minutes) place the pie in the refrigerator and allow to completely cool.
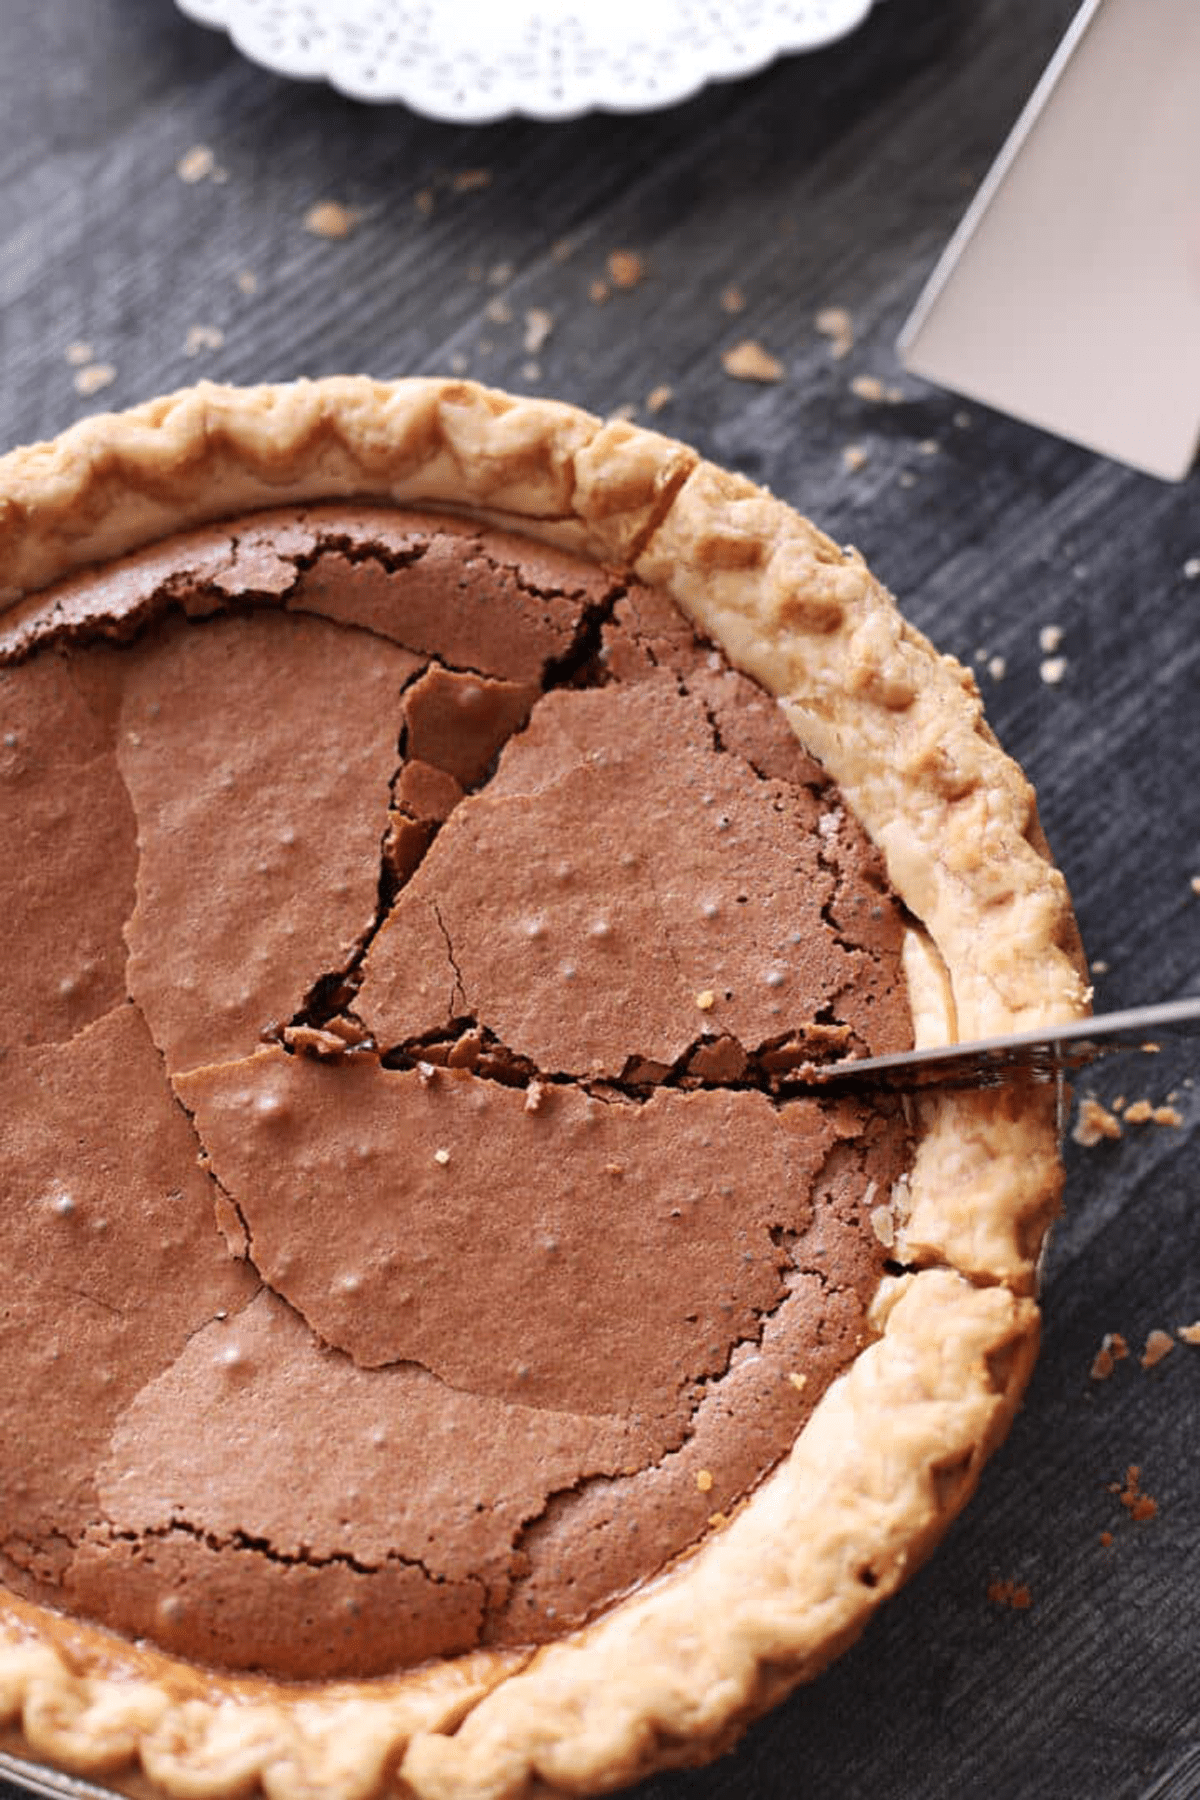
Step 5: Using a knife, slowly cut the pie.
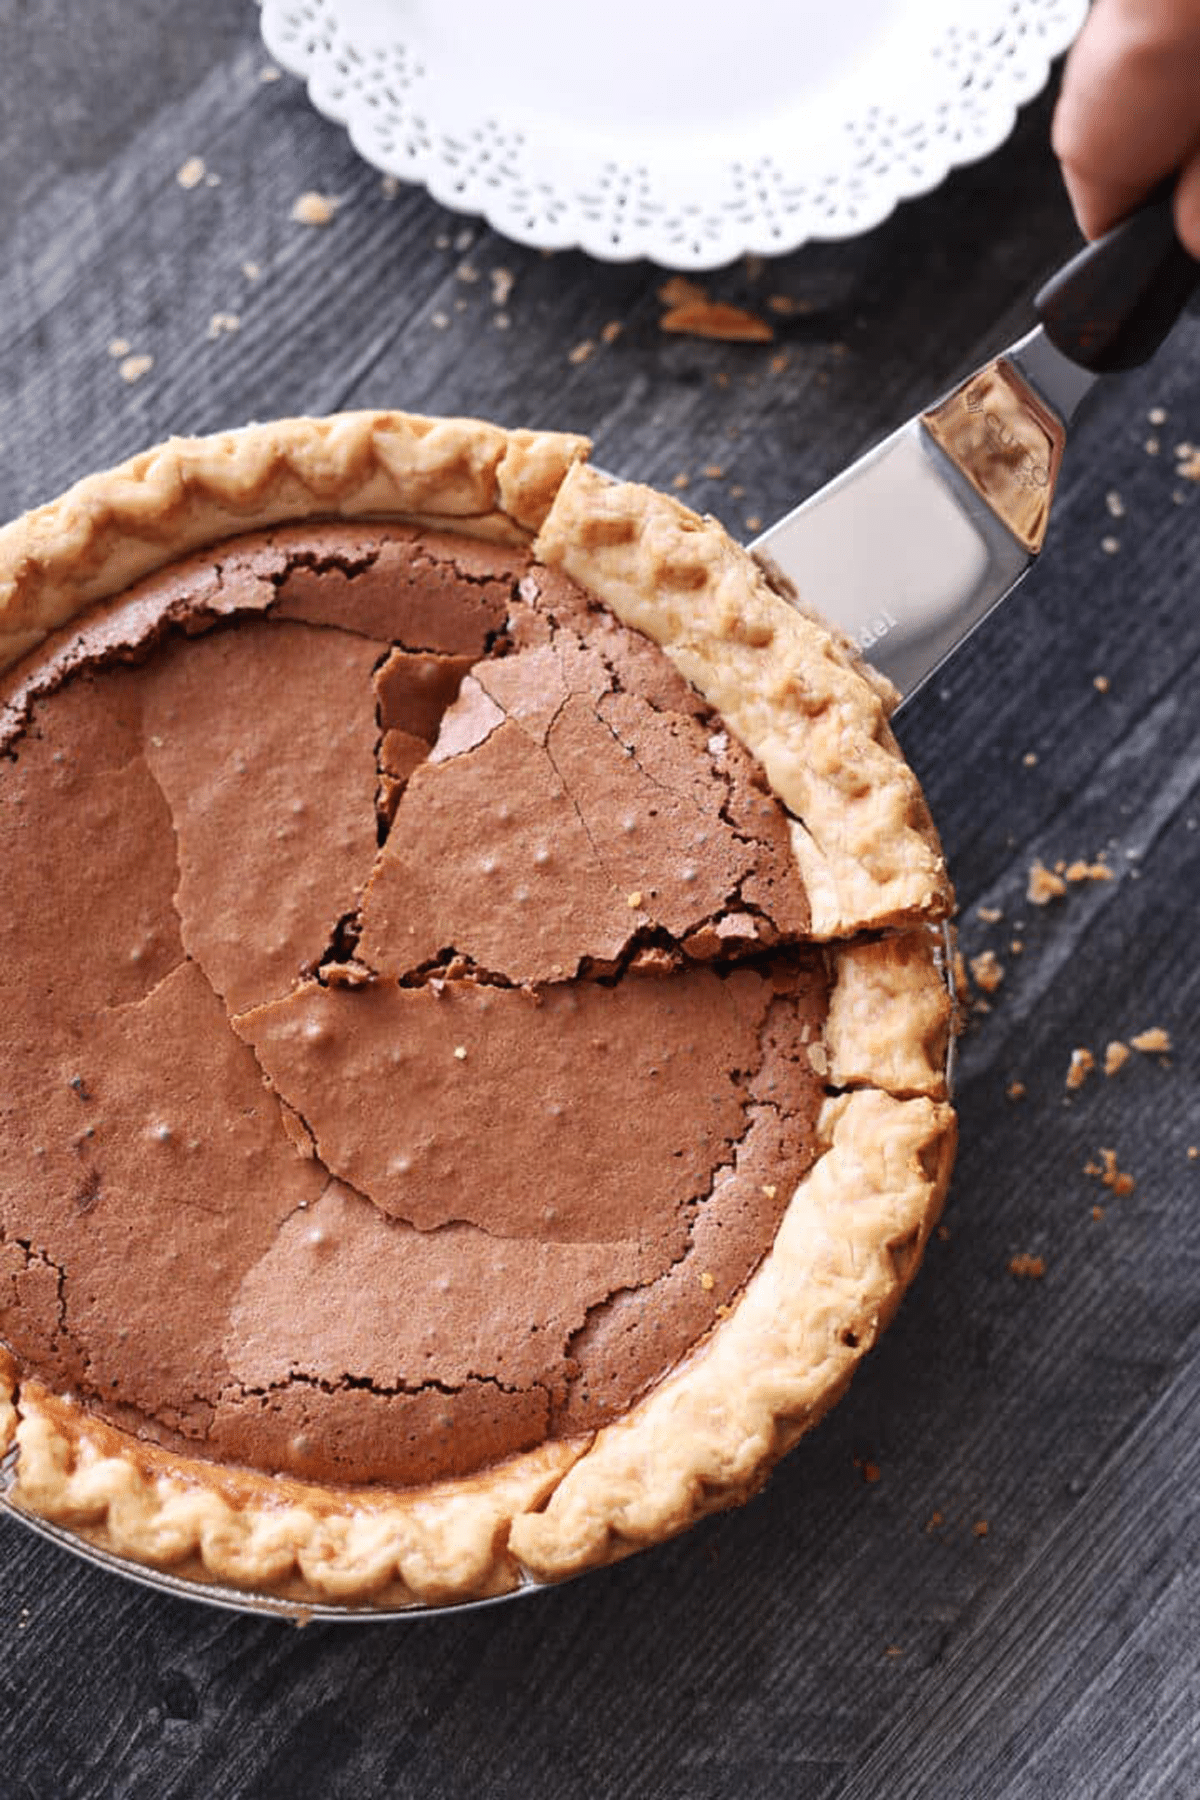
Step 6: Serve and store covered in the refrigerator.
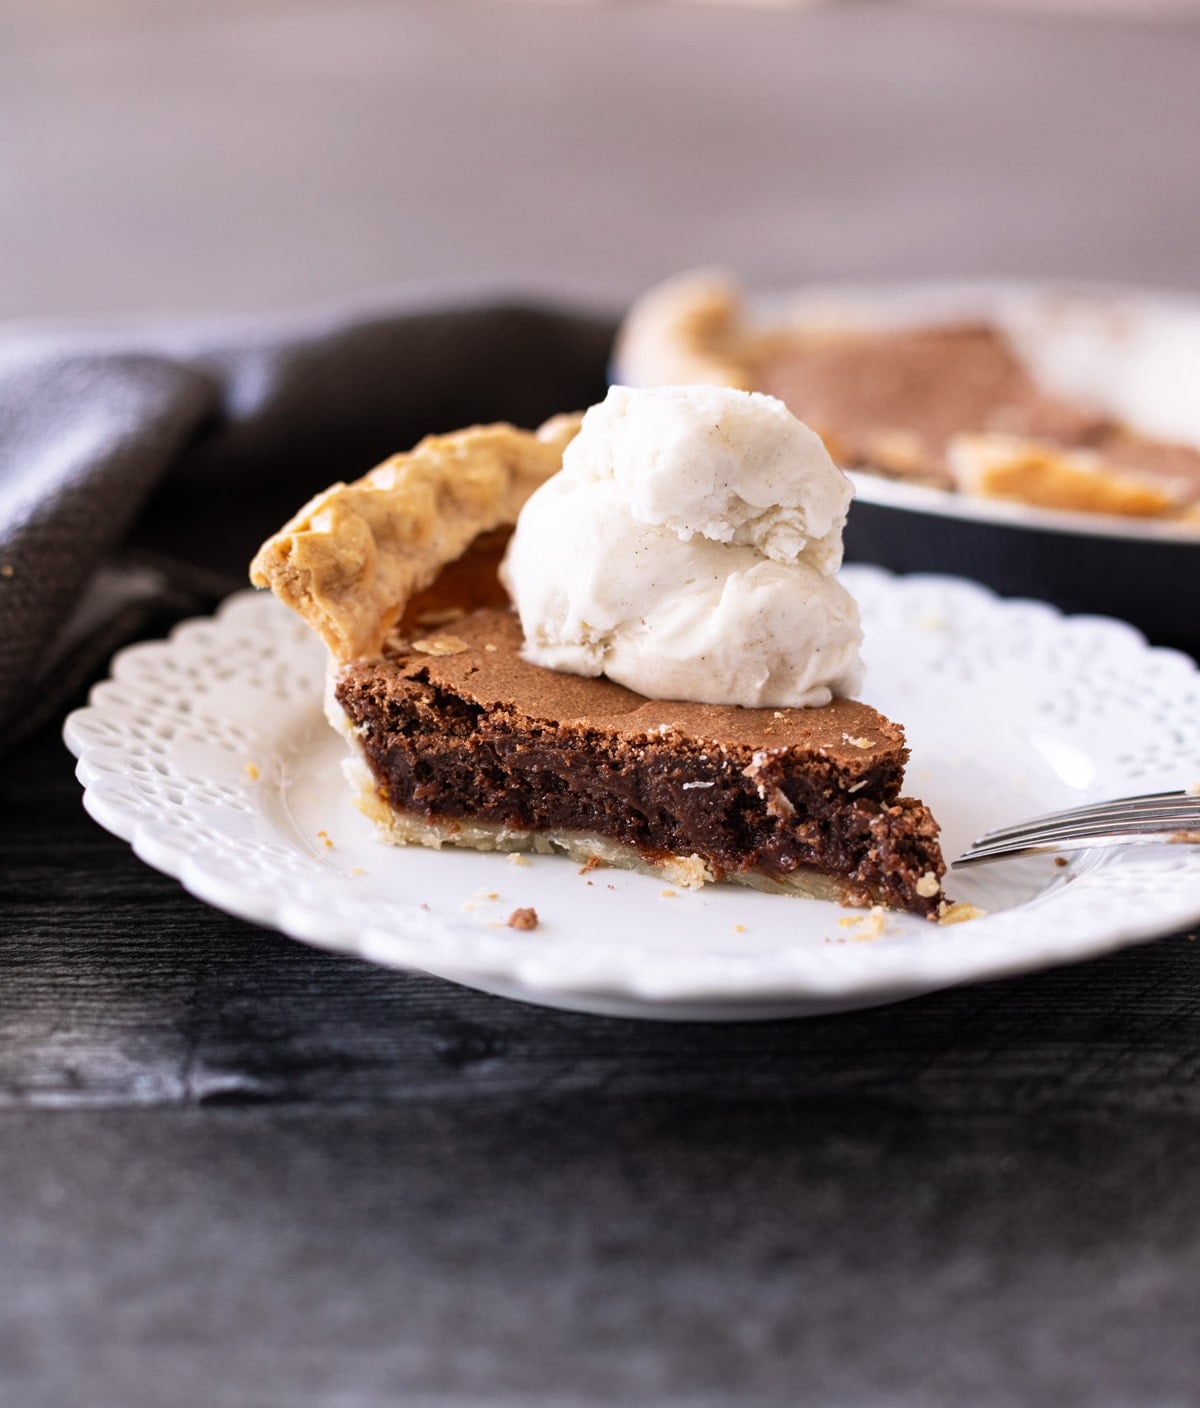
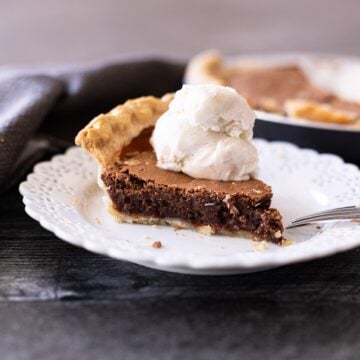
This chocolate pie recipe is full of rich and sweet flavor in every bite. Serve it warm or cold...it delicious either way! Top it off with a scoop of vanilla ice cream or whipped cream. It's the perfect ending to an amazing meal.
🙋🏼♀️ Questions I Get Asked About This Recipe
Store any leftover pie in an airtight container in the refrigerator for up to 4 days. You can freeze leftovers for up to 3 months, although the texture may change slightly as it thaws.
This recipe takes a full 50-55 minutes to bake. You'll know it's done when the middle becomes mostly firm and set.
🥧 More Irresistible Pie Recipes You'll Love!

If you tried my homemade chocolate pie recipe, let me know how it turned out in the comments below. I love hearing from you! And, please leave a 🌟 rating while you're there!
📧 Don't forget to subscribe to my newsletter, so that you don’t miss out on any of my other delicious recipes!
Chocolate Pie Recipe
Equipment
- 1 large mixing bowl
- 1 whisk or electric mixer
- measuring cups
- Measuring Spoons
Ingredients
- 1 frozen pie shell
- 1 cup granulated sugar
- 8 Tablespoons salted butter, melted
- ¼ cup all-purpose flour
- ¼ cup cocoa powder
- 2 eggs
- 1 teaspoon vanilla extract
Instructions
- Preheat the oven to 325°F.
- In a large bowl, mix the 8 Tablespoons of melted butter, ¼ cup flour, ¼ cup cocoa powder, 2 eggs, and 1 teaspoon vanilla extract until well combined.
- Pour the pie mixture into the unbaked pie shell.
- Bake for 50-55 minutes until the center is firm and the crust is a golden brown.
- Once the pie has cooled (about 20 minutes) place the pie in the refrigerator and allow to completely cool.
- Serve and store covered in the refrigerator.
Notes
- 1 stick of butter equals 8 Tablespoons.
- The best quality of cocoa powder to use for making this pie is Ghirardelli 100% Cocoa Dutch Process (you can find this at any local grocery store or Target), Valrhona Cocoa Powder, or Guittard Cocoa Rouge.
- Let the melted butter cool for a few minutes, and bring the eggs to room temperature before mixing, about 10 minutes. This helps prevent the eggs from cooking and ensures a smooth, creamy pie filling.
- Serve this chocolate pie at room temperature or chilled. It can be made up to 24 hours ahead—just let it sit at room temperature for about 10 minutes before serving.
Leave a Reply